Ultimate Website Migration Checklist: 16 Steps You Need to Do
Website migration can be challenging, especially if you are doing it for the first time. Additionally, without following a website migration checklist, you can get into trouble.
You might need to migrate your website for several reasons as switching web hosts, changing the domain, or moving to a new CMS. However, you might lose ranking on first SERPs or completely lose parts of your website if it is not done properly.
Whether you want to migrate your website through a plugin or a web host, you can use this checklist as your guide. With this, you can significantly reduce your chances of something going wrong during a website migration.
What Is Website Migration?
Website migration simply means moving your website from one server or domain to another, there can be serval reasons for website migration like moving your website from a computer or local environment to an online server or switching to a different domain or web host.
The process of website migration typically includes backing up your current websites, exporting all the databases, transferring them to the new server, and configuring the new website. It is important to take the website migration to avoid downtime, data loss, or issues with the website’s functionality.
Here is the ultimate list of WordPress website migration to ensure that everything is working properly.

1. Plan Your Migration and Inform Your Users
The very first step of website migration is composing a clear plan describing all the stages in detail. Define the tangibles and intangibles, set a reasonable timeframe, and assign tasks to the team members. Make sure that you communicate with your users openly about the upcoming changes.
You should provide them with a site migration date, possible duration of downtime, and actions they may need to perform. Not only does this establish clear expectations, but it also increases trust in audiences and promotes a smooth onboarding experience.
2. Put Your WordPress Site in Maintenance Mode
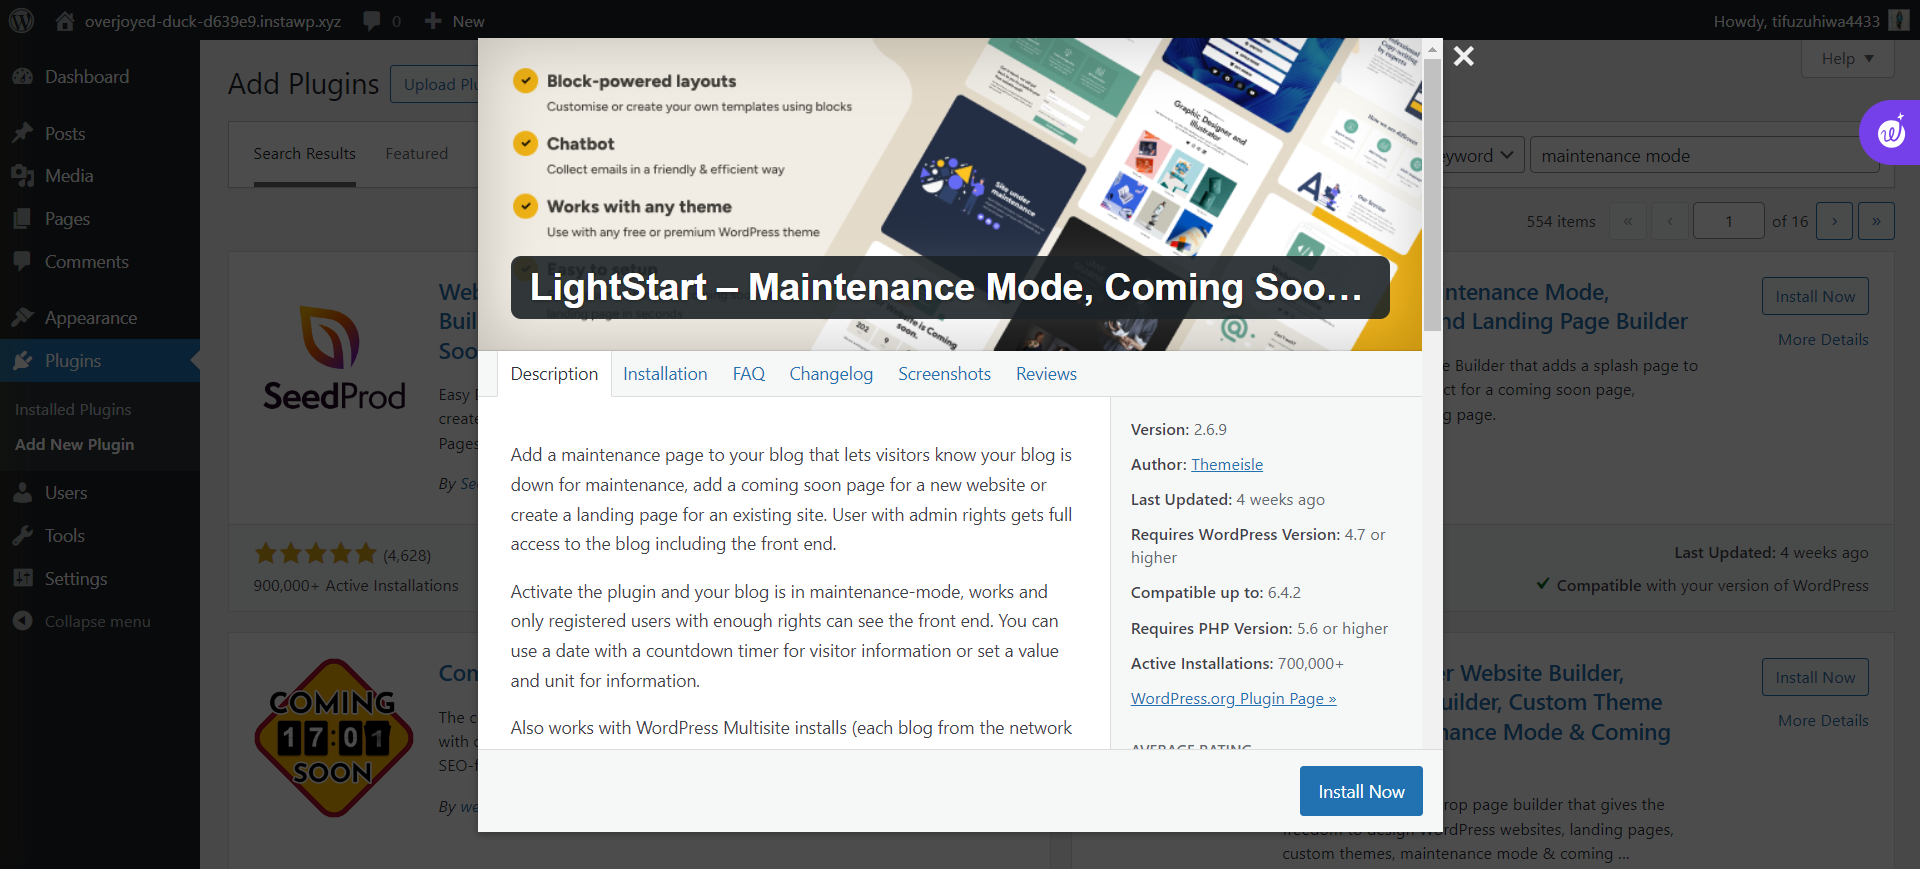
Smooth website migration begins by blocking user access to the migration in progress. Turn on maintenance mode with the help of a trusted plugin or by using a quick snippet. With this, you will build a temporary safeguard ensuring visitors do not access the site as you make essential changes. Make it clear to the users as regards the maintenance cycle and predicted period of disruption.
WordPress is loaded with a good maintenance mode page plugin. Use the one that fits your requirements.
3. Create a Backup of Your WordPress Website
Another important step for website migration is to protect your data by taking a WordPress backup of the overall website. Since reliable backup tools can work both as plugins and in those granted by a hosting service, ensure you save databases, files themes, and plugins.
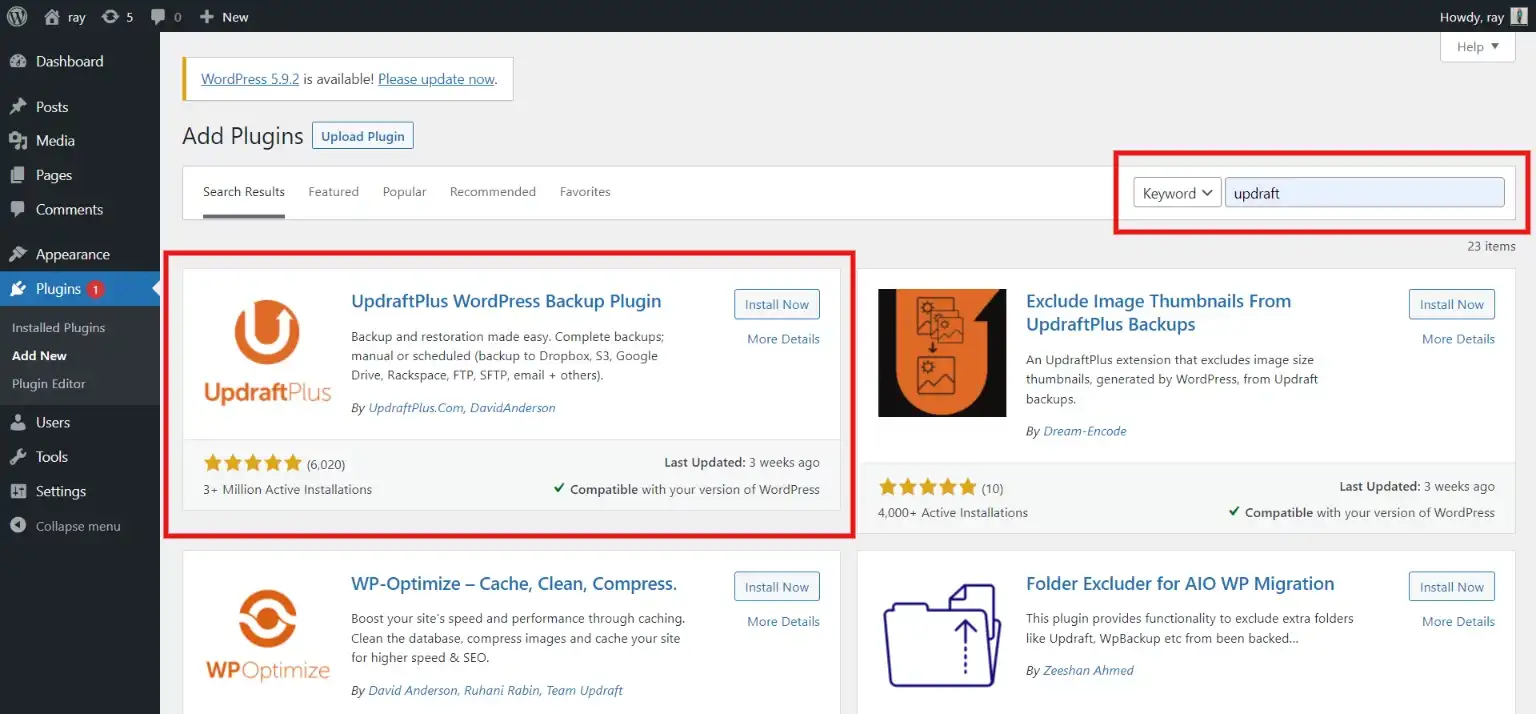
For extra protection, keep the backup in an offsite secure place. Confirm the integrity of your backups regularly, which allows you to have confidence that in case any problems occur during migration one can restore the site quickly.
4. Perform a Website SEO Audit
Ensure that the website migration does not disrupt your website’s search engine performance. Before website migration, perform a comprehensive SEO audit. Find and fix issues such as broken links, missing meta tags, or any other SEO-related problems that may affect your rankings. Use SEO audit tools or plugins and perform necessary optimizations to help with a seamless transition.
Want to move your website from WordPress.com to WordPress.org? Read, How to Properly Move Your Blog From WordPress.com to WordPress.org. (4 Easy Steps)
5. Disable Caching, Firewall, and Redirect Plugins
Before website migration, turn off cache plug-ins and firewalls as well as redirect plugins in your WordPress site. This safety measure prevents possible conflicts and the smooth migration process is not disturbed by cached content or security features. Disabling these plugins until your new system is fully implemented also ensures the integrity of data.
6. Prevent Search Engines From Indexing Your New Site
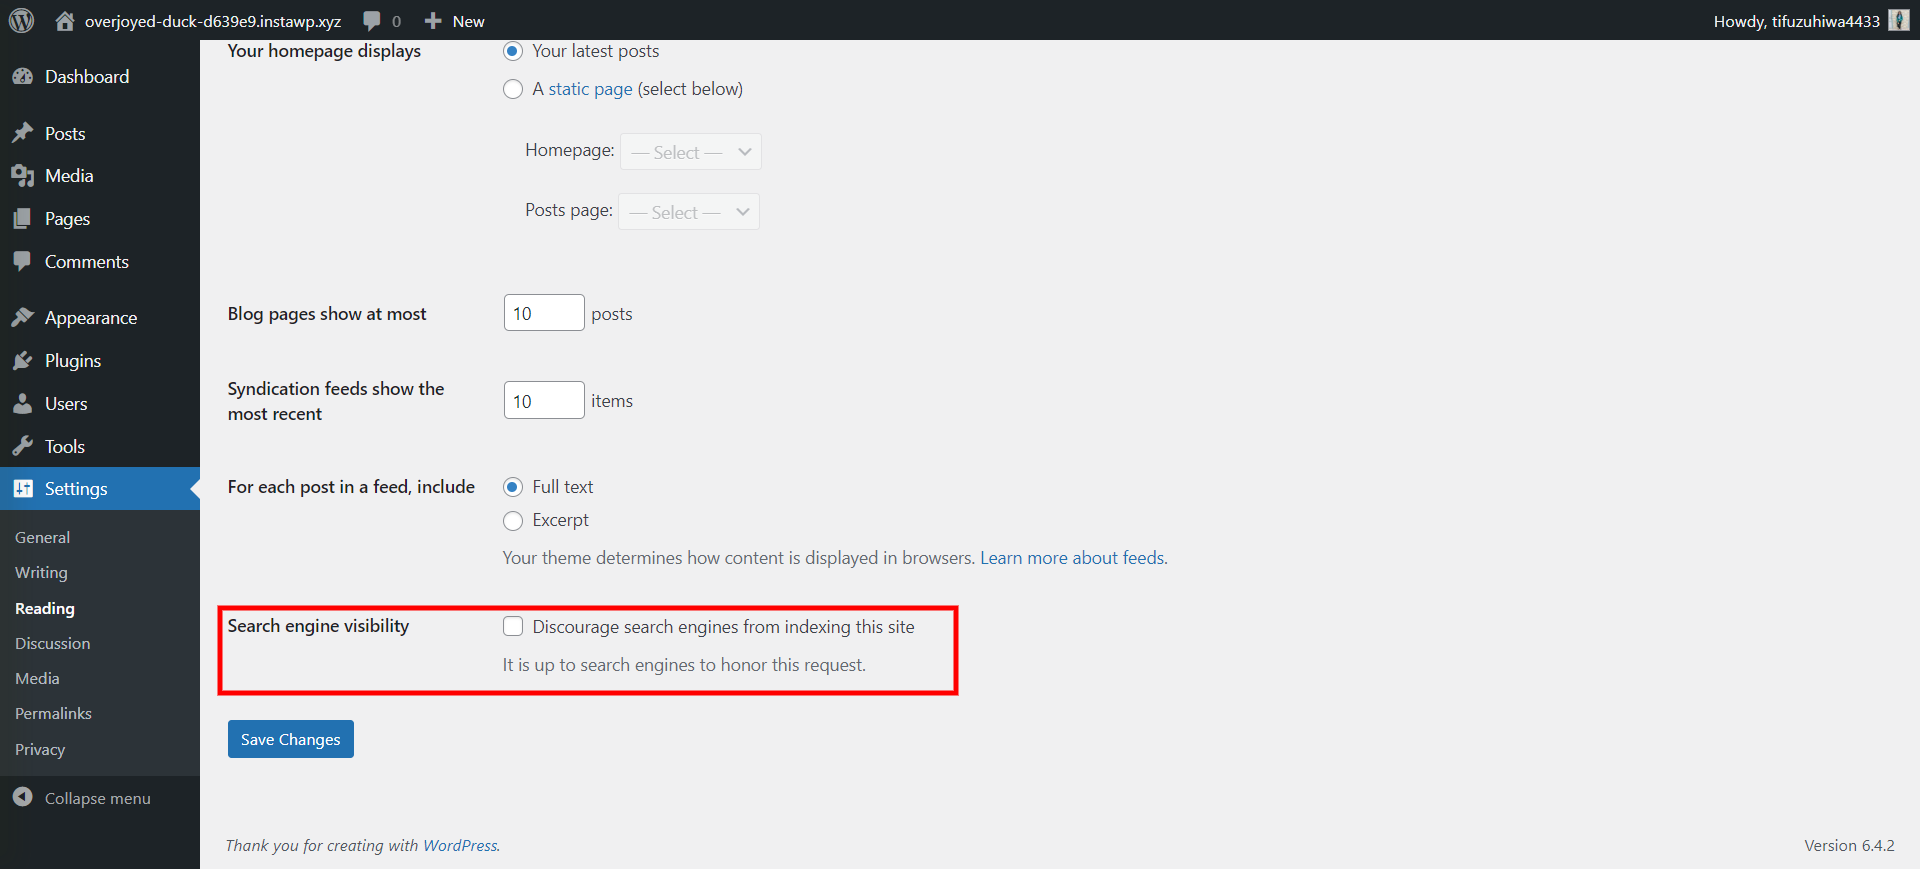
In the migration stage, it is important to prevent your new site from being discovered by search engines too early. Add the “no index” attribute to your site’s robots.txt file or apply a plugin that would tell search engines that your website is not ready for indexing yet. This avoids problems like double content penalty and guarantees that your new site is fully prepared and well presented before appearing on the search engine page.
7. Ensure Your Domain Is Pointing to the New Host
Check your domain to verify that it is set correctly at the new provider before you start website migration. Change the host details in DNS settings. This step greatly reduces downtime and ensures a smooth transition so that users can visit the new site without having to confront any domain issues. Double-verifying this alignment is crucial for an efficient and errorless website migration process.
8. Ensure That WordPress Is Installed on Your Site
It should be noted that you have done well with the setup of WordPress in your latest hosting environment before going any further. Ensure the installation, database connectors, and file setups. This is one of the important steps to ensure the proper migration of your WordPress site to a new place.
Facing any WordPress errors? Read, The 13 Most Common WordPress Errors and How to Fix Them
9. Setup and Test Redirects
Redirects are important as they maintain the wholesomeness of your site structure and layout. Create 301 redirects from the old URL to its new replacement link. This step ensures that your visitors and the search engines will automatically be redirected to the new site.
10. The New Site Should Be Indexed and Crawlable
If you have finished website migration, verify whether your new site is set up to be indexed and crawled by search engines. Either modify robots.txt or make use of a plugin to help you make your website searchable. You should remove any blockades that can stop users and search engine crawlers from accessing your new website.
Crawling and Indexing are also essential in ensuring that your migration is successful. Additionally, it helps in retaining top search ranking on SERPs.
11. Test the Overall Functionality of Your Website
Conduct testing for your site in the new hosting environment. Roll over the navigation, forms, media components, and interactive parts to check that everything is functioning as intended. Be sure to correct any issues with the wrong working order or broken links. This will give the user a better experience and reduce the post-migration problem.
12. Check for 404 Errors
Make a thorough review of your new site for 404 errors. Use tools like Google Search Console and website crawling tools to locate specific pages that are not properly redirected or linked. Addressing 404 errors on time ensures that links are not met with broken pages, which means it helps maintain a seamless user experience and avoids the negative impact of poor SEO.
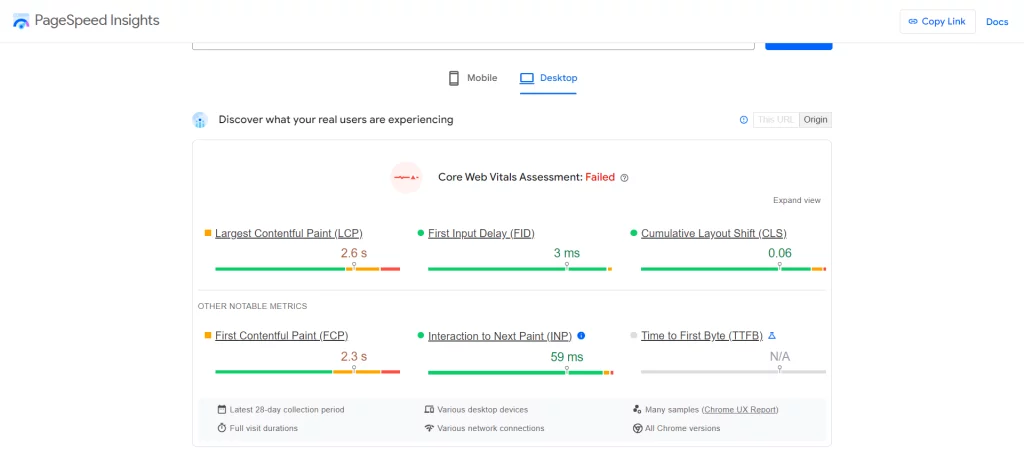
13. Perform a Speed Test to evaluate the Performance
Finally, run a series of comprehensive speed tests to check the performance and effectiveness of your migrated WordPress site. With the help of tools like Google PageSpeed Insights or GTmetrix, check how fast your webpage loads and determine load points. It is not only beneficial to users that a website can be both fast and responsive but also increases SEO ranking.
Are you facing a slow WordPress website load speed? Read, Performance Optimization: A Practical How-to for Faster WordPress Websites (18 Simple Tips)
14. Do an SEO Audit Again To Detect Mistakes
Once the migration is completed, repeat your SEO strategy with another careful audit. Make sure to see if any new issues may have happened during or after the migration process, such as broken links, missing meta tags, or anything related to structural changes. Immediately work with these trends to maintain and grow your site’s search results.
15. Keyword Track Positions, Traffic and Conversions
Look for changes related to migration in the following KPIs by your website: keyword positions, traffic conversions, etc. You can use analytics tools such as Google Analytics and analyze variations of organic search traffic fluctuations through average positioning value after the implementation has been made.
This information enables you to make a more informative picture of the influence that migration has on your website in general. It will allow you to analyze your options and, if necessary, carry out optimizations.
16. Make Sure That Your Previous Hosting Is Not Functional
If website migration is shaped correctly and your new site operates without a flaw, always remember to close or delete the old host account. This stage is often overlooked, but its elimination can result in unnecessary additional costs and possible security issues.
Contact the previous hosting provider first and then cancel the old account, but be sure to save any backup or data files for your future reference. With the completion of the process – this appears to be your last migration roadmark towards a smooth and full-scale one.
Related: How to Unpublish A WordPress Site? (4 Easy Ways)
Concluding Everything
Website migration can prove to be a headache. And there is every possibility of error. But with the proper checklist in hand, you will be able to migrate your website to a new server or domain without any hassle.
We know it is a tough job, but it is just as rewarding when you see the results. Make sure every step you take is correct and be careful of the hackers. Additionally, migrate during a low-traffic time if possible. This will minimize the impact in case something goes wrong.


Stuck Somewhere?
Connect With JustHyre
Hire WordPress Engineers for custom jobs like Website Customization, SEO Optimization, Clearing a Hacked Website, Installation & Configuration & more.
Connnect with JustHyre
0 Comments