Creating An Image Gallery in WordPress – 5 min Simplified Guide
When it comes to enhancing a WordPress website, or any common website, image plays a key role in colors and adding beauty and style to the way the website looks. It enhances what the website is trying to say to the users and customers. When an image plays such an important role in websites, having an image gallery on a WordPress site is way more important as it completely takes over the responsibility of maintaining the images that are present in the website such that nothing gets missed out and is completely secure too.
To begin with, let us look at:
Creating an Image Gallery
How to Create a Photo Album Gallery Manually (Without Using a WordPress Plugin)
- Step One: To create a site-specific plugin, you will have to go to the plugins directory using FTP by wanting to create and get into the folder create a PHP file in the same name, and paste the code snippet that is given below onto the file. Save the file and exit.
/*
Plugin Name: Site Plugin for website.com Description: Site-specific code changes for website.com
*/
/* Start Adding Functions Below this Line */
/* Stop Adding Functions Below this Line */
The code that is mentioned above is unique such that you can use it and will not have any issues while using it.
- Step Two: Display additional image sizes and additional details from the admin dashboard, head over to appearance, and then head over to the editor. Spot the file functions.php in the editor and add the following code snippet for registering the original image size for the display in the theme.
The code snippet is given below.
add_image_size( 'album-grid', 225, 150, true );
- Step Three: Now, if you want to add any custom field added to the media uploader, like the name of the photograph, the pages, and other information that is regarding the image upload, you will have to follow this code into the functions dot PHP file.
/**
* Add Photographer Name and URL fields to media uploader
* @param $form_fields array, fields to include in attachment form
* @param $post object, attachment record in database
* @return $form_fields, modified form fields
*/
function be_attachment_field_credit(
$form_fields, $post ) {
     $form_fields['be-photographer-name'] = array(
         'label' = 'Photographer Name',
         'input' = 'text',
         'value' = get_post_meta( $post-ID,
 'be_photographer_name', true ),
         'helps' ='If provided, photo credit will be displayed',            );
$form_fields['be-photographer-url'] = array(
         'label' ='Photographer URL',
         'input' ='text',
         'value' =get_post_meta( $post-ID,
 'be_photographer_url', true ),
         'helps' = 'Add Photographer URL',
     );
     return $form_fields;
 } add_filter( 'attachment_fields_to_edit', 'be_attachment_field_credit', 10, 2 );

/**
* Save values of Photographer Name and URL in media uploader
* @param $post array, the post data for database
* @param $attachment array, attachment fields
from $_POST form
* @return $post array, modified post data
*/
function be_attachment_field_credit_save( $post, $attachment ) {
     if( isset( $attachment['be-photographer-name'] ) )
         update_post_meta( $post['ID'],
'be_photographer_name', $attachment['be-photographer-name'] );
     if( isset( $attachment['be-photographer-url']
) )
update_post_meta( $post['ID'],
'be_photographer_url', esc_url( $attachment['be-photographer-url'] ) );
     return $post;
 }
add_filter( 'attachment_fields_to_save', 'be_attachment_field_credit_save', 10, 2 );
- Step Four: Copy-paste this code such that you can enable these features, The output will be as given in the page picture code given below, creating pages to display all albums.
- Step Five: To create some albums or custom post types, and add photos to them, the feature image will be the cover image of the album, and see that the content you added to the content area of any post will become the description of the album asset in the WordPress site.
- Step Six: To take over the template page for albums and create it. customized creative file and name it archive-albums.php
<li class="album-grid">a href=" title=""</a></li> post_type == 'albums' $post-post_status == 'publish' ) {
         $attachments = get_posts( array(
             'post_type' ='attachment',
             'posts_per_page' =-1,
             'post_parent' =$post-ID,
             'exclude'
=get_post_thumbnail_id()
         ) );
         if ( $attachments ) {
             foreach ( $attachments as $attachment
) {
$class = "post-attachment mime-"
. sanitize_title( $attachment-post_mime_type );
                 $title = wp_get_attachment_link(
$attachment-ID, 'album-grid', true );
                 echo '<li class="' . $class . '
 album-grid">' . $title . '</li>';
             }
         }
     }
Copy the header, footer, sidebar, and all other UI elements and code that are present below. Copy-paste the code enter it in the archive-albums.php and save it. Similarly, place the following code in the main CSS file of your theme folder and align your cover images according to the shown.
.album-grid{width: 225px; height: 150px; float: left; list-style: none; list-style-type: none; margin: 0 18px 30px 0px;}
Moreover, you can also add a template page for each image. To do the same. You can add a new file on the name single-attachments.php, and copy-paste the code that is given below:
if ( have_posts() ) : while ( have_posts() ) : the_post();

$photographer = get_post_meta($post-ID, 'be_photographer_name', true);

$photographerurl = get_post_meta($post-ID, 'be_photographer_url', true);

<h1>the_title();</h1>
<div class="photometa"><span class="photographername"> echo $photographer; </span> // <a href=" echo $photographerurl " target="_blank" class="photographerurl" rel="noopener noreferrer"> echo $photographerurl </a></div>
                        <div class="entry-attachment">
 if ( wp_attachment_is_image( $post-id ) ) : $att_image = wp_get_attachment_image_src( $post-id, "full");
                        <p class="attachment"><a>id); " title=" the_title(); " rel="attachment"<img src=" echo $att_image[0];" width=" echo $att_image[1];" height="echo $att_image[2];" class="attachment-medium">post_excerpt;" /</a>
                        </p>
 else :
                        <a>ID) " title=" echo wp_specialchars( get_the_title($post-ID), 1 )" rel="attachment"echo basename($post-guid) </a>
 endif;
                        </div>
 endwhile;
 endif;
From the pre-built single.php of the theme, you can eventually find this file under the editor from the appearance menu, once you find it, you’ll find the loop, you can add this code and replace the section with the code. Now that you have completely set up your manual, gallery, or album photo gallery in your WordPress without the usage of any plugin and have manually customized it such that, you will not have buffering issues or any other technical glitches too.
Create a Gallery in WordPress Within a Few Minutes
If you want to go through this simple step that may be a bit tough when you have more than 10 to-sustain plugins already running on your website. This will not be a good option. But if you have two to five logins at maximum running on your WordPress site, usage of plugins on the WordPress site will be a very good option for optimizing your WordPress site to have the gallery created on your site. For this, you can display multiple images on your site and make it a gallery. WordPress initially has numerous gallery plugins that can be used to choose the best that helps you add galleries to your website. All you need to do is:
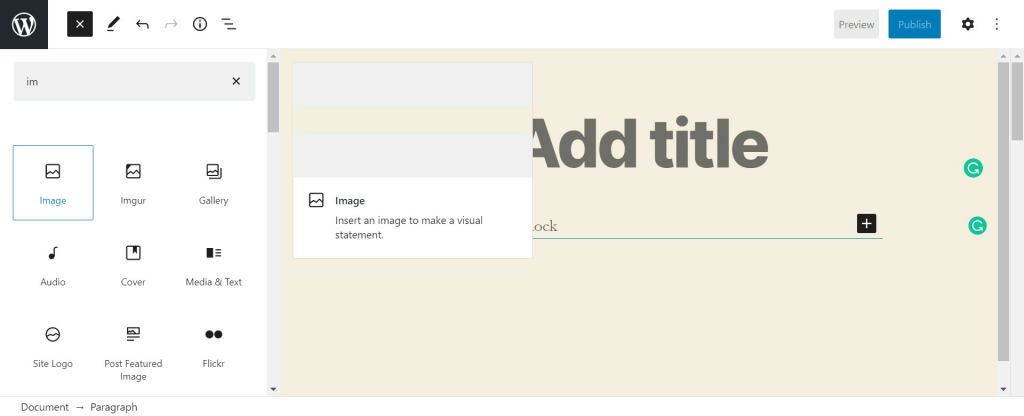
- Go to the normal WordPress editor and create a post or edit a piece of content.
- Then click the Add Media button and normally insert an image to insert into the content page.
- Under the left-hand side menu, select the Create Gallery option that is present as a second option.
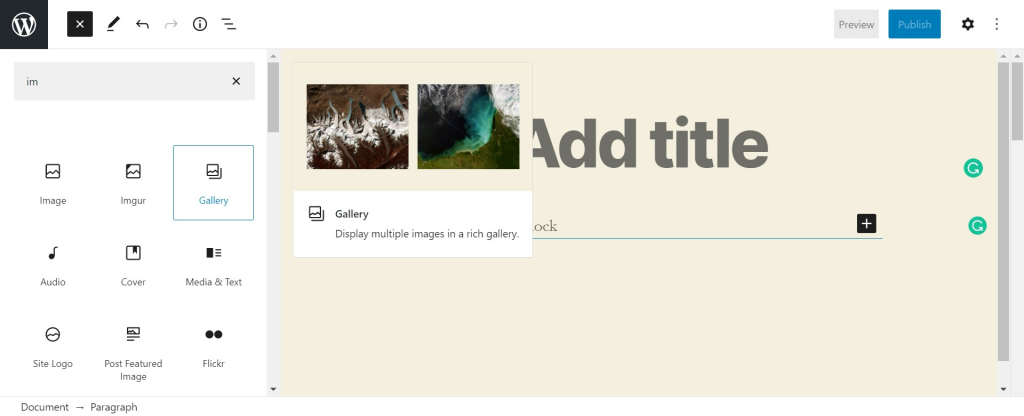
- Now you can either select existing images in the media library to create a gallery or upload files that are necessary for clumping up into one gallery.
- Once completed, you can create a new gallery in the right-hand corner by clicking that option to edit your gallery before you have inserted your new gallery into the WordPress page.
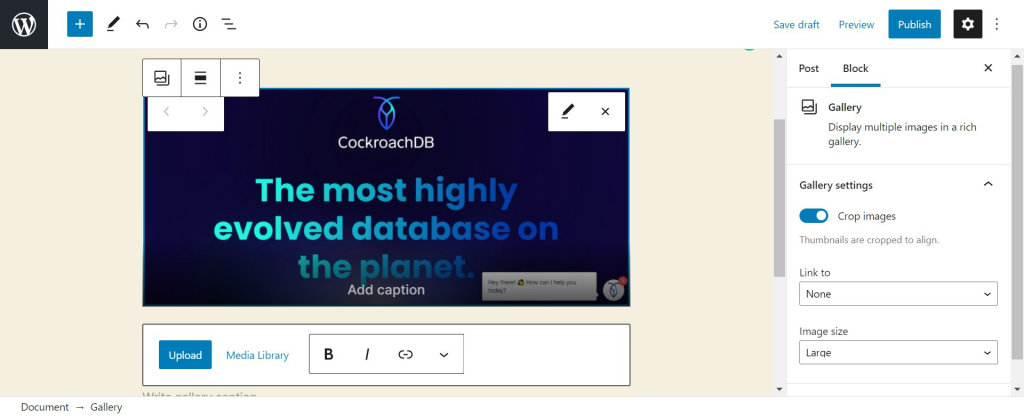
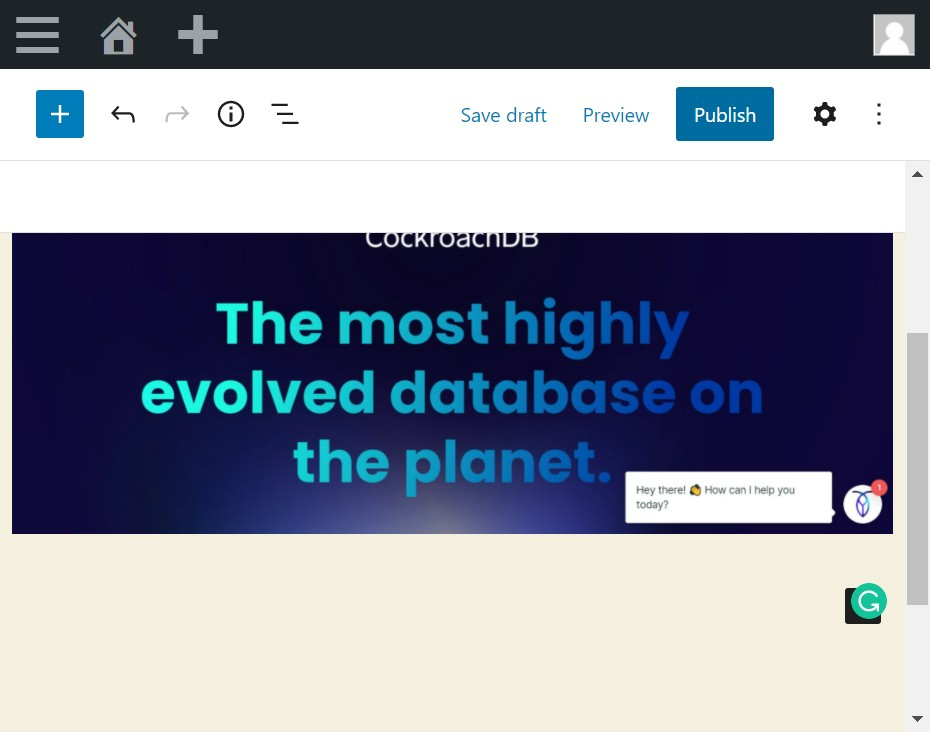
- When you are into rebuilding the gallery or the post, you have the opportunity to edit it as per your wish. Here you can click on the various options that are present under the gallery settings such as the link to columns, random order, size, etc., and make it more enhanced. You can also have the reverse order button utilized for dragging and dropping the images and ordering them as per the order that you want them to be in.
- Once you have completely edited it to satisfaction, select Insert gallery such that you can see a live preview of what your gallery looks like in the editor or the post that you are going to add to the site.
- If you still feel difficulty in making the changes in the gallery, then click directly on the gallery in the editor and you can click on the ‘pencil icon’ and return to the Edit gallery page and re-edit the gallery until you feel satisfied.
- Otherwise, you can publish the post normally like it is done every time to make it go live on your website.
More about the Image Gallery Plugins
You can also use plugins such as Jetpack to enhance your image gallery setup since Jetpack has an image gallery option, and excellent settings with dynamic support WordPress server has a writing tab that can specifically reach out to the media option, such that it is customized and it speeds up the images and photos makes tiled image galleries and the options many you can choose to have different galleries such as castles during the mosaic gallery and a lot some other plugins from WordPress to enhance the gallery are given below. WordPress Gallery Plugin – NextGEN Gallery – Image Gallery Plugin, Portfolio Gallery – Image Gallery Plugin, WordPress Image Gallery Plugin, and Customizable WordPress Gallery Plugin.
For more WordPress queries and activity guides in WordPress do check out this link:
To know more about the plugins and their functions or various types of optimizing the plugins, do check this:


Stuck Somewhere?
Connect With JustHyre
Hire WordPress Engineers for custom jobs like Website Customization, SEO Optimization, Clearing a Hacked Website, Installation & Configuration & more.
Connnect with JustHyre
0 Comments