How to Migrate WordPress From HTTP to HTTPS (Easy Beginner’s Guide)
Looking to migrate WordPress from HTTP to HTTPS?
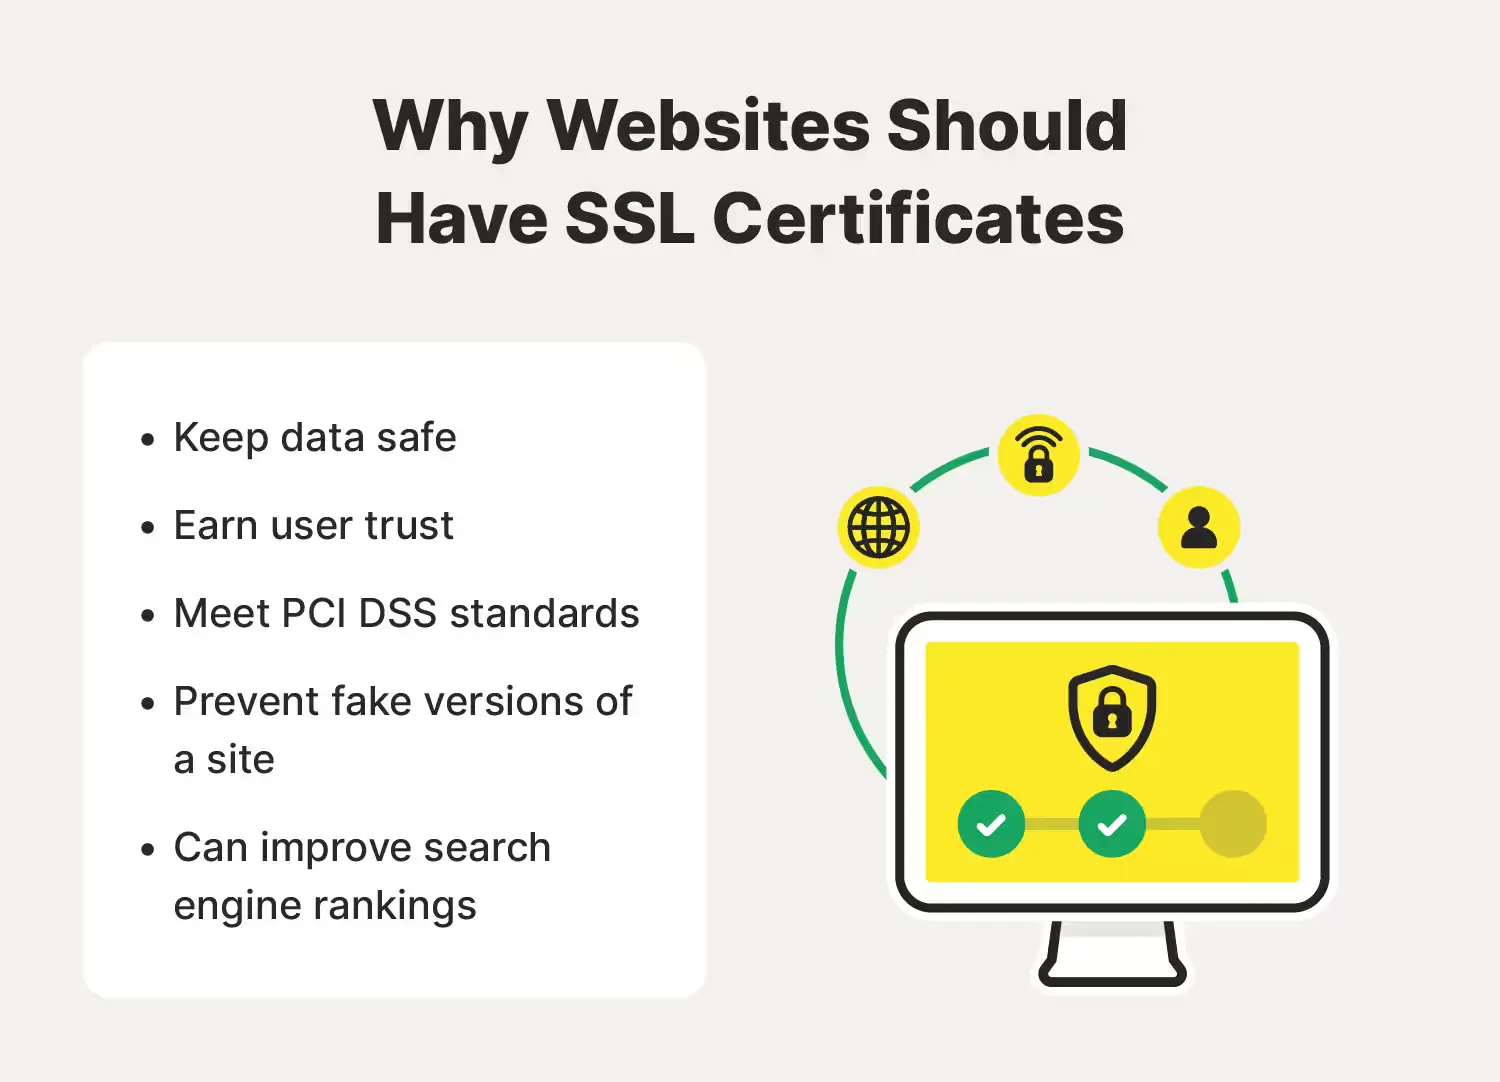
HTTP stands for Hypertext Transfer Protocol and is the standard protocol used for transferring data from a web server to a web browser. However, it is not encrypted and thus it operates over a plain text connection which means that the data movement is not secured. Encryption is the vulnerable aspect of HTTP that opens the door for information leaks, data modification, and middleman exception attacks.
HTTPS is an upgrade of HTTP which will bring security to the data being transferred by adding additional layers. It operates by supporting both SSL/TLS (Secure Sockets Layer/Transport Layer Security) encryption methods used to set up a secure link between the web server and the browser. This encryption assures that data transmitted between the server and the browser is encrypted and secure, keeping it safe from interception and manipulation by malicious actors.
Here, in this blog, we will take you through a detailed guide on how you can properly migrate WordPress from HTTP to HTTPS.
Steps to Migrate WordPress From HTTP to HTTPS
Step 1: Backup Your Website
The very first step to migrate WordPress from HTTP to HTTPS is to take backup. Before making any major changes to your website, make sure you take the backup of your database. This way, if any unknown error occurs like a technical error or any unexpected human error, you won’t lose your data.
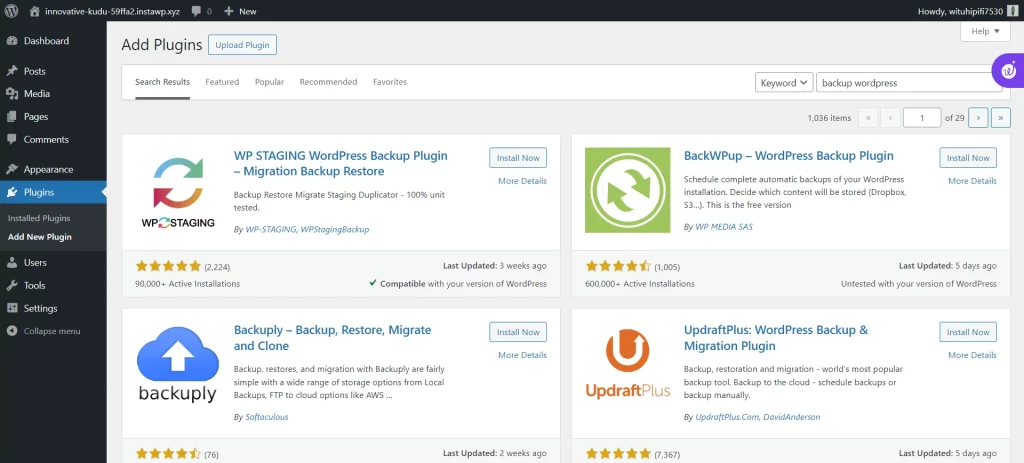
WordPress is loaded with the backup plugins. Identify your needs and evaluate plugins as per your requirements.
For a detailed guide on how to back up your WordPress website, read How to Backup WordPress Website? (4 Easy and Simple Steps). For a detailed guide on the top WordPress backup plugins, read Top 7 Best WordPress Backup Plugins (Compared)
Step 2: Implement Your SSL Certificate
The next step to migrate WordPress from HTTP to HTTPS is to have an SSL certificate. Once you have the website backed up, you proceed to purchase and install your SSL certificate. Here’s how you can do it:
- Choose an SSL Certificate: Determine what type of SSL certificate you need for your website. You may find SSL certificates among certificate authorities (CAs) that provide a variety of certificate types based on the security requirements of your website.
- Purchase or Obtain the SSL Certificate: Get an SSL certificate from a well-known CA or explore whether your hosting provider has free SSL certificates through services like Let’s Encrypt. Follow the instructions provided by the CA or your hosting provider to get the SSL certificate.
- Install the SSL Certificate: Depending on the particular hosting environment, the process of the SSL certificate can differ according to the case. You may need to get a CSR (Certificate Signing Request) from your server and then submit it to the CA. After that, you have to install the issued certificate on your server. Your provider of hosting services needs to have written or available instructions for the process, to help you during the installation.
Want to know how you can easily add a Bitcoin payment gateway to WordPress, read How to Add a Bitcoin Payment Gateway to a WordPress Website. (4 Easy Steps)
Step 3: Add HTTPS to the WordPress Admin Area
Now that you have an SSL certificate installed, you must configure your WordPress admin area to use HTTPS. Here’s how you can do it:
- Log in to Your WordPress Dashboard: Use your WordPress admin credentials to log in to the dashboard.
- Navigate to General Settings: In the WordPress dashboard, navigate to Settings > General.
- Update WordPress Address (URL) and Site Address (URL): In the General Settings page, you’ll be able to see the WordPress Address (URL) and Site Address (URL) fields. Replace “http://” in both fields to have an HTTPS-enabled WordPress admin area.
- Save Changes: Scroll down and click “Save Changes” to implement the changes.
Step 4: Update the Site Address
When you migrate WordPress from HTTP to HTTPS, you need to update your site address. HTTPS should be added to the WordPress admin area in the next step and the site address should be changed from HTTP to HTTPS in this step. Here’s how you can do it:

- Navigate to General Settings: While in the WordPress dashboard, click Settings > General otherwise.
- Update Site Address (URL): In the General Settings page search for “WordPress Address (URL)” and “Site Address (URL)” fields. Make sure that both fields use HTTPS instead of HTTP. Update any instances of “http://” with “https://”.
- Save Changes: Scroll down to click the “Save Changes” button to save your changes.
Want to add a PDF download button using Elementor? Read, How To Add PDF Download Button Using Elementor? (6 Easy Steps)
Step 5: Change Links in Your Content and Templates
The following step involves changing the site address and setting the admin area of WordPress to use HTTPS. Then all the internal links within your content and templates have to be updated to reflect the secure connection. Here’s how you can do it:
- Use a Plugin: WordPress has plugins such as ‘Better Search Replace‘ that help you to search and replace database URLs efficiently. Install and configure a plugin, and click Tools > Better Search Replace. Paste your old HTTP URL in the “Search for” line and your new HTTPS URL in the “Replace with” line. Choose the tables you will search and replace URLs in, and after that run the search and replace process.
- Manually Update Links: If you are a person who prefers to work carefully, you can see HTML links within your WordPress articles and templates and replace them with HTTPS alike. It includes modifying posts, pages, custom post types, and theme files. Make it a regular practice for you to revise links in content, images, scripts, style sheets, and any other resources accessed on your website.
Make sure you change the links in your content and template when you migrate WordPress from HTTP to HTTPS.
Step 6: Implement 301 Redirects in .htaccess
Using 301 redirects from HTTP to HTTPS makes all traffic go through to the secure version of your website. Here’s how you can implement 301 redirects using the .htaccess file: Here’s how you can implement 301 redirects using the .htaccess file:
- Access Your .htaccess File: Utilize the File Transfer Protocol (FTP) client or file manager in your hosting control panel to locate and edit the .htaccess file of your WordPress installation.
- Add Redirect Rules: Place the next redirect rules at the very beginning of your .htaccess file:
<IfModule mod_rewrite.c>
RewriteEngine On
RewriteCond %{HTTPS} off
RewriteRule ^(.*)$ https://%{HTTP_HOST}%{REQUEST_URI} [L,R=301]
</IfModule>- Save Changes: Once you add the redirect rules, save those changes to your .htaccess file, and if your server needs to be reloaded, upload the newly edited file.
- Test Redirection: To ensure the redirection works, go to your website with the HTTP address. The browser will redirect to the HTTPS URL automatically.
For an in-depth guide on choosing a WordPress theme, read How to Choose a WordPress Theme? (7 Easy Steps).
Step 7: Test and Go Live
Before you bring an HTTPS-powered website to life, you must test it thoroughly to ensure everything functions properly. Here’s what you should test: Here’s what you should try:
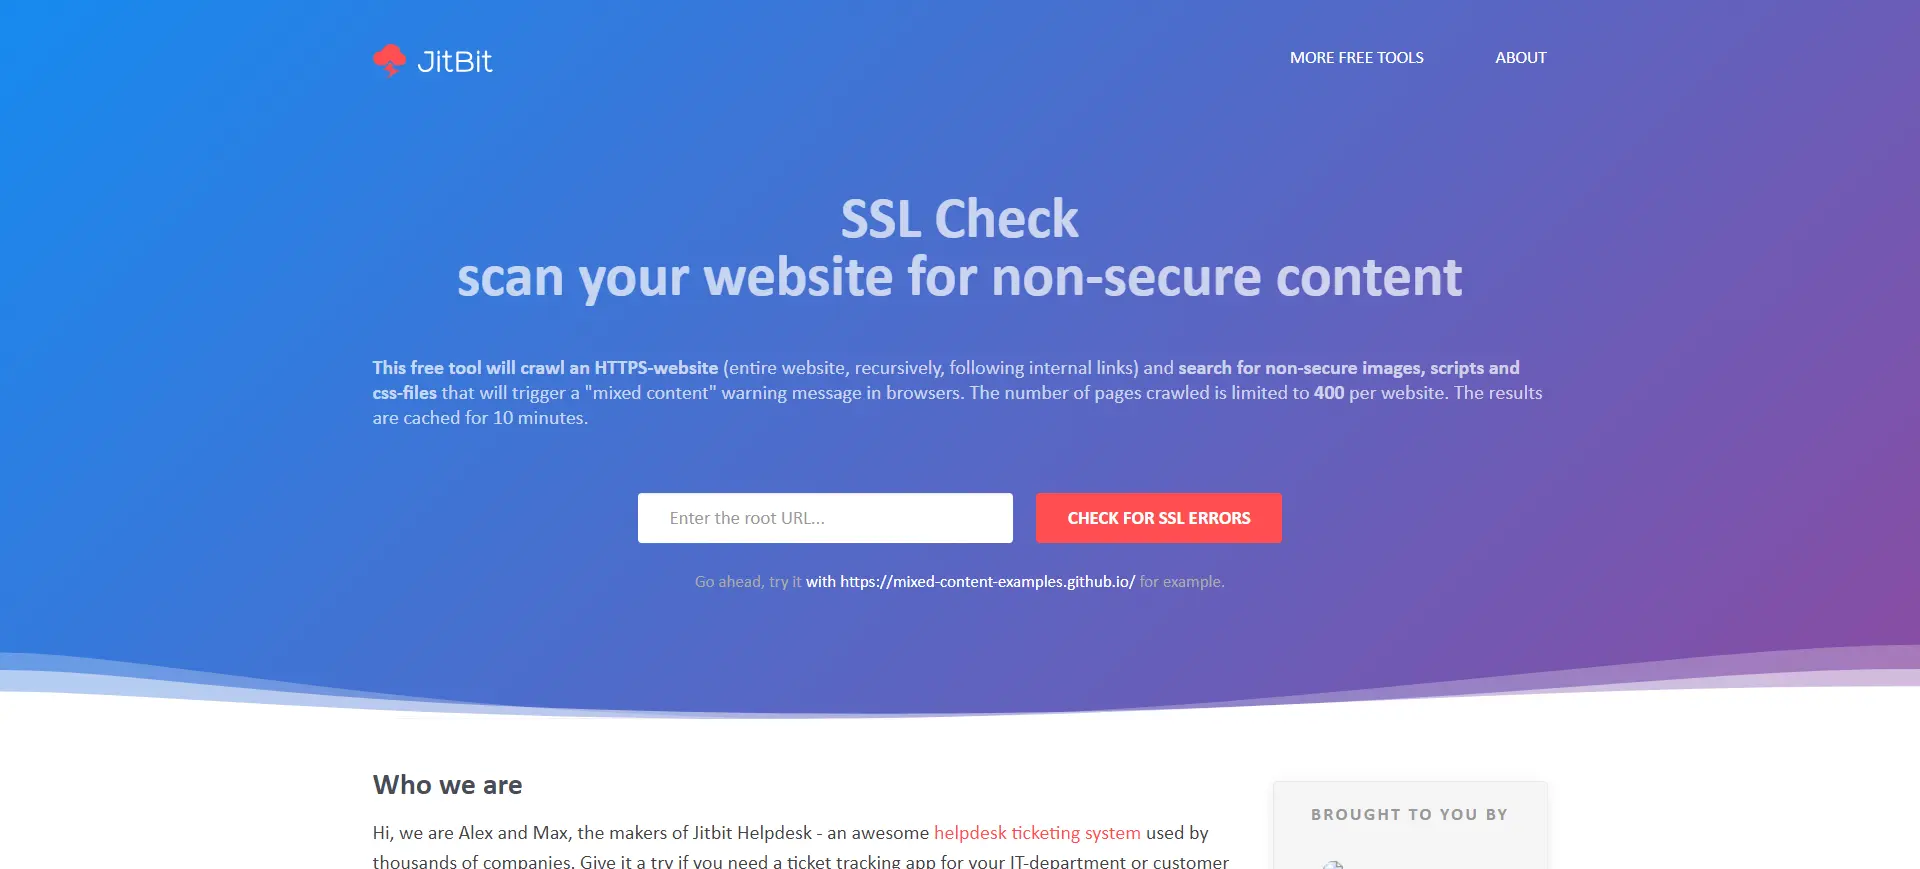
- Mixed Content: Ensure that the browsers do not allow you to receive mixed content warnings. Intangible content can be caused when your website uses the script, image, or style sheet resources over the HTTP protocol instead of HTTPS. Change the last HTTP references into HTTPS to prevent mixed content problems.
- Broken Links: Ensure that all your internal and external web links are working and redirect to the appropriate HTTPS URLs.
- SSL Certificate Installation: Take care that the SSL certificate was successfully installed and that your website’s content is sent securely over HTTPS.
- Functional Testing: Build all the website functionality like forms, navigation menus, search functionality, and interactive elements, and make sure that they are all working as expected through HTTPS.
Finally, when testing your website under HTTPS is finished and it works fine, your DNS settings will be changed to allow your HTTPS version of the website which is now live.
Step 8: Update Your Site Environment:
The last step to migrate WordPress from HTTP to HTTPS is to change the site environment. Here are some additional considerations:
- Update CDN Configurations: If you are using a content delivery network (CDN) to make your site faster, make sure that your CDN configuration is enabled, and that the CDN content is delivered over HTTPS.
- Update Google Analytics and Search Console: Have your Google Analytics and Google Search Console settings updated so that your site’s performance can be checked and its search engine visibility monitored through HTTPS.
Concluding Everything
We hope this blog has helped you migrate WordPress from HTTP to HTTPS. This way you can create a secure and seamless browsing experience for your visitors while maintaining the website functionality.
If you like reading this blog, also read How to Create a WordPress Blog in 2024 (Beginner’s Guide), How To Update A Theme On WordPress? 3 Easy Ways, and Top 7 Best WordPress Backup Plugins (Compared).


Stuck Somewhere?
Connect With JustHyre
Hire WordPress Engineers for custom jobs like Website Customization, SEO Optimization, Clearing a Hacked Website, Installation & Configuration & more.
Connnect with JustHyre
0 Comments