How to Add Columns to the WordPress Website? (3 Easy Methods)
Looking for a way to create columns for the WordPress website?
Columns are a great way to organize your content. The practice of arranging content in columns dates back to the early days of the printing press. Columns help you give an effective reading experience to the users.
However, creating a multi-column layout page or post can be a little tricky. Fortunately, with WordPress, there are several easy ways with which you can add columns to the WordPress website. But before that let’s have a look at why you need columns.
Key Takeaways
- Columns are an impressive way to organize your website’s content.
- If you want a very basic column layout with not too much customization, then you can easily add columns using a classic WordPress block editor.
- For more customization, you have additional columns using a page builder like Elementor and plugins like Column Shortcodes.
Why Add Columns to the WordPress Website?
One of the very good ways to display your WordPress content is to have columns. They can be beneficial in several ways. For example, if you wish to display WordPress posts in 2 columns, you can use columns for a side-by-side comparison or analysis. Columns make your website organized and well-arranged.
By organizing your content into proper columns, you can highlight important information and make your content more readable and easier to browse.

How to Add Columns to the WordPress Website?
With WordPress, you can easily create content in many different ways and also customize it in a way that aligns with the design of your website. Here, we have listed two different methods with which you can easily add columns to the WordPress website.
Method 1: Using WordPress Gutenberg Block Editor
The very first method is to add columns to the WordPress website from the direct WordPress Block Editor. By default, WordPress also has column blocks. Using that, you can effortlessly add multiple columns to the WordPress website.
Now, let’s add the column to your page or post.
Step 1: Add Columns Block
To do that, first, go to the page or post where you wish to add columns. Then, just like we add other WordPress blocks, click on the (+) icon and search for “Columns’ in the search field.
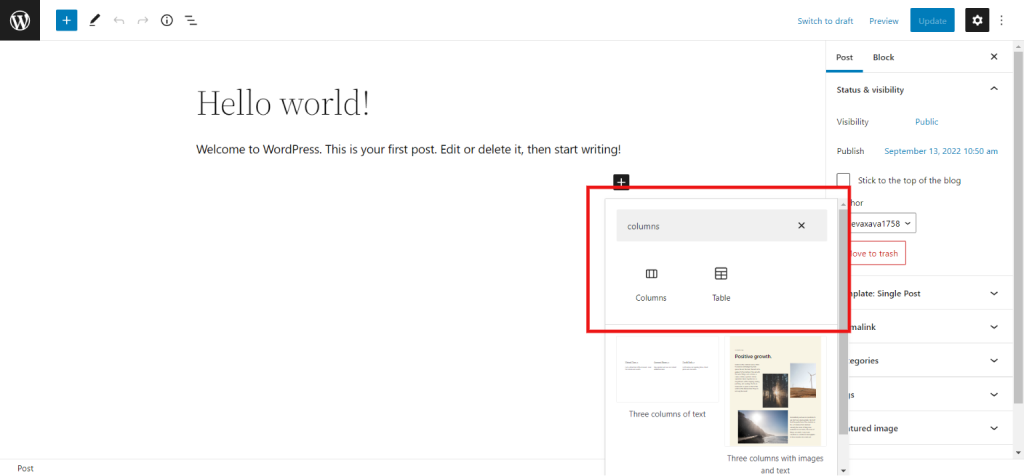
Insert the column block and select the variation to which you wish to add your content. There are 5 different options for you to select. Select the one that goes for your content.
Step 2: Add Content to the Columns
Once done with inserting the columns layout, it’s time to add content to your columns. You can add content by clicking on the (+) sign inside the columns. Here, you can add any type of content like an image, paragraph, heading, or anything, just like you add to your regular block.
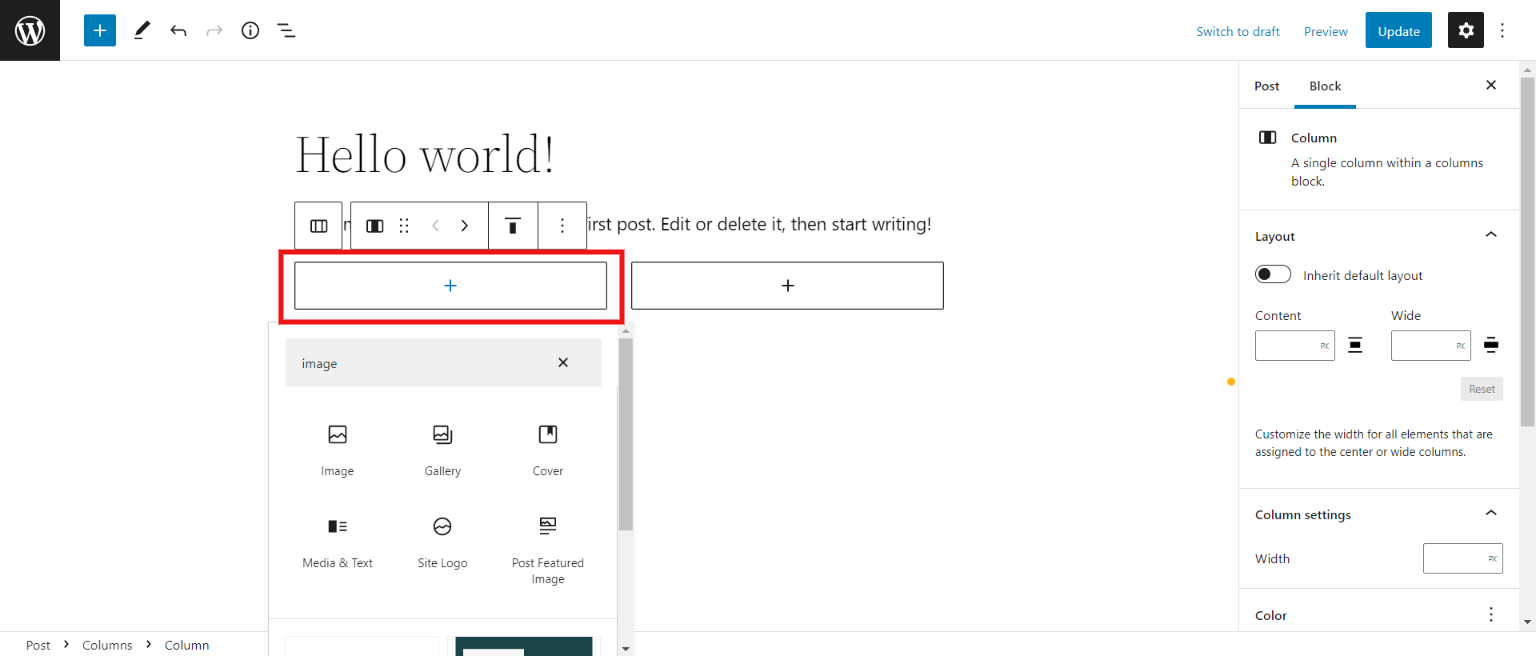
Step 3: Customize the Columns
Now to customize the column, click on the whole column and you will see the column settings on the right side of the interface. Here, you can change the color and text and also change the layout of columns.
There you will have your columns created from your WordPress block editor. This method is good if you don’t need too much customization and if you wish to have simple columns. But for more customization, you will need to add columns to the WordPress website using plugins.
Method 2: Using Elementor
To add columns to the WordPress website, we suggest you use Elementor. Elementor is one of the most popular and supportive page builders using which you can easily ass columns to your website. Elementor has everything from creating full-fledged WordPress websites to creating stunning post layouts.
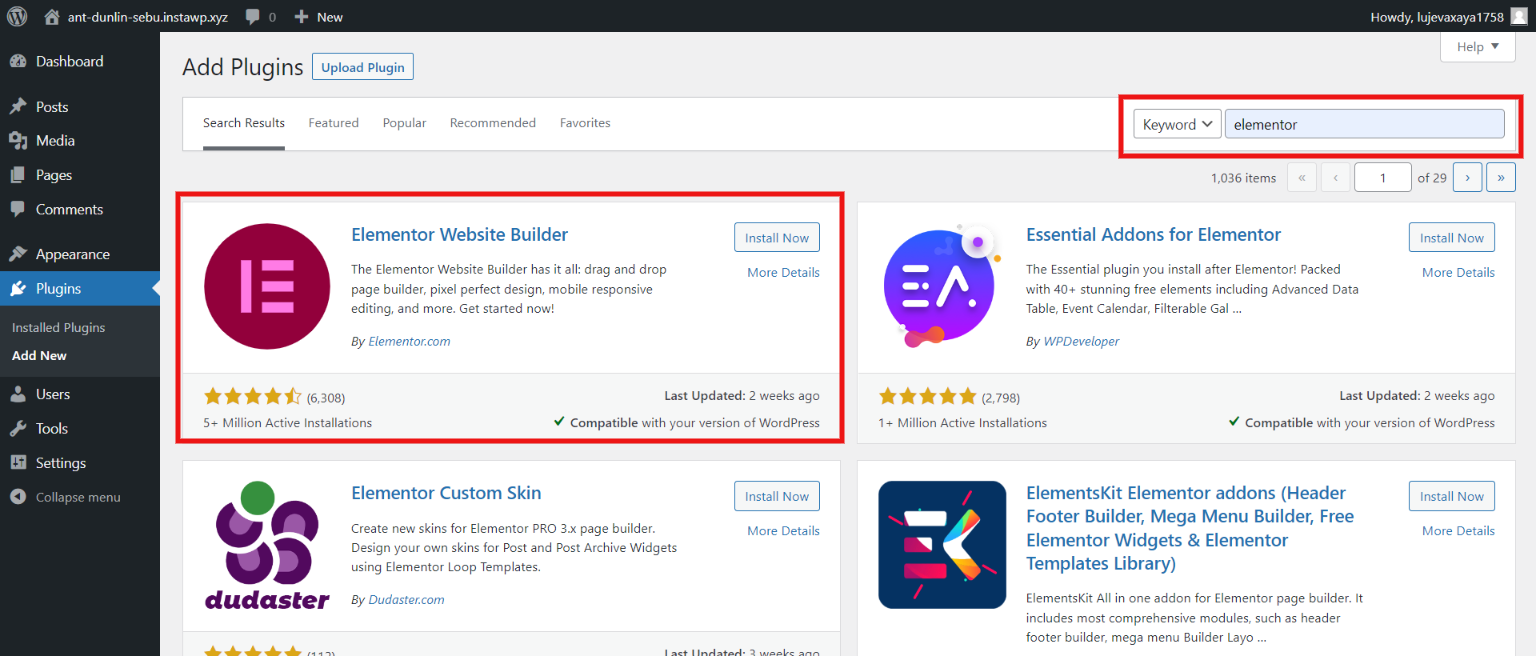
Step 1: Download and Install the Elementor
To create columns using Elementor, first, you need to download it. For that, go to the “Plugins” from the admin dashboard sidebar. Next, search for the “Elementor” plugin and install it.
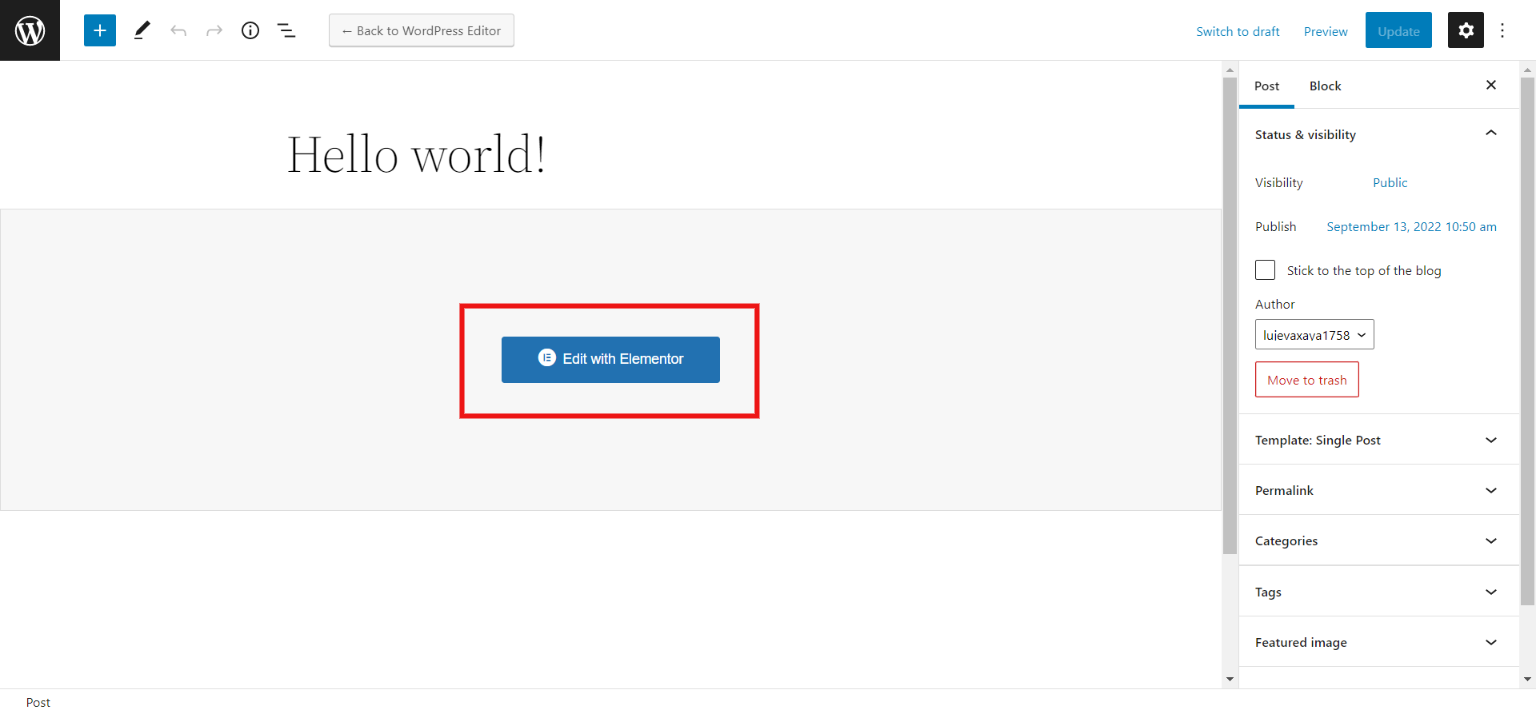
Step 2: Edit With Elementor
Once done with activation, go to the page or post where you want to create a column. One of the biggest benefits of using Elementor over a classic block editor is that Elementor helps you showcase your designs in a very stunning way.
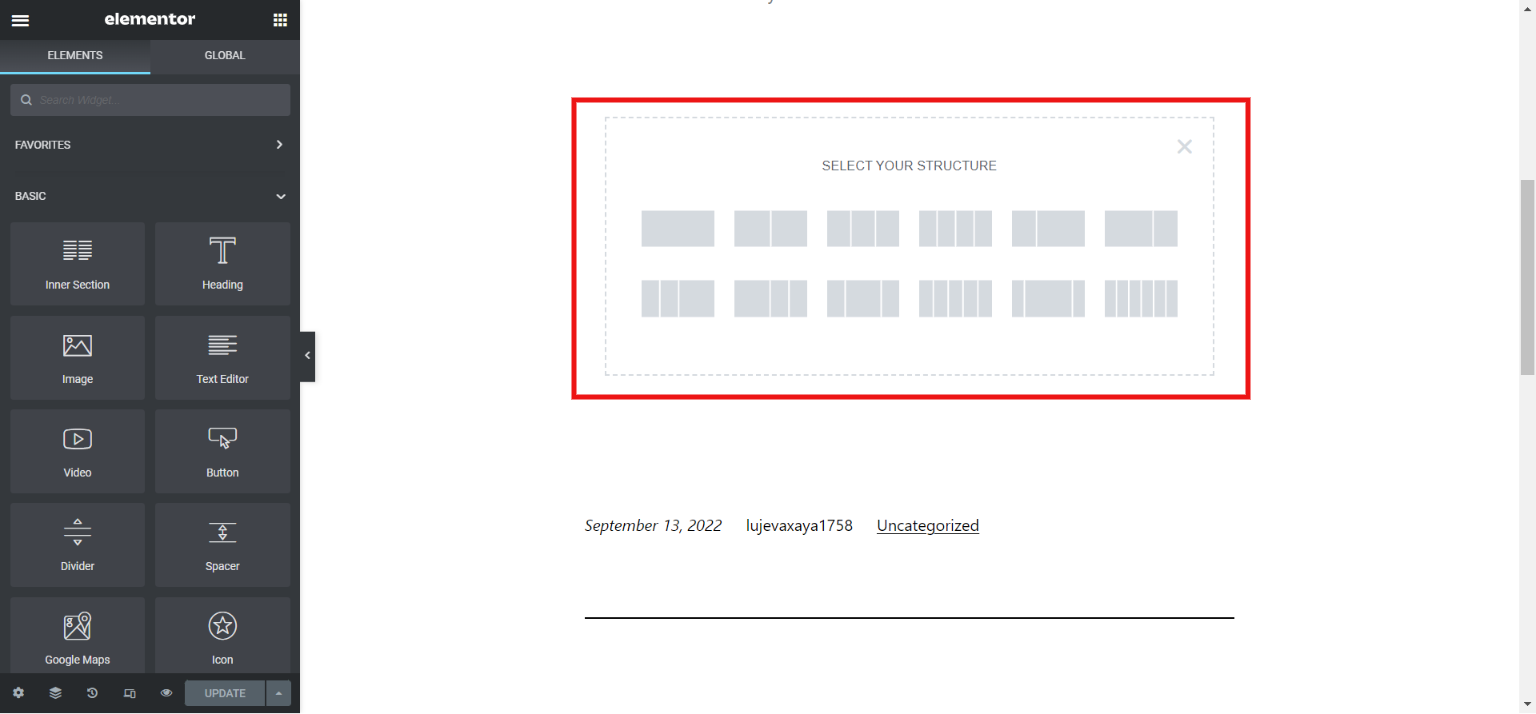
Step 3: Select the Column Structure
Next, select the structure of your post or page or you can also drag and drop the column widget. In addition to adding columns to your webpage or post, you can customize the look and feel of the respective columns of the website.
Step 4: Customize the Column
You can style the column by playing around with size color, margins, borders, hover effects, background, layouts, advanced margins, overlay effects, and so on.
You can also duplicate the columns and use them somewhere else on your website. Also, all the columns created with the Elementor are responsive.
Method 3: Using WordPress Column Shortcodes
This Column Shortcodes plugin is another amazing WordPress column plugin that offers you customization. To create columns using Shortcodes, follow the below-mentioned steps:

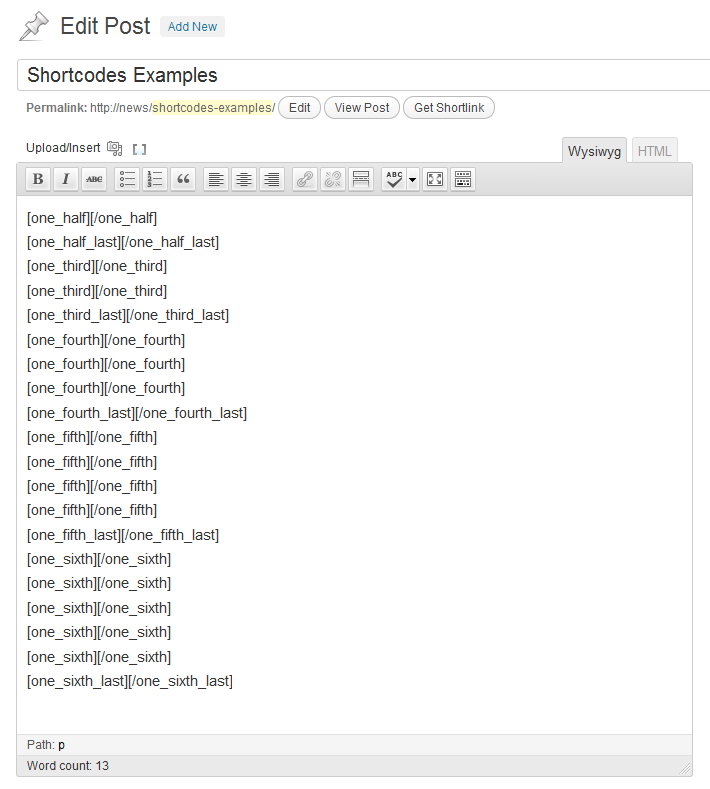
Step 1: Copy Shortcodes
Go to the “Settings Page” and copy the relevant shortcode from the WordPress admin panel.
Step 2: Insert Column
Now, go to the page or post where you wish to insert the column. Paste the shortcode where you want to place the column.
Step 3: Customize the Column
Customize it by changing the width or height code which you can see in the plugin’s instructions.
Step 4: Preview
Add the other columns as well and review them by clicking on the “Preview” button.
FAQs
1. Why do you need columns on a WordPress website?
Columns are an excellent way to organize your content on the website. They are great for any comparison blog or you can also use columns in creating a pros and cons list.
2. How do I add columns in WordPress?
There are various ways to add columns in WordPress. If you don’t want any extraordinary customization, you can directly add columns from the classic WordPress editor. But for good customization options, you can opt for plugins like Elementor and Columns Shortcodes.
3. How to customize columns in Elementor?
Click on the (+) icon to add content to your column section. Next, you will find various styling options on the right side of the interface like color, background color, padding, margin, typography, and more.
Wrapping Things Up
And that’s not for this blog. Columns are a very versatile way to organize text, images, and other content. Here, we have listed three different with which you can easily add columns to the WordPress website. But if you get stuck somewhere you can hire a WordPress engineer from JustHyre.
If you like reading this blog, we suggest you read our other blogs on How To Edit WordPress Template Files. 3 Easy Methods and How to Add a Pros and Cons Table in WordPress? (3 Easy Steps).


Stuck Somewhere?
Connect With JustHyre
Hire WordPress Engineers for custom jobs like Website Customization, SEO Optimization, Clearing a Hacked Website, Installation & Configuration & more.
Connnect with JustHyre
0 Comments