How To Change Logo Image In WordPress? 9 Easy Steps
A logo is the best way to display your website’s brand identity. In this article, we are going to explain how to change logo images in WordPress the placement and the size of the WordPress logo are decided by the theme that you have selected. You can, however, use custom CSS code to make changes to the default theme style.
How To Change Logo Image In WordPress?
Step 1: Log into your WordPress admin dashboard.
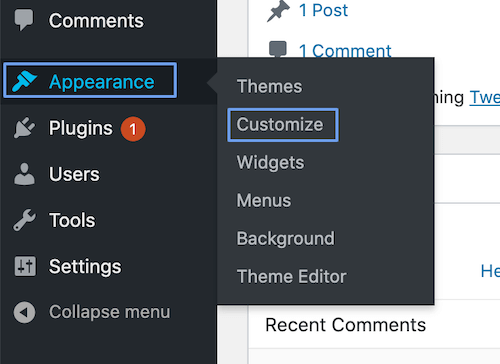
Step 2: From the left pane, click Appearance > Customize.
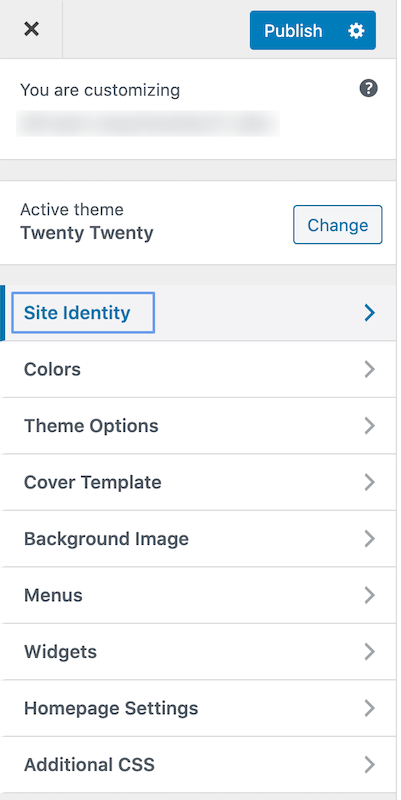
Step 3: You will now see the WordPress Customizer. Click Site Identity.
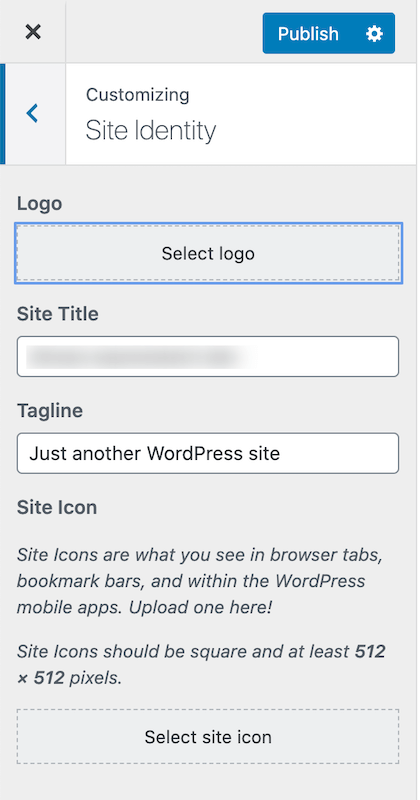
Step 4: Click Select Logo.
Article Related Links : Site Title or Site Icon.
Step 5: Click Select Files to browse and select an image from your computer. You can also drag and drop the logo image here.
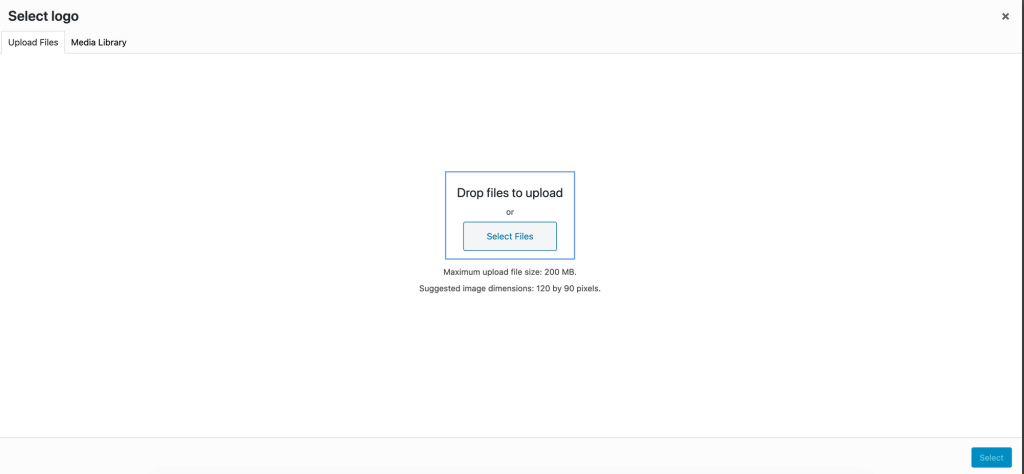
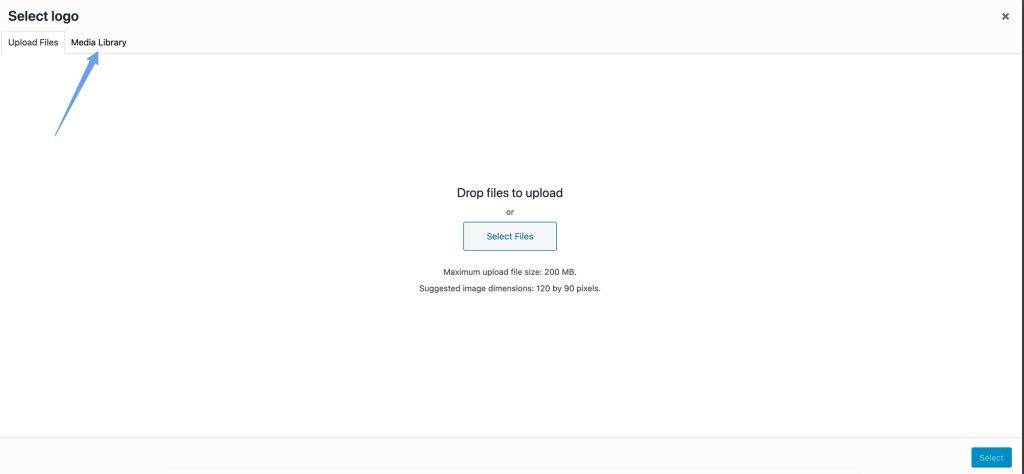
Step 6: If you already have the logo image in the media library, click the Media Library tab. You can browse or search to find your logo image here.
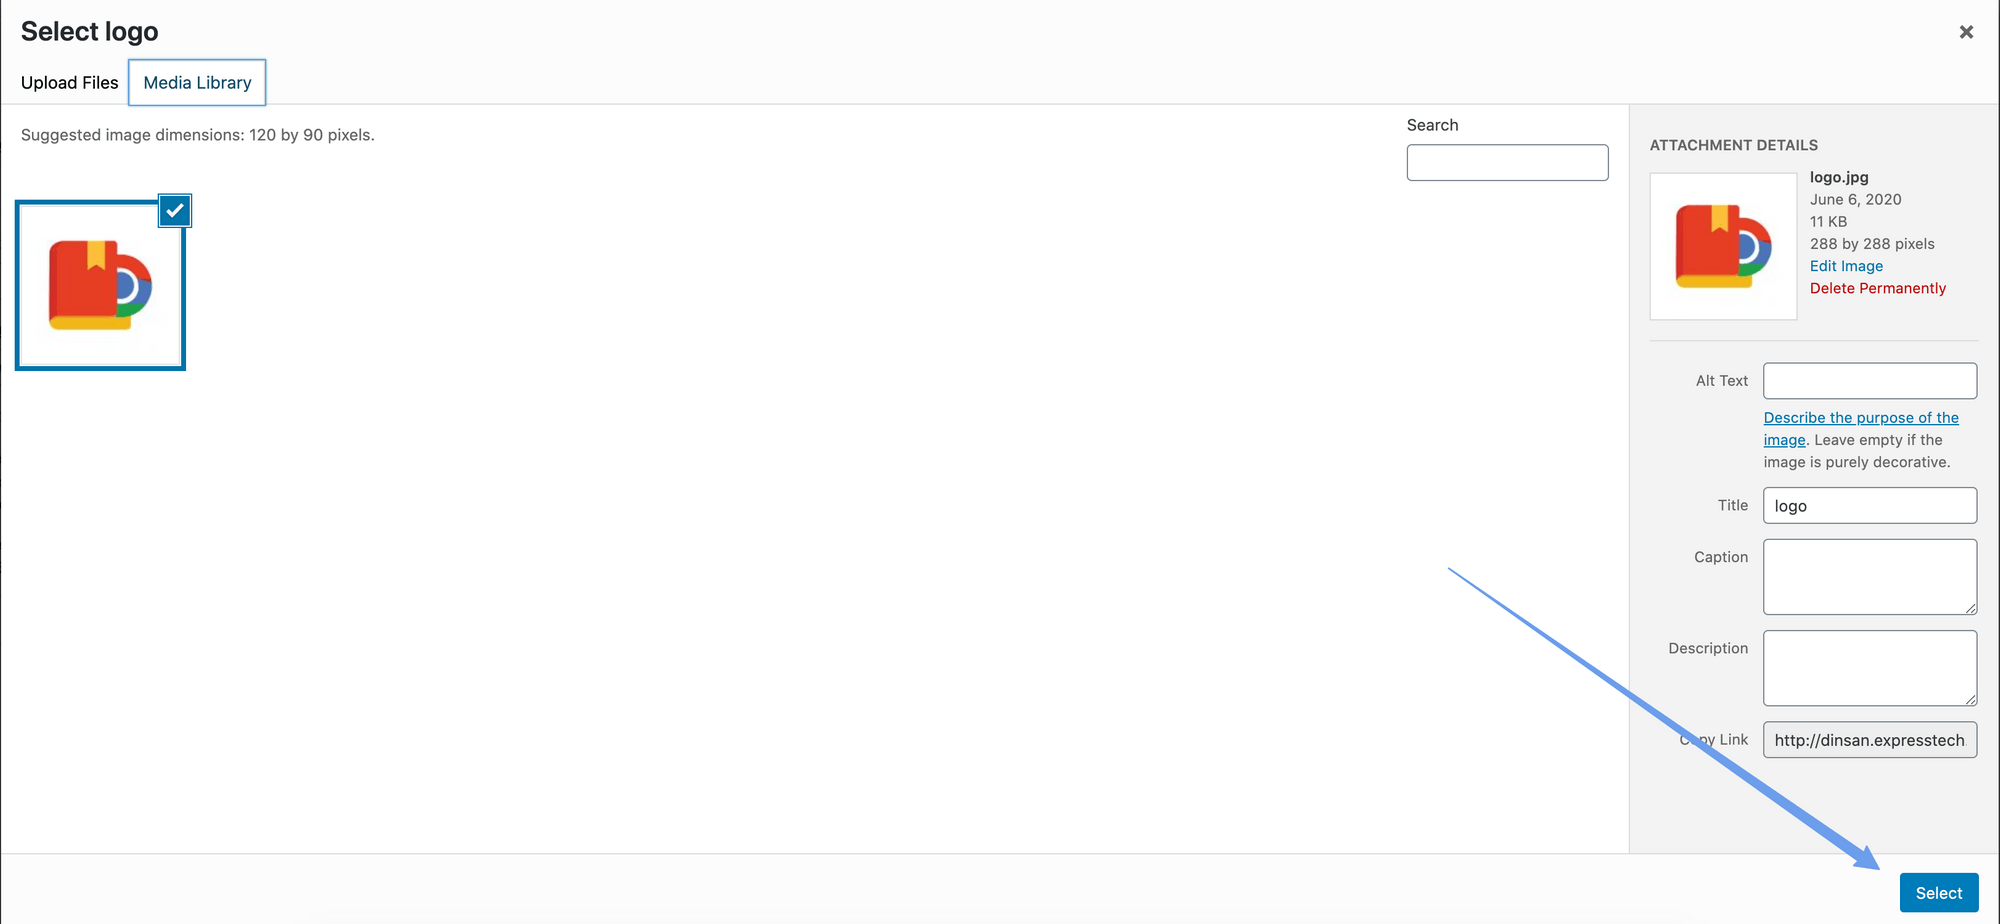
Step 7: Click Select to continue.
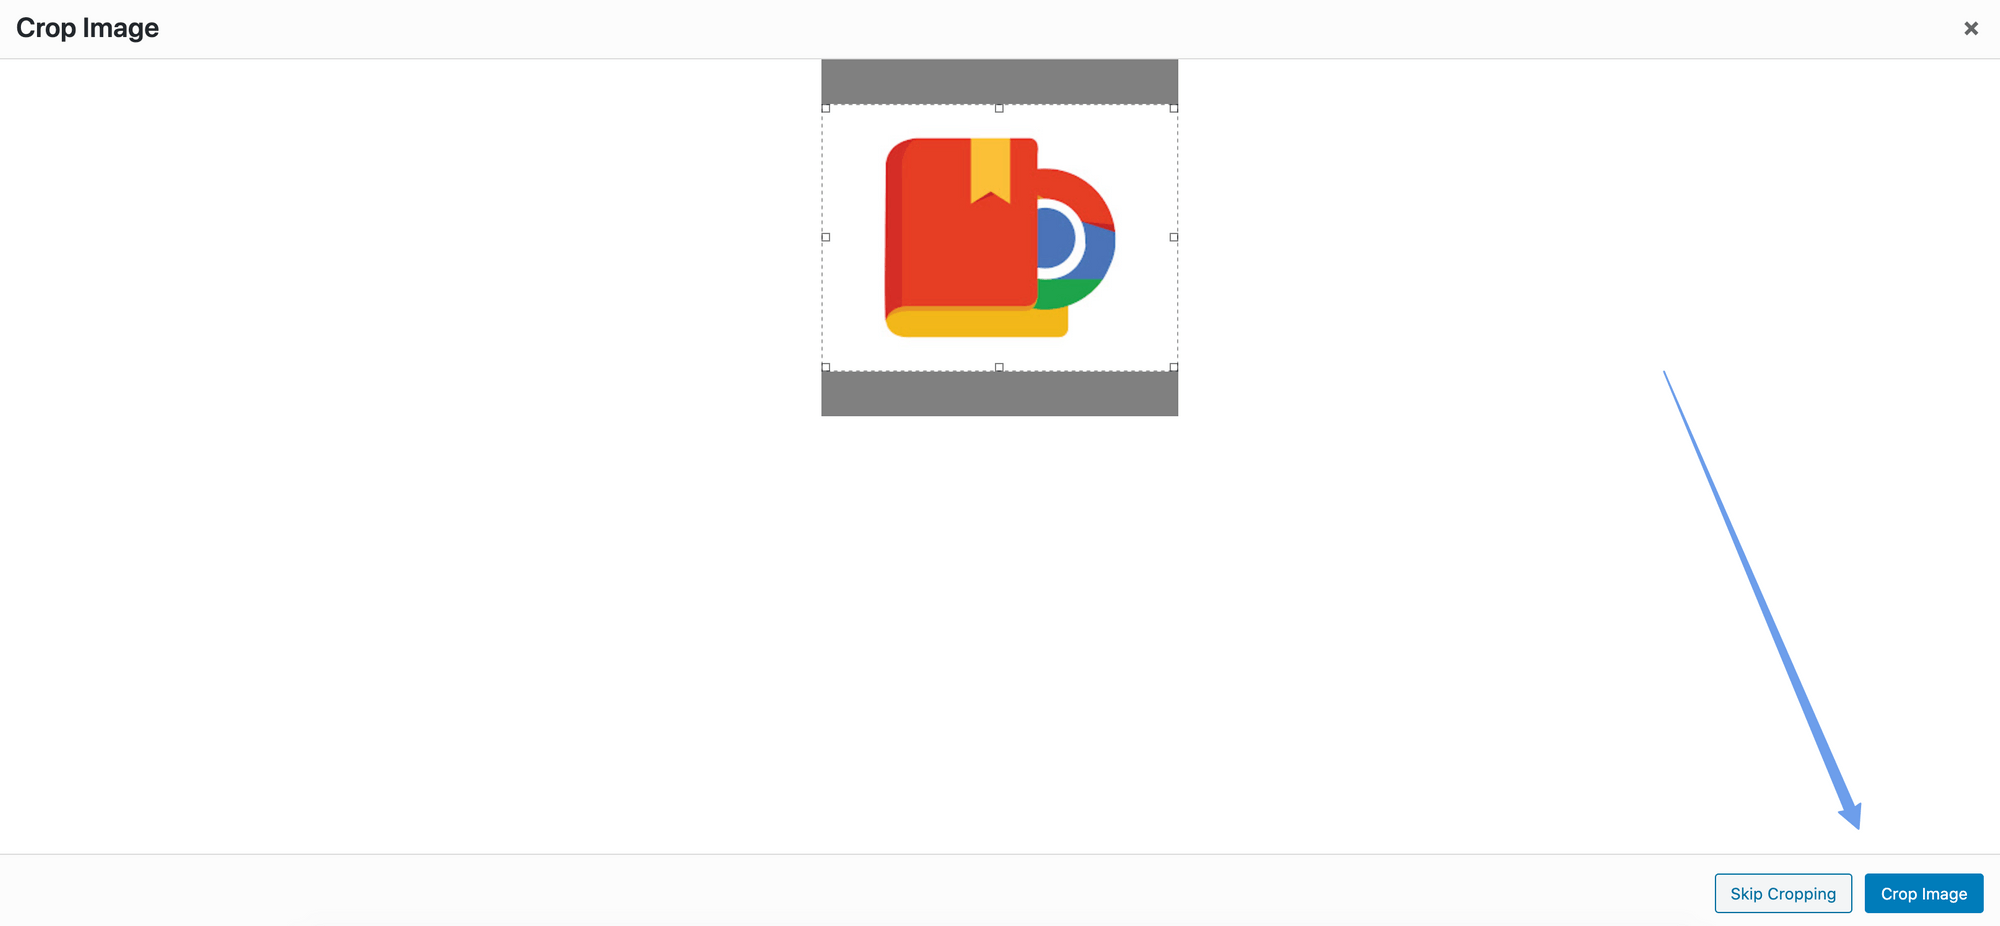
Step 8: On the Crop Image screen, click and resize the image if required. Click Crop Image. If you do not want to crop the image, click Skip Cropping.
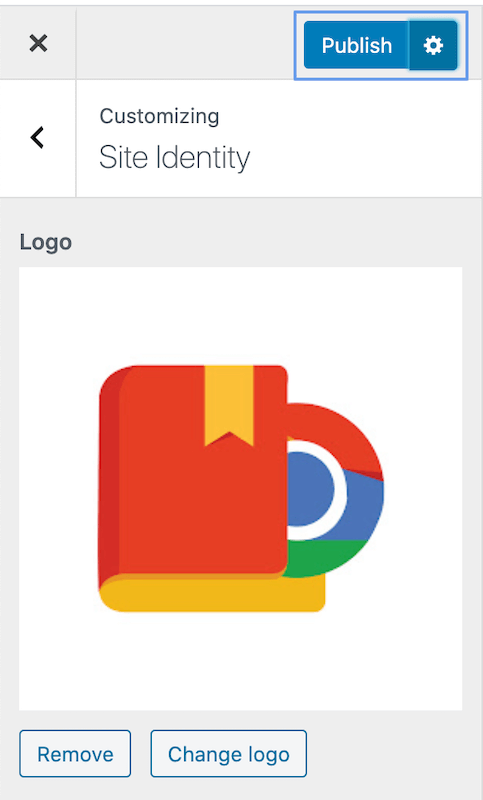
Step 9: You will now be redirected to the Customizer, with the new logo selected. Click Publish to apply the changes to your website.
Schedule Logo Change
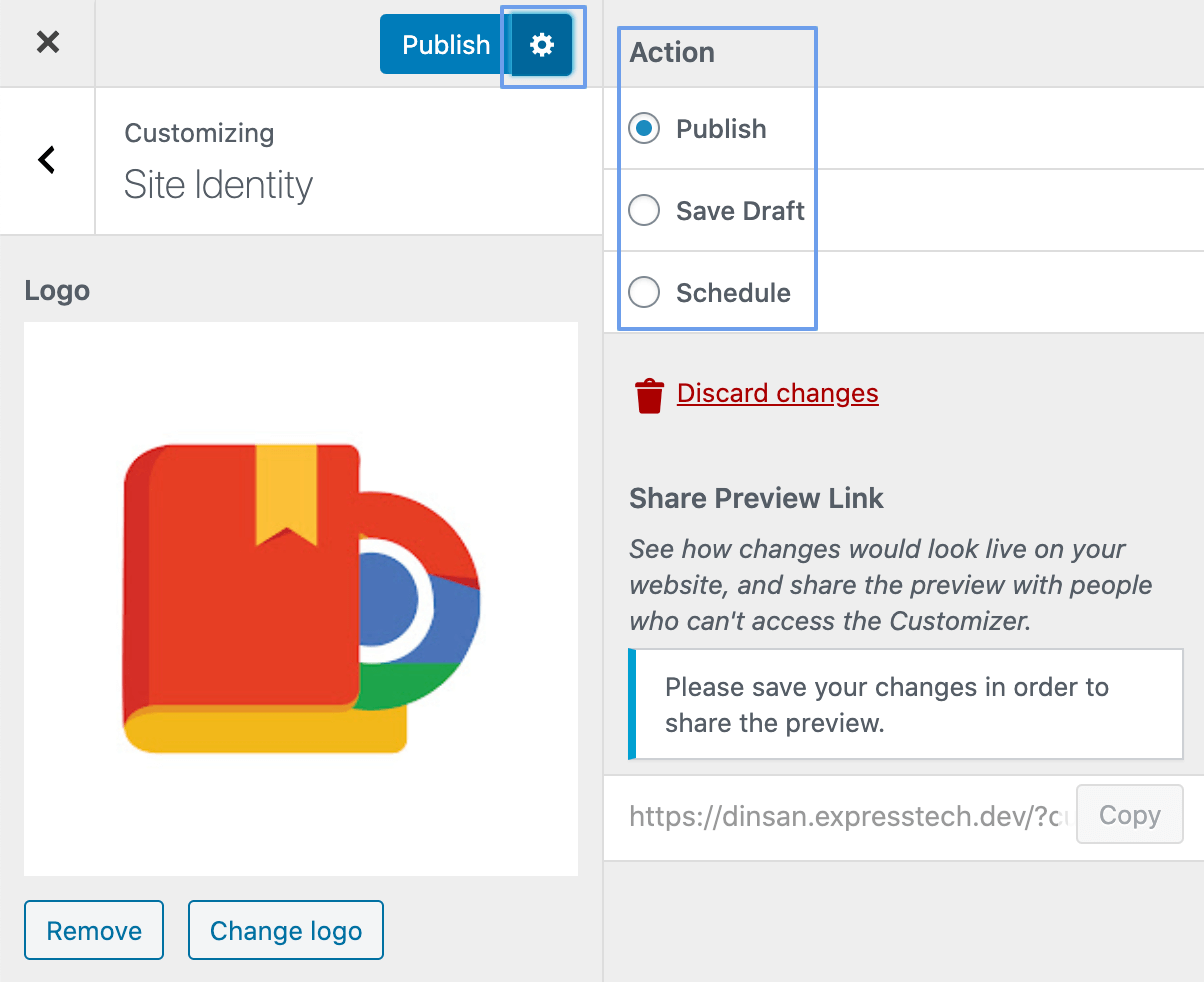
The Customizer in WordPress allows you to make design and layout changes and publish them with a single click. However, you can either save your changes to continue editing later or schedule the changes to automatically publish at a later date and time.
If you want to save this change as a draft or schedule it to go live at another time, click the gear icon next to Publish.
Customizing Logo In WordPress
There are two main ways to customize logos in WordPress.
Theme options: If your theme provides additional options for the logo, you can use these to customize it. For example, your theme might allow you to change the width of the logo from the Customizer.
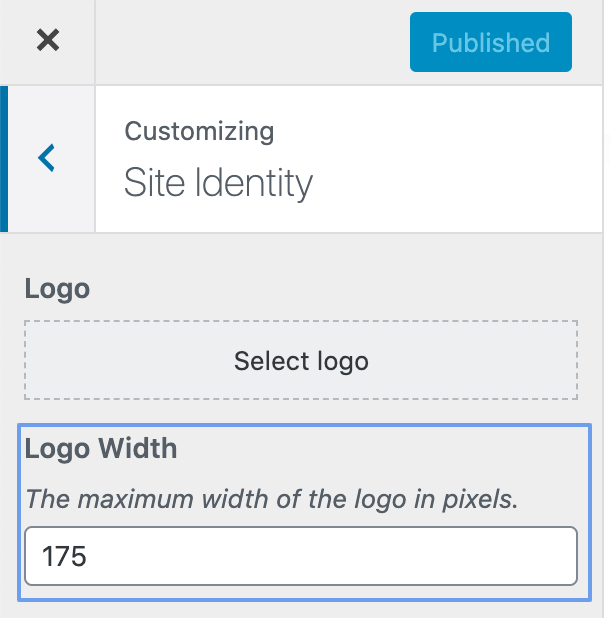
Custom CSS: Another way to customize your logo is by using CSS code. Find the CSS class for the logo using your browser’s Inspector. Apply custom CSS code to this class to customize your logo.
Removing Logo in WordPress
Now that you know how to change your WordPress site’s logo, let us look at how to remove the logo completely.
To remove the logo:
- Open the WordPress admin dashboard.
- Click Appearance > Customize > Site Identity.
- Click Remove below the current logo.
- Click Publish.
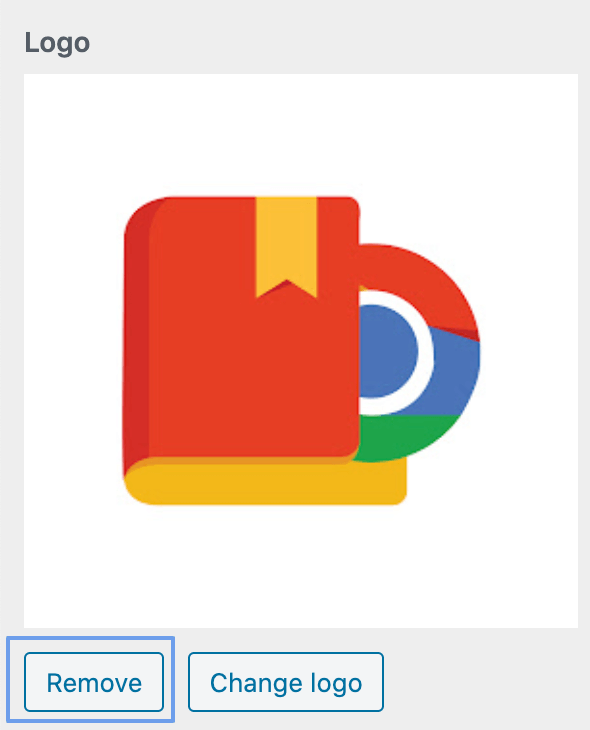
Clear the cache and visit your website again. The logo should be removed.
Stuck Somewhere?
Connect With JustHyre
Hire WordPress Engineers for custom jobs like Website Customization, SEO Optimization, Clearing a Hacked Website, Installation & Configuration & more.
Connnect with JustHyre


0 Comments