How to Change Favicon in WordPress Site? 5 Easy Steps
WordPress gives very easy and simple steps to change Favicon or set Site Icon.
There is something important, you need to know before jumping in.
Log in to your WordPress site installation as an Administrator. No other roles like Editor or Contributor etc. can perform this activity.
According to WordPress “Site Icons should be square and at least 512 × 512 pixels”, Of course, image cropping is also available for large images in WordPress.

5 Steps to Change Favicon or Set Site Icon
Step 1: Log in to your WordPress site as an Administrator.
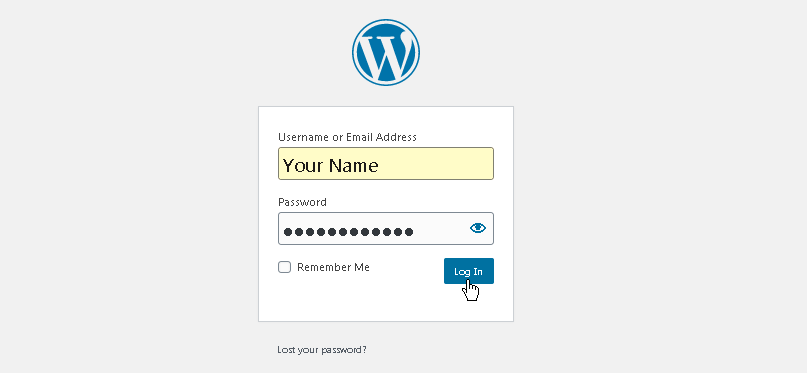
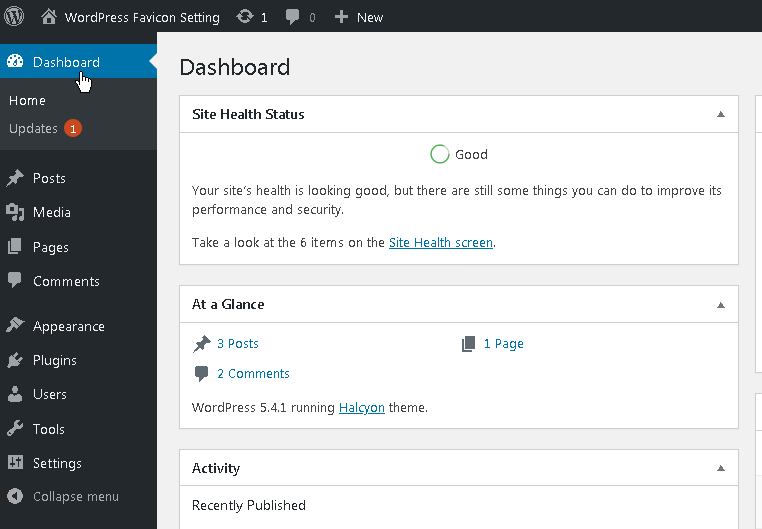
And get access to your site’s Administration Screen. It should look like this:
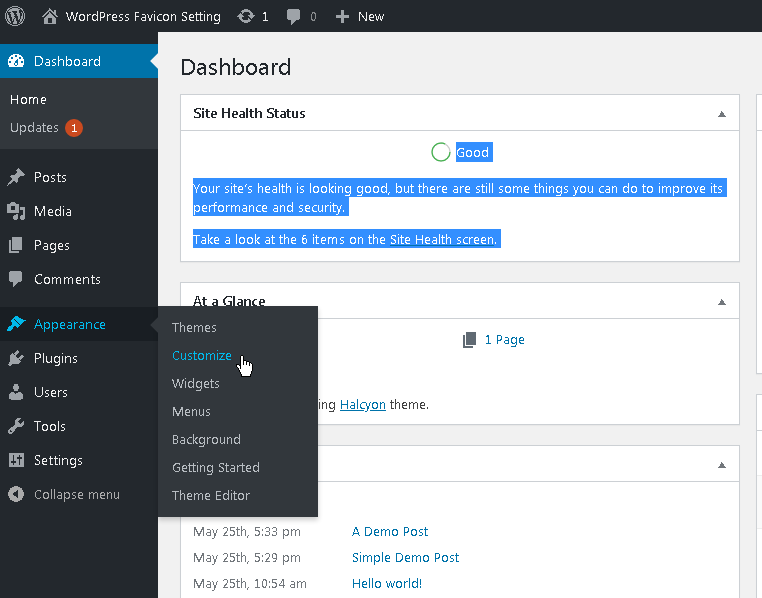
Step 2: Go to the Customize option
Now in the Main Navigation menu (black colored, left SideBar ) click on Appearance > Customize sub-option.
Now you are on the WordPress Customizer screen.
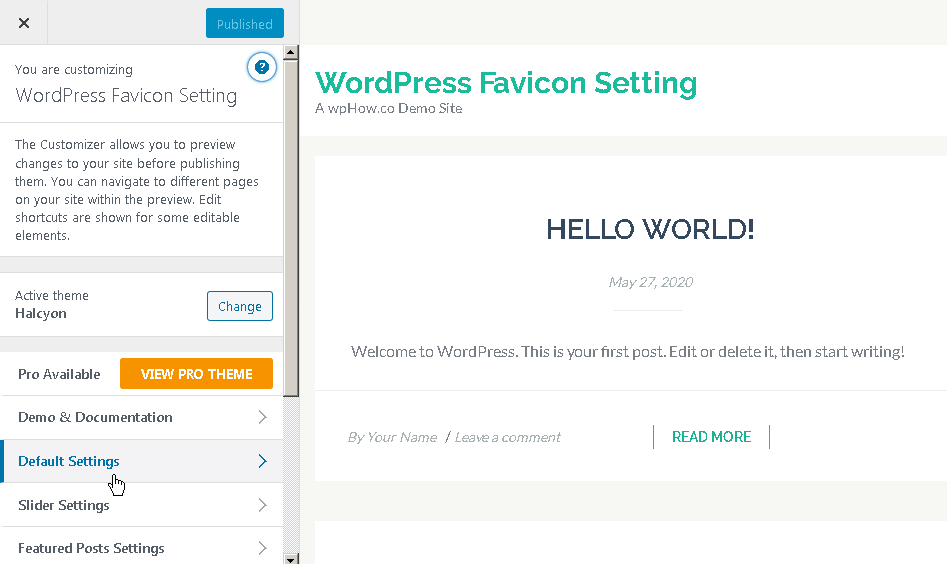
Click on the Default Setting option to get the Site Identity option. (Generally, Site Identity may be as a parent option)
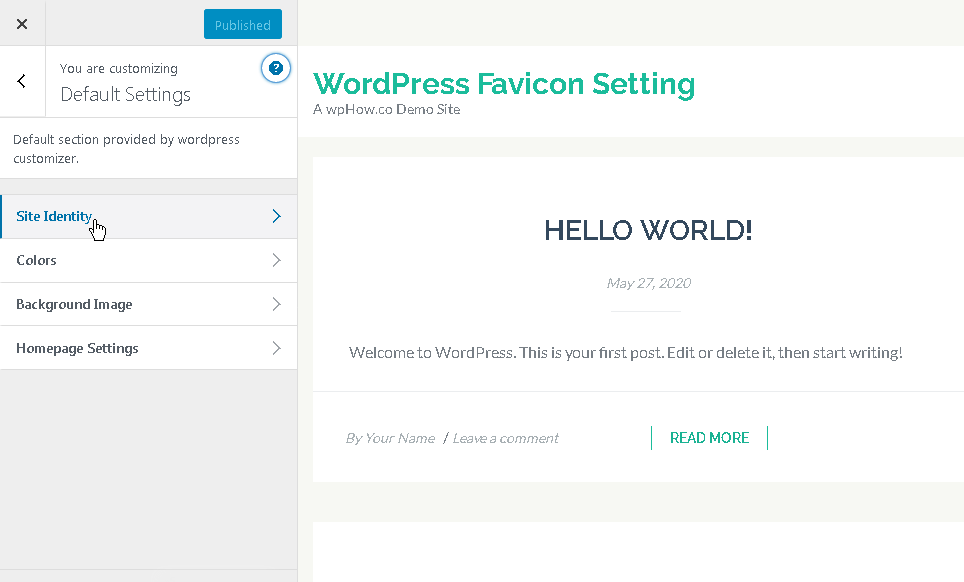
Step 3: Navigate to Site Identity
Click on the Site Identity option. Select the Site Icon option (Last Option) in the left-hand panel is the WordPress site icon aka Favicon selecting an option.

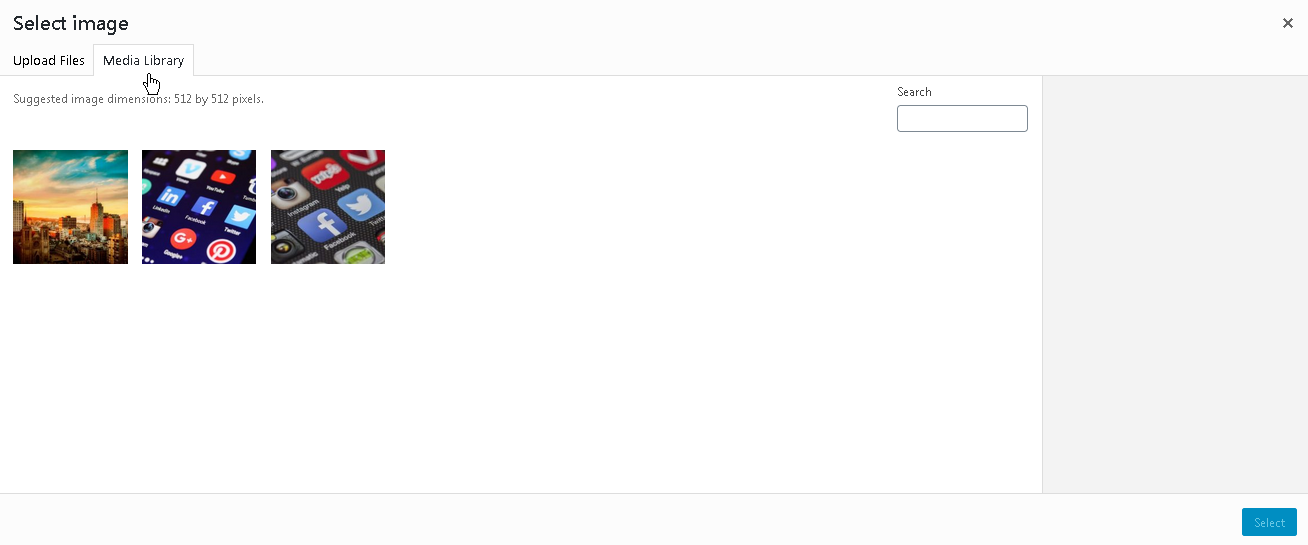
Click on the Select Site icon. Now select the image screen that will appear with two options Upload Files and Media Library.
Step 4 : Upload Favicon
Upload Files – Here someone can upload a new image by selecting or dropping the image in the work area.
Media Library – If images are already added to the Media Library then the option Media Library can be chosen.
If someone opts for the Upload Files option and selects any image then the selected image will appear immediately in Media Library with some setting options. It will look like…
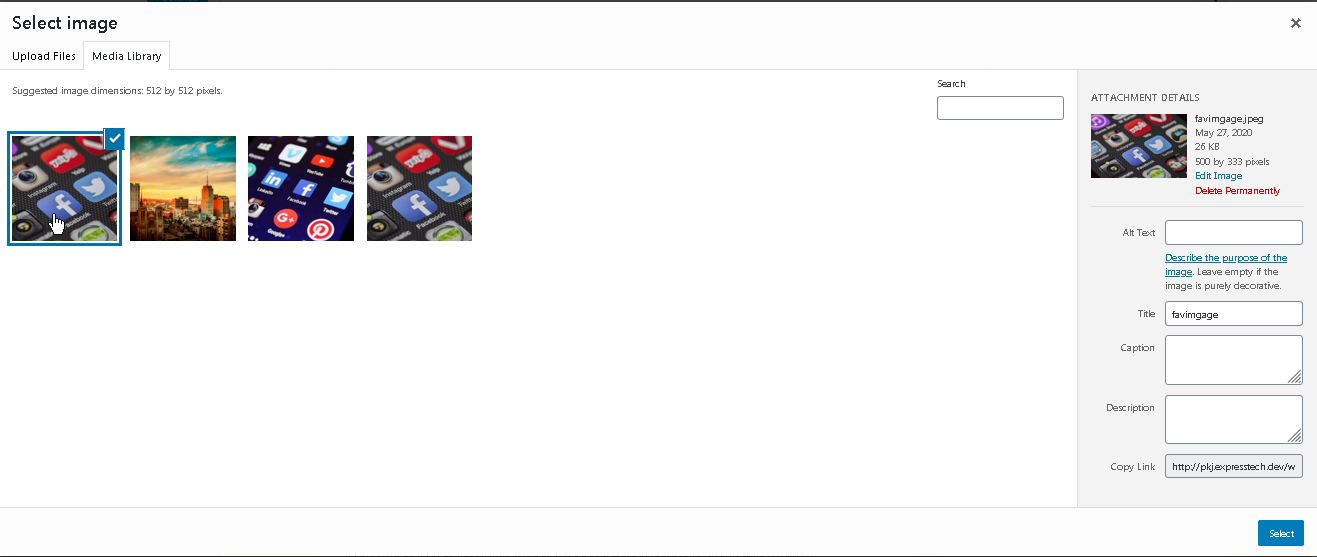
Now you can select any image for your site Favicon. (in our case the first image with a checkmark), The image you selected will appear in the Crop Image screen
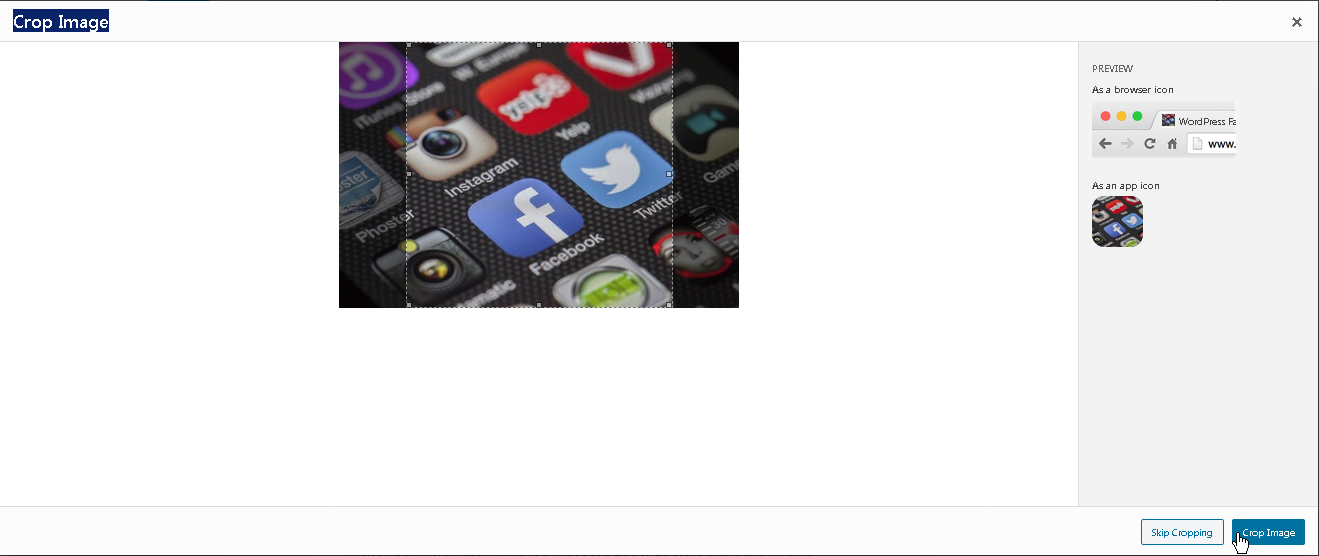
Here you can crop the image and preview the same as an icon in the preview panel (Right sidebar). Adjust the crop selector in different ways and you can get your desired icon.
Step 5: Publish
As a final point, the Site Icon or Favicon will appear in the Site Identity Setting screen.
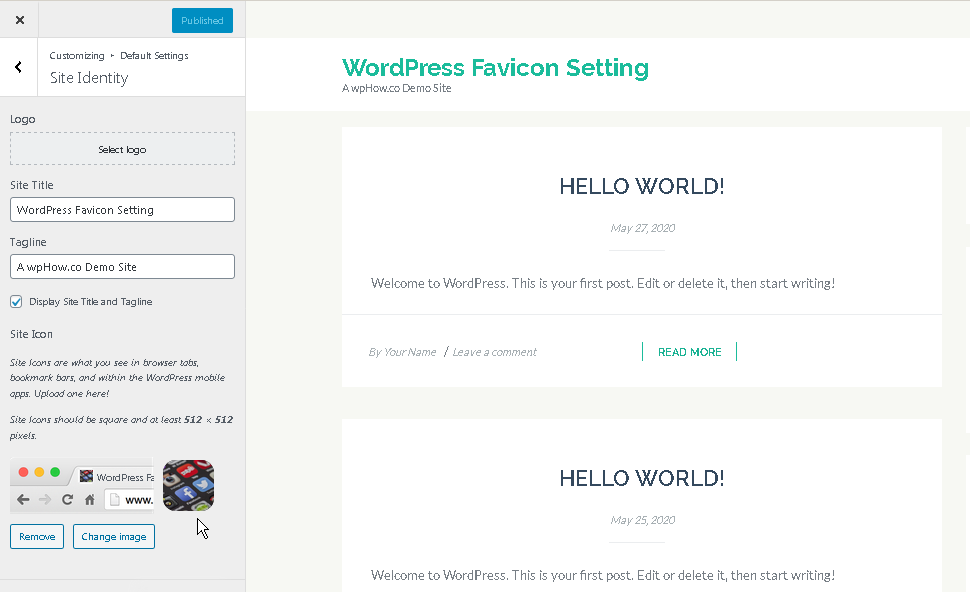
Finally, click on the Publish button and check your Favicon with your site in a browser, bookmarks, or home screen on a mobile phone or tab.


Stuck Somewhere?
Connect With JustHyre
Hire WordPress Engineers for custom jobs like Website Customization, SEO Optimization, Clearing a Hacked Website, Installation & Configuration & more.
Connnect with JustHyre
0 Comments