How to Create a Resume Using Page Builder? (5 Easy Steps)
Do you also want to create a resume using a page builder in WordPress?
If you own an online WordPress website and looking for a new job, then it will be better for you to create an online WordPress resume. Having an online resume on the website will help employers understand you along with your work. Some plugins can help you create a resume using page builders in WordPress.
Here in this blog, we have shown you an easy way by which you can create a resume using the page builder in WordPress.
What Should Be Included in a Resume?
Before you know how to create a resume using the page builder in WordPress, you should know what are the key features you should include in your resume.
1. Name and Contact Information
The most necessary information on your resume is your contact section which should ideally include your name, email, and contact number. Depending on the type of position or job you are applying for, you might need to include your social media account name and an online portfolio link.
Use your name as the title of the page so it will be easier for the recruiter to identify you.
2. Resume Summary
Your summary should be one or two sentences where you describe yourself to the recruiter and give a small brief on why you should be hired over your recruiters. Your resume objective should justify the job posting brief. So before writing a resume summary or objective, read the job description carefully for clues and add the relevant soft skills.
3. Education
Include your most recent and relevant education in your resume. Consider adding only relevant educational experiences that make sense for your job like high school, under graduation, and post-graduation. However, if you have any other secondary but necessary qualifications, then you should consider including them too.
Include the following elements in the education section:
- Name of the institution
- Location
- Graduation year
- Your GPA
- Any relevant honors or academic recognition
4. Professional History
This is the section where you can showcase your experience. You should include all the relevant past work experiences here with a brief description of how you have brought value to former employers. Your experience section or the professional history section should include
- Job title
- Name of the institution you worked for
- Years of employment
- Relevant accomplishment
- Short description of your accomplishment
5. Relevant Skills
The skills section should include your technical skills, hard skills, and soft skills which are relevant to the post you are applying for. You can have an idea of the required skills from the job description. Try including the skills that are relevant to the position and which are going to make it easy to get you the job.
6. Additional Accomplishments and Volunteer Work
This can be the last section of your resume. You can add other relevant accomplishments or volunteer work that helps create a better picture of who you are as an individual.
How to Create a Resume Using Page Builder?
The very thing you need to create a resume using Page Builder is to install and activate the relevant plugins.
Step 1: Download the Tatsu page builder
WordPress has an ocean of good resume page builders. Here, in this tutorial, we are using the “Tatsu Builder” plugin which is one of the most amazing website resume makers.
About Tatsu:
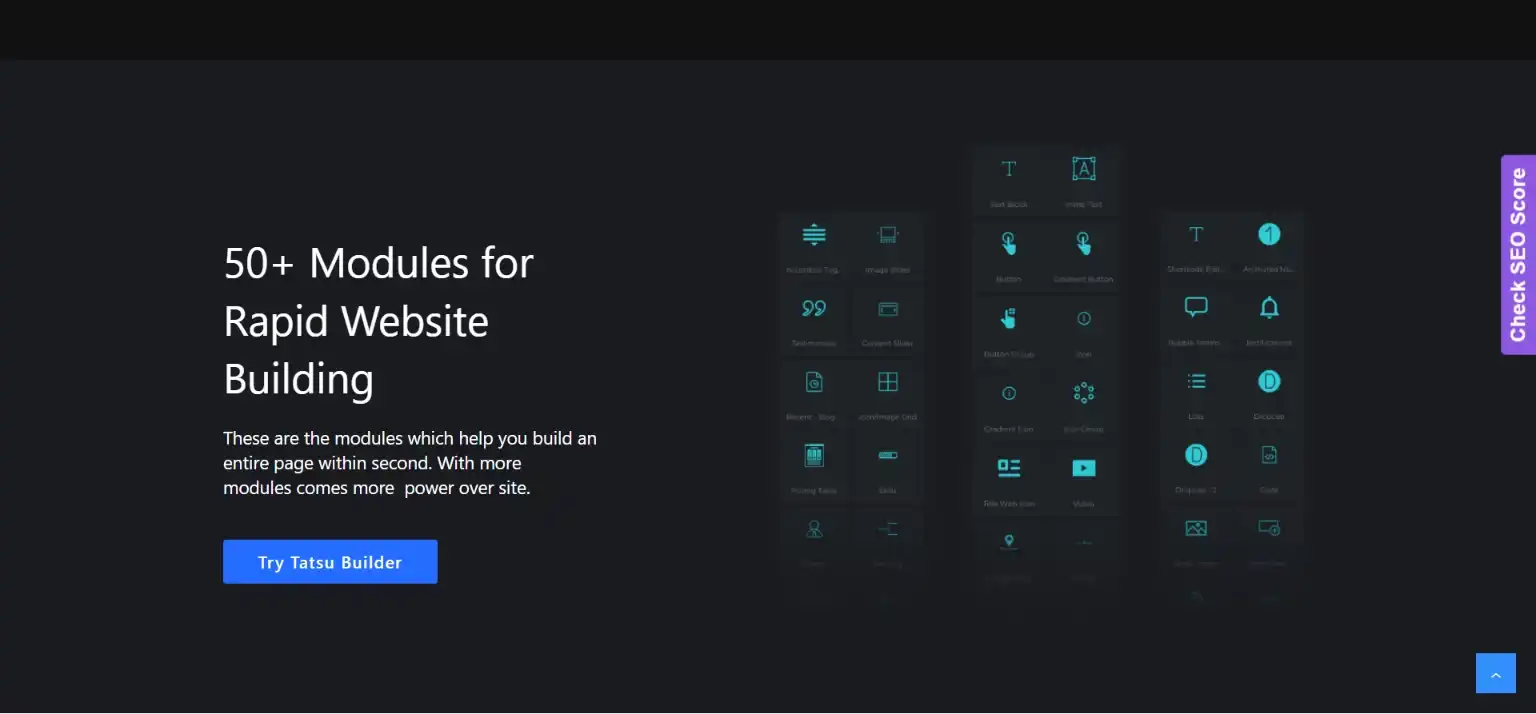
Tatsu page builder is one of the most useful page builders with drag-and-drop functionality and 50+ widgets and pre-built templates. With Taysu, you can create the whole page with just a few clicks within seconds. It is a responsive page builder and has keyboard shortcuts for more productivity. You can also save the template you just created to use later.
Step 2: Create a new page
Once done with activation, create a new page and give it a name. Save it and next click on the “Edit with Tatsu” button.
Step 3: Create Introduction Section
First, select the type of section you want. Here, we are using the column section and one column with 35% width and a second with 65% width.
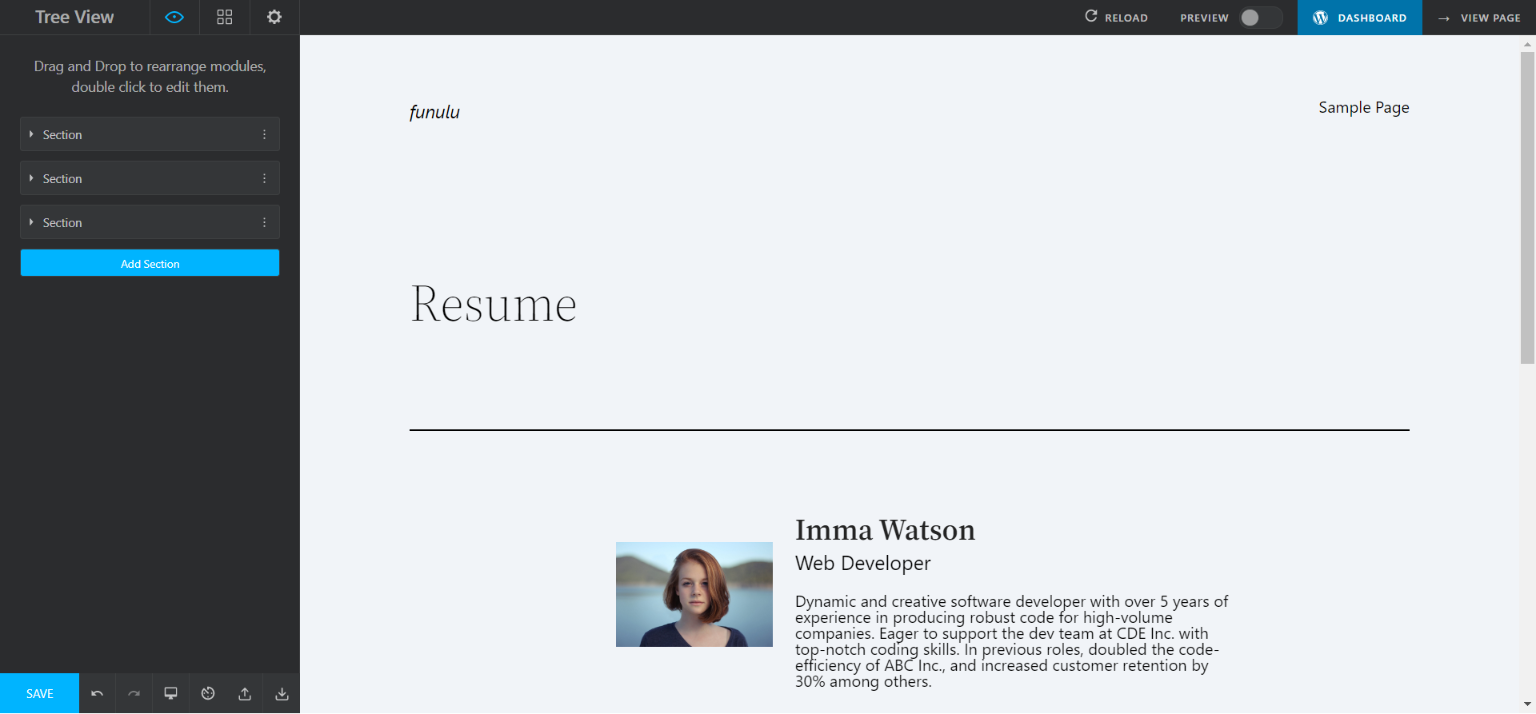
Upload your photo on one side and write a brief introduction about you on the left side. Style every widget as per the hierarchy. For example, we have kept the name in H1 and bold and then the role in H3. You can also change the color if you are going with a particular color palette.
Step 4: Add necessary details
Since Tatsu is a drag-and-drop plugin, you can easily drag and drop all the widgets. Keep the heading of each section in big font. You can edit the typography from the “Style” tab.
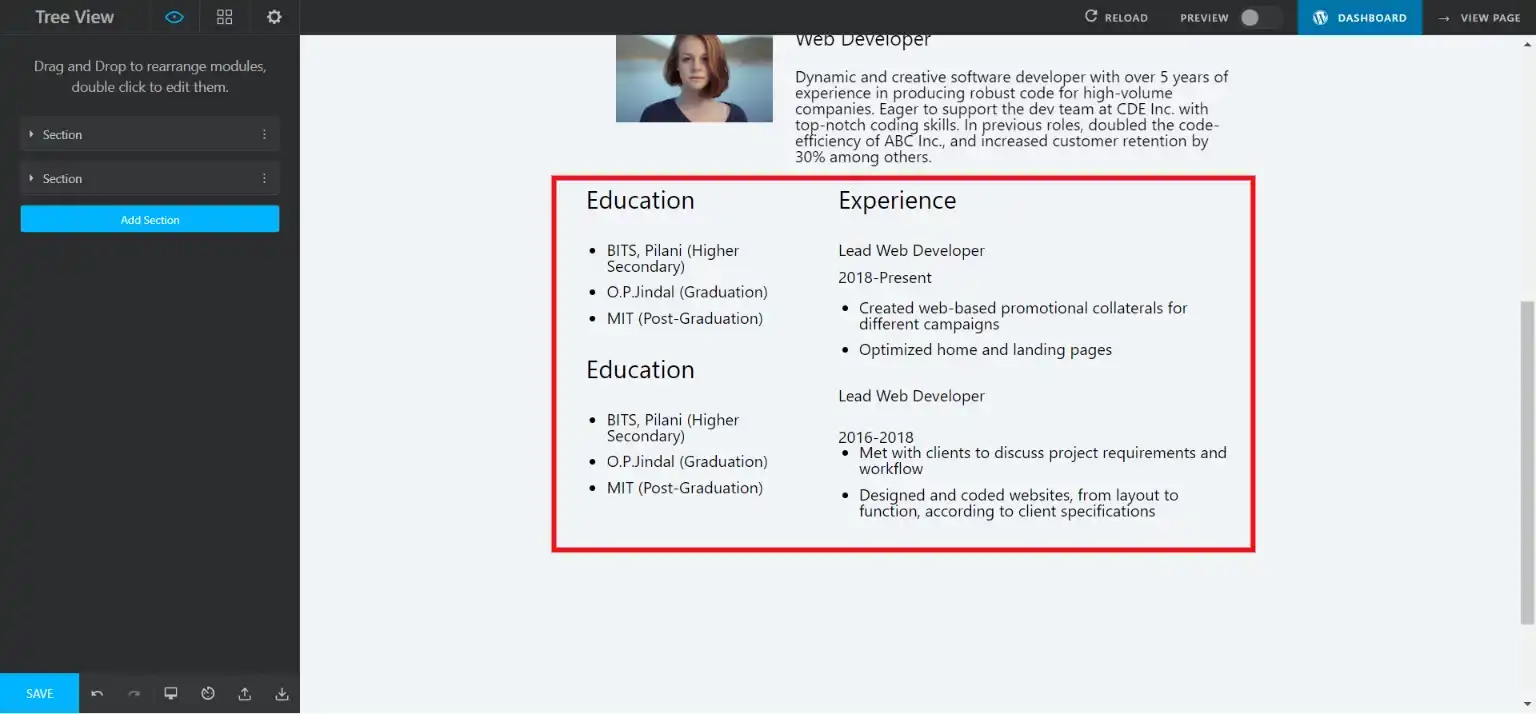
Tatsu also has an option with which you can easily list your data. For instance, we have listed the qualification and education data. Tatsu offers you to style your resume with various options like wrap-align, text-align, text color, and more.
Step 5: Add Contact Information
Next, you should add contact information. We suggest you add at least an email and phone number. To add contact information, first select the section. Next, drag and drop the text widget and the icon widget. Edit them as per your requirements.
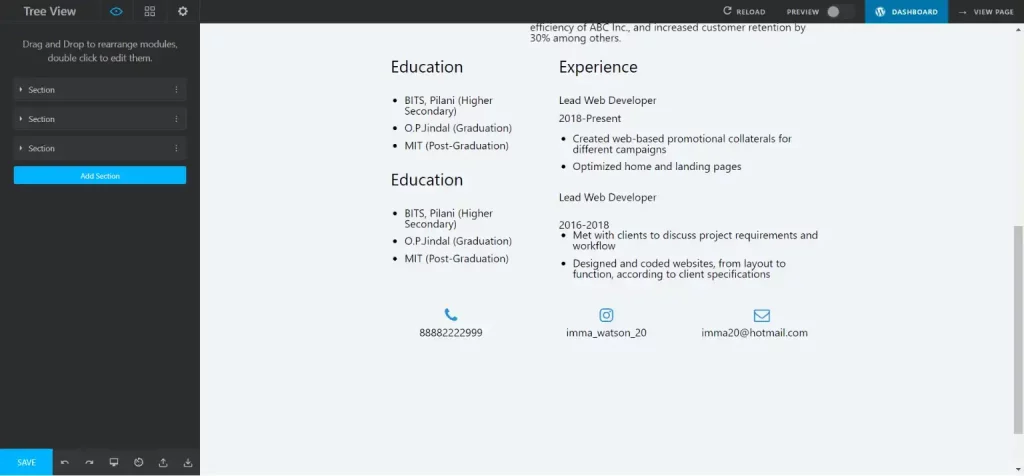
Here, in this tutorial, we have added the contact number, email, and Instagram id with the respective icon to make it more engaging.
Step 6: Preview and Publish
Once done with all the necessary edits, it’s time to preview the resume you just created. On the top right corner, you will find the preview option. Click on that and check if everything is as per your requirements. If not, go back and make the necessary changes.
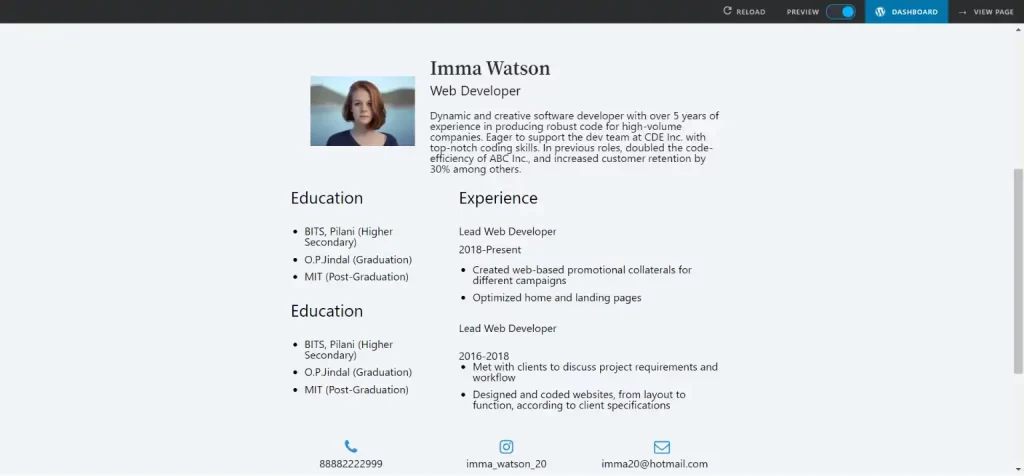
Once done with the final preview, click on publish, to publish the resume on your WordPress website.
And that’s how you create a resume using page builder.
Wrapping Things Up
And that’s it for this blog. We hope this blog has helped you create a resume using page builder in WordPress. Having an online resume can help you stand out from the crowd and give you a chance to connect with potential employers. Even if you are a technical person, plugins make it easy for you to create an online resume in just a few clicks.
This was a simplified guide on how you can create a resume using page builder. If you need further assistance, you can hire WordPress engineers from JustHyre.
If you like reading this blog, also read our step-by-step guide on How to Create Responsive Tables in WordPress? (2 Different Ways) and How to Create a Members-Only Store In WooCommerce? (5 Different Ways).
Stuck Somewhere?
Connect With JustHyre
Hire WordPress Engineers for custom jobs like Website Customization, SEO Optimization, Clearing a Hacked Website, Installation & Configuration & more.
Connnect with JustHyre


0 Comments