How to Uninstall WordPress From 4 Unique Hosts?
In this blog, we learn deep knowledge about uninstalling WordPress from 4 different hosting platforms. Here, we will cover uninstalling from Cpanel, Hostgator, Ubuntu, and from the local host. Finally, we will also take a look at reinstalling WordPress in the hosting.
How to Uninstall WordPress in CPanel
- Login to cPanel and head over to the dashboard.
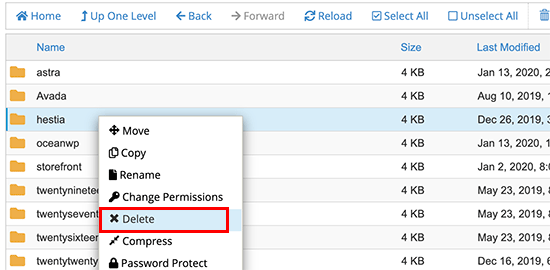
- Make sure you are deleting all the WordPress files present in the hosting
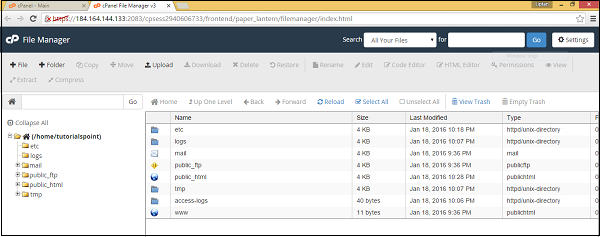
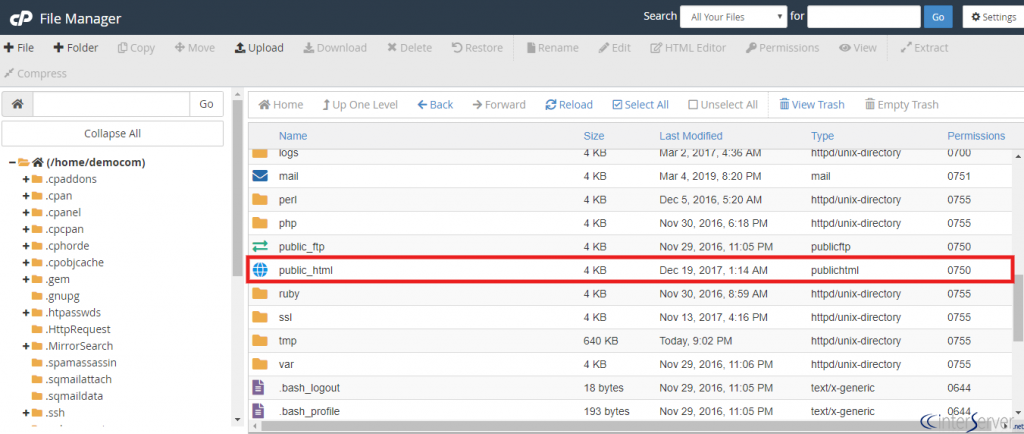
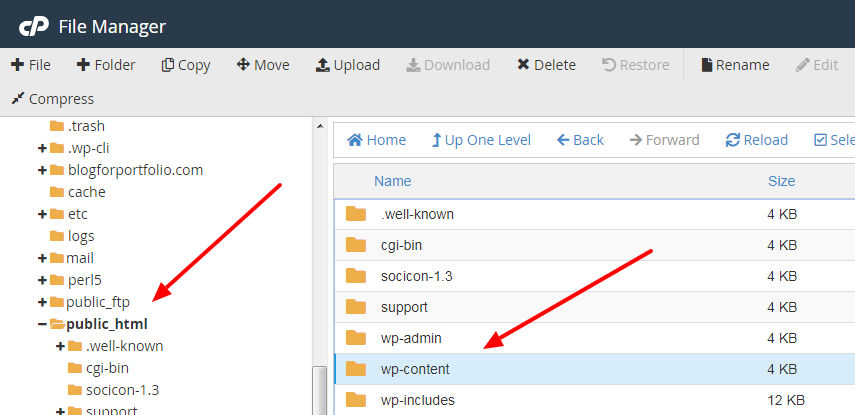
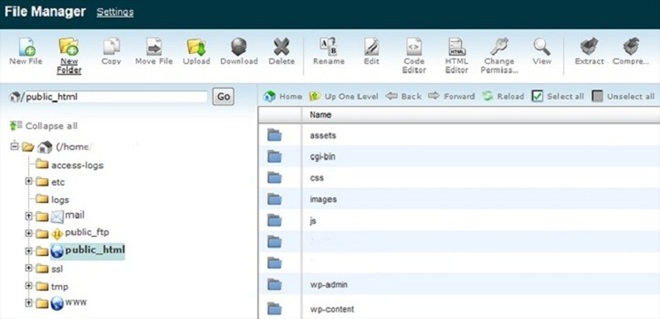
- Head over to the file manager and head over to the public_html directory.
- Make sure that every WordPress file is deleted here as well.
- Delete the database and refresh the hosting by logging out and redirecting in
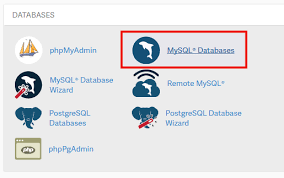
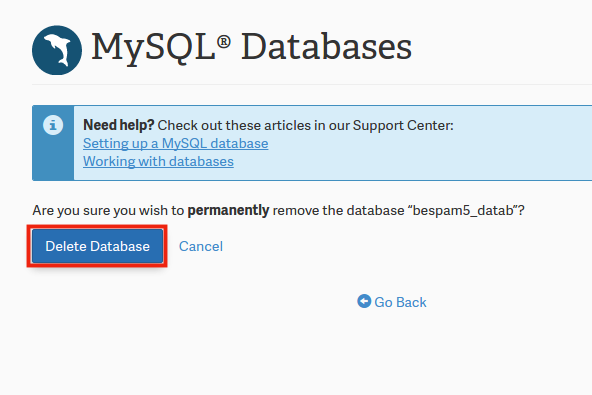
- Once done, you have successfully uninstalled WordPress in your Cpanel hosting when you have completed all these steps at the right stretch.
How to Uninstall WordPress from Localhost
- Step one: Head over to all Wamp or Xamp directories and find the www folder.
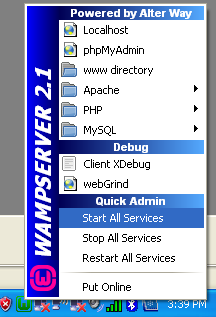
- Step two: Open the www folder and delete the WordPress directory present in it.
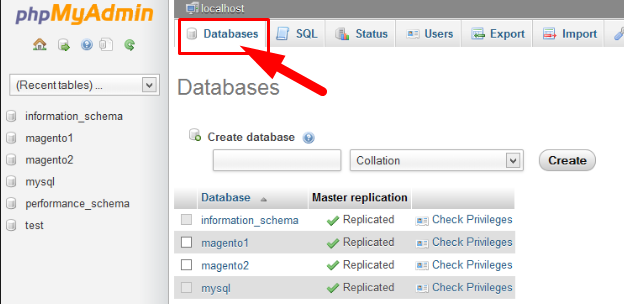
- Step three: Open your browser, enter your local host, and click Enter to check-in.
- Step four: Click on PHPMyAdmin.
- Step five: Check the database name of your WordPress and delete them.
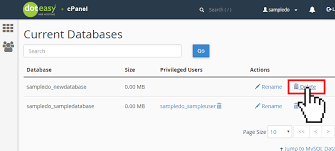
Now, you have come successfully uninstalled WordPress from your local host.
How to Uninstall WordPress in Ubuntu
- Step one: Head over to his HTML folder and check for the current files present in the HTML folder using the ls command or the list command.
ls- Step two: Delete the WordPress installation folder from the list in the HTML folder. You can make the same process complete using your terminal or your command prompt to these instructions.
Note: The pre-formatted codes given below are with reference to the terminal.
- Step three: Delete the database from your My SQL Server. For doing this, go to my SQL using the command below:
show databases;enter the password for your MySQL password and check for the available databases using the syntax show databases;
- Step four: Once found, Delete the database or drop the database using the Drop Database WordPress; command.
drop database wordpress;Once it provides a successful message, you have successfully uninstalled WordPress from Ubuntu.
How to Uninstall WordPress Hostgator
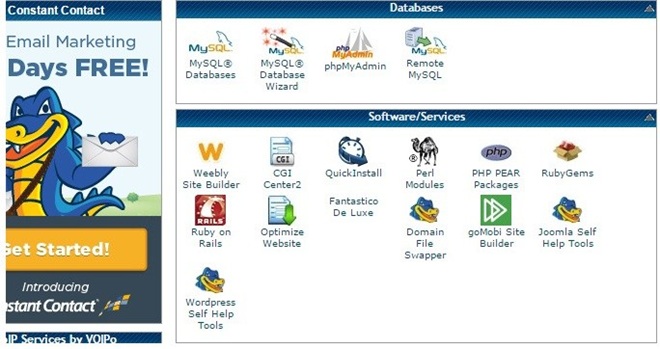
- Step one: Head over to login in cPanel and log into the host to reach the dashboard.
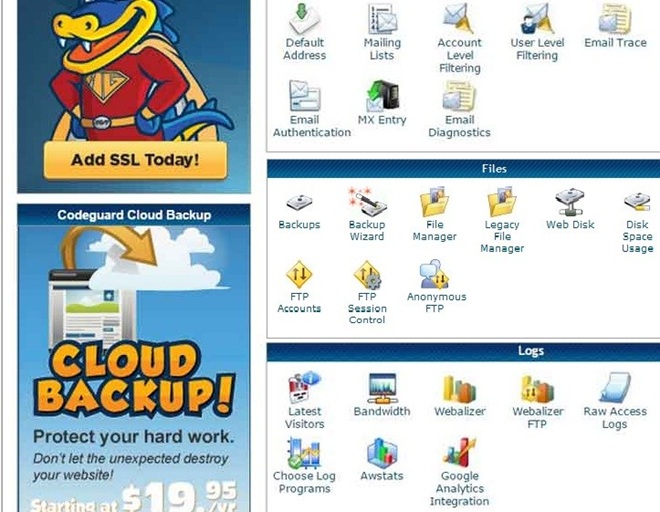
- Step two: Select File Manager from the dashboard and look for the file.
- Step three: Now, search for public_HTML and click on Add or the ‘+’ sign that is given along with it.
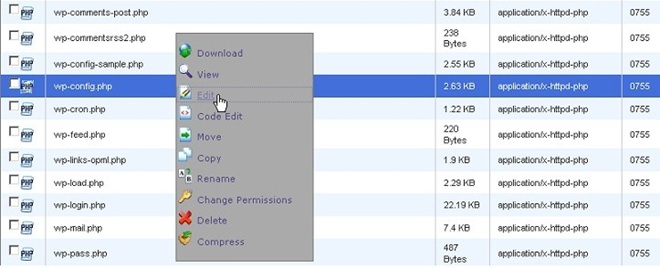
- Step four: Now, before deleting the WordPress database, make sure that you have a copy of the WordPress database for future reference. For this copy the file Wp-config.php
- Step five: Once done, delete all the files and refresh by logging out and logging in to the Hostgator hosting.
Now that you have successfully uninstalled WordPress from your Hostgator hosting.
Reinstall WordPress
This is applicable when you want to make sure that you want to restart or reinstall WordPress in your hosting.
- Step One: Make sure that you have backed up your previous WordPress site details and database.
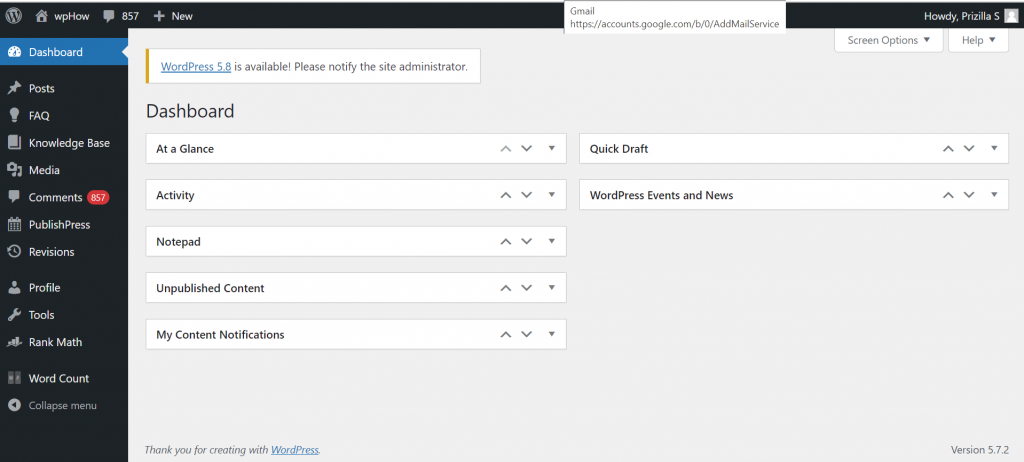
- Step Two: Log into your WordPress dashboard.
- Step Three: Head over to the dashboard menu and then check for updates or click on updates.
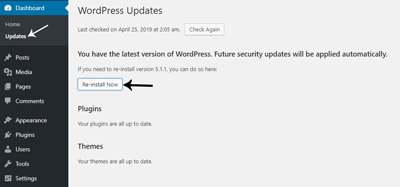
- Step Four: Click the install button to reinstall the WordPress settings.
- Step Five: You have simply and successfully reinstalled WordPress in your host as your site
For more WordPress queries and activity guides in WordPress do check out this link:
And to know more about the host and WordPress, do check this:
- https://wphow.co/kb-category/plugins/
- https://cpanel.net/
- https://www.hostgator.in/
- https://ubuntu.com/
Stuck Somewhere?
Connect With JustHyre
Hire WordPress Engineers for custom jobs like Website Customization, SEO Optimization, Clearing a Hacked Website, Installation & Configuration & more.
Connnect with JustHyre


0 Comments