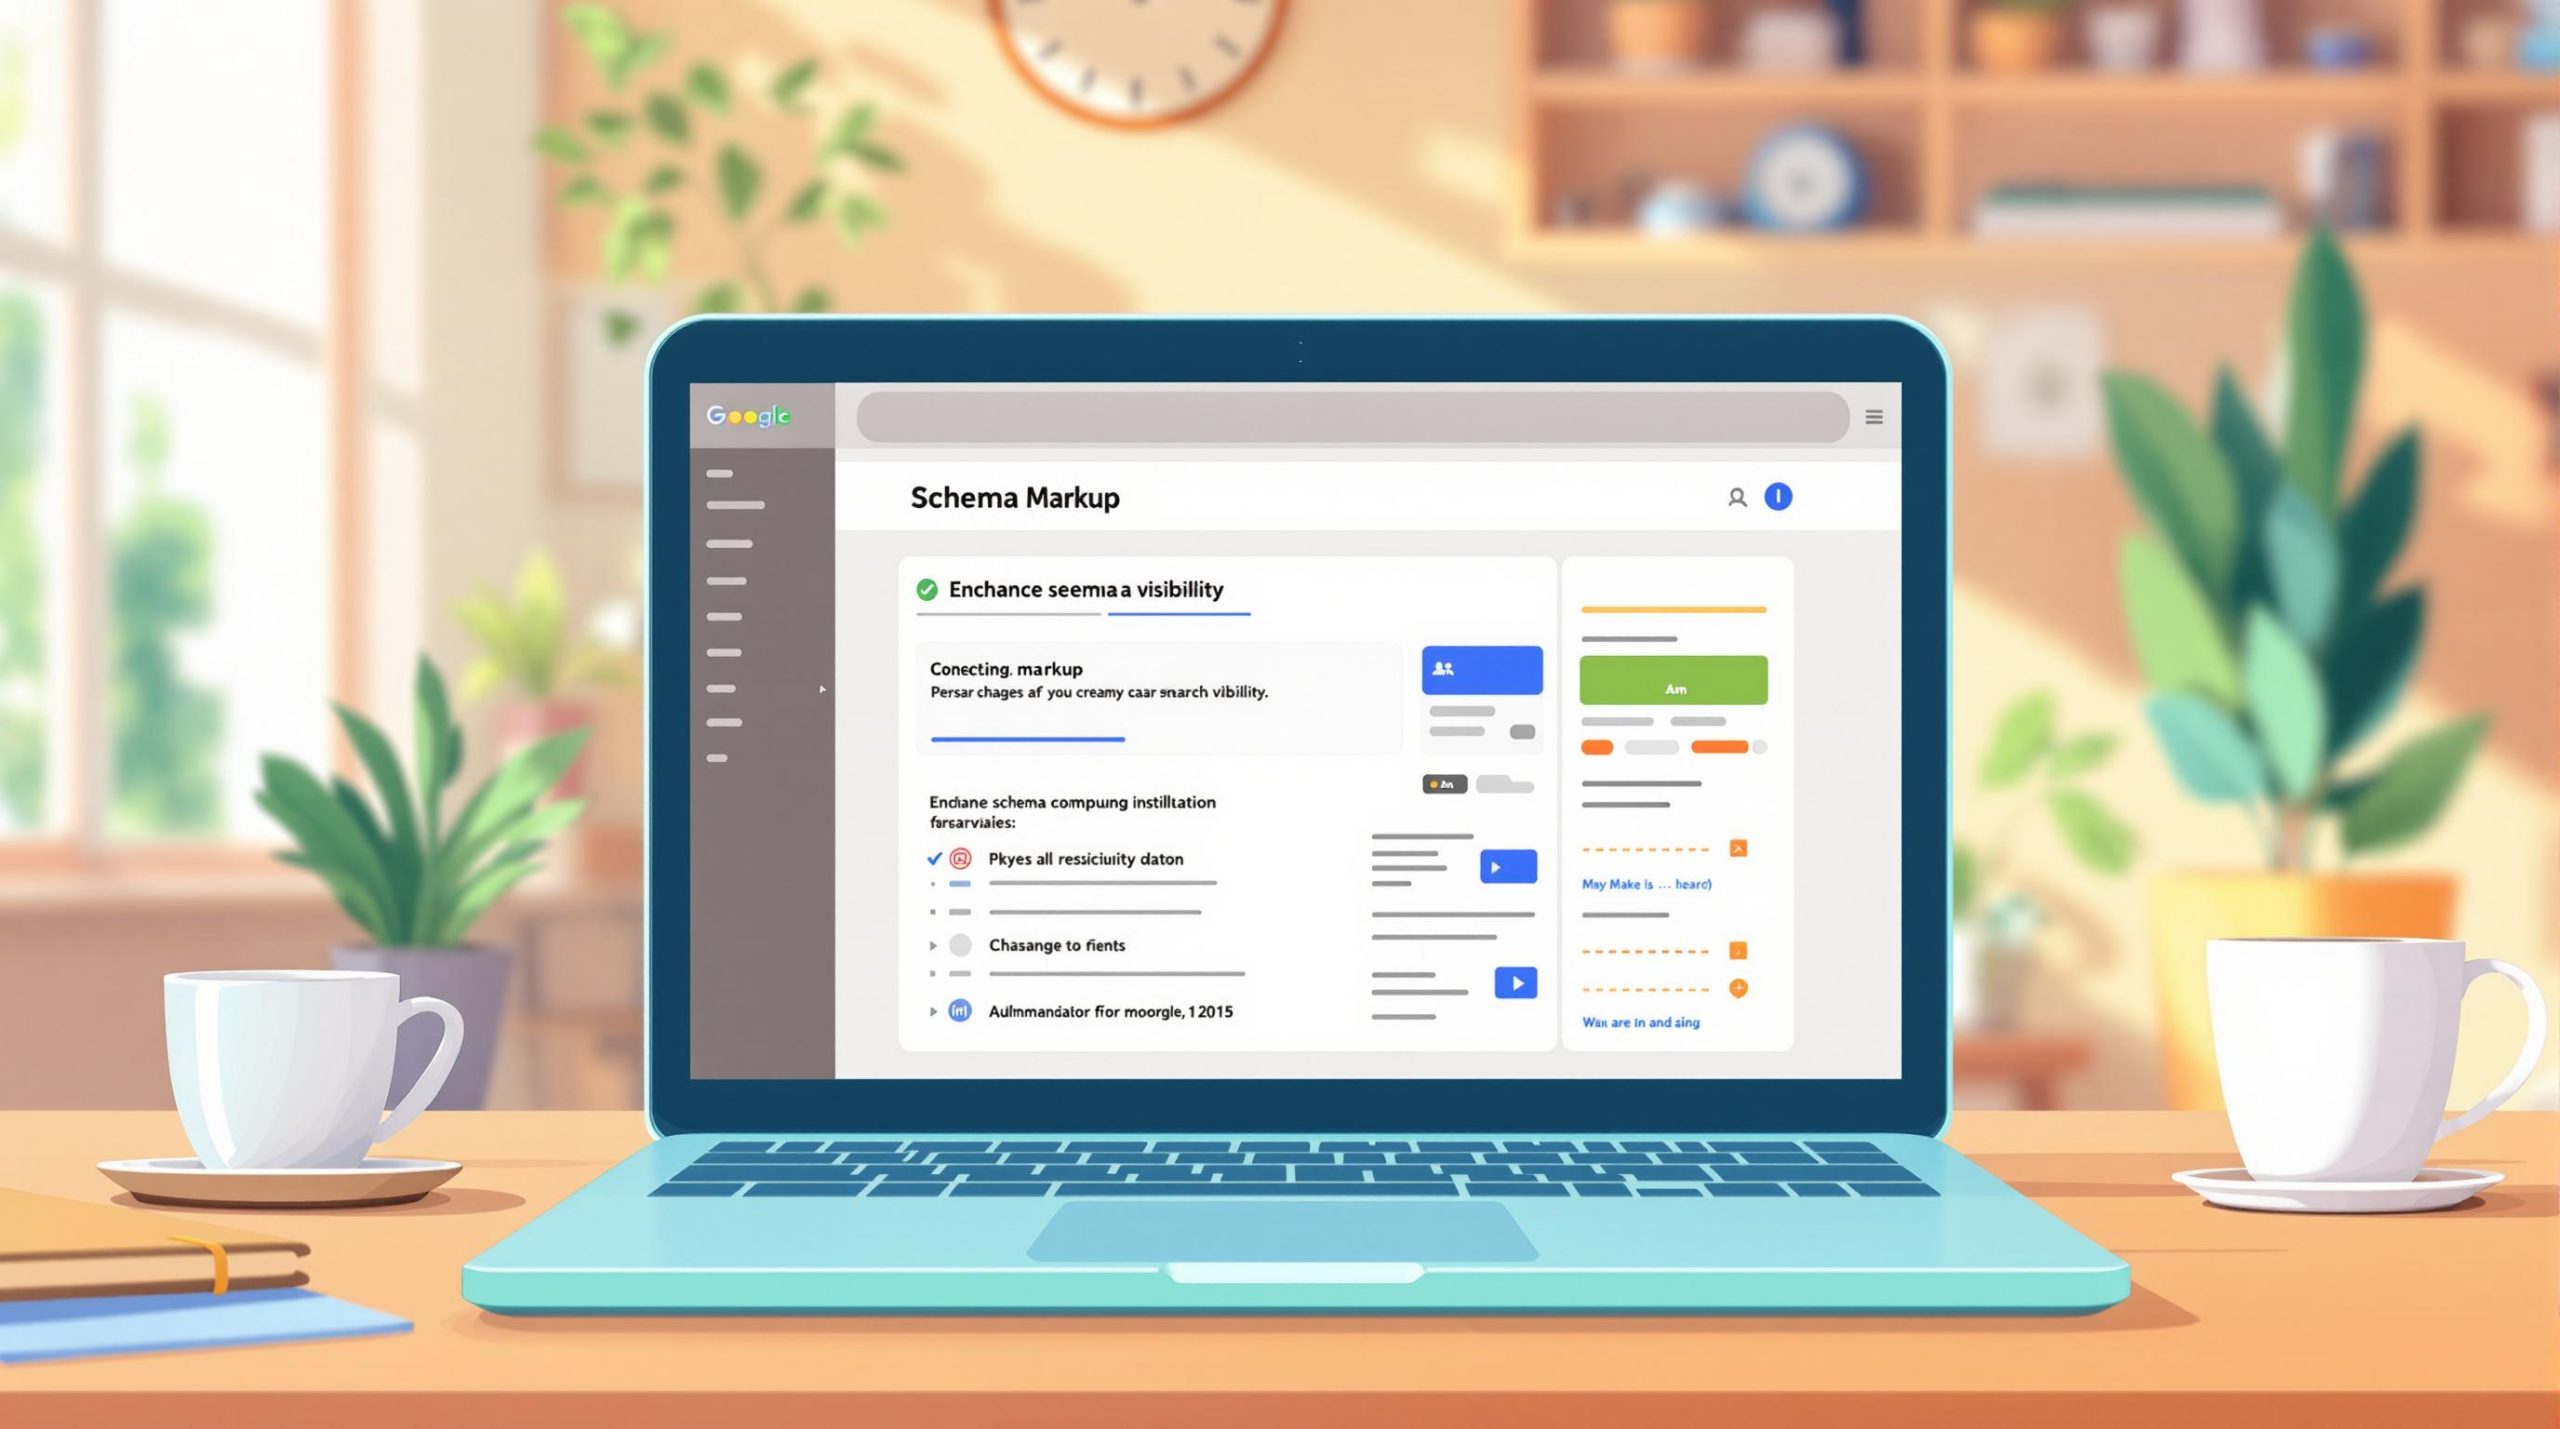
How to Add Schema Markup to WordPress: Beginner Guide
Schema markup helps search engines understand your WordPress content better, improving your site’s visibility in search results. Adding it can boost rankings, increase click-through rates, and create rich snippets like ratings or cooking times directly in search results.
Key Steps to Add Schema Markup:
- Check Existing Schema: Use Google’s Rich Results Test to see what schema is already on your site.
- Backup Your Site: Use plugins like UpdraftPlus or Duplicator to secure your data.
- Update WordPress and Plugins: Ensure compatibility with schema standards.
- Use Plugins: Options like Schema Pro, Yoast SEO, or AIOSEO make adding schema easy.
- Manual Setup: Advanced users can add JSON-LD code for precise control.
Benefits of Schema Markup:
- Higher search rankings (average 4 positions higher).
- Increased clicks (e.g., Sharp Healthcare saw an 843% boost).
- Rich snippets for engaging search results.
Pro Tip: Test your schema with Google’s Rich Results Test and monitor performance in Google Search Console to fix errors and optimize results.
Everything You Should Know About Schema on WordPress
Getting Your WordPress Site Ready
Before you dive into adding schema markup, make sure your site is prepped and ready for a smooth process.
Review Existing Schema
Use Google’s Rich Results Test to check your current schema markup. Simply input your page URL or a code snippet into the tool for a detailed report .
The tool will show you:
- The types of schema currently in use
- Whether the existing markup is valid
- Any errors or warnings that need attention
- If Google can properly crawl your pages
Expand individual items in the results to get a closer look at the details. The tool works with multiple schema formats like JSON-LD, RDFa, and Microdata, giving you a clear picture of your structured data setup.
Once you’ve reviewed your schema, it’s time to protect your hard work by creating a backup of your site.
Create a Site Backup
Backing up your site is a must. Make sure to include everything: core WordPress files, themes, plugins, media, the database, and user data.
Plugins like Duplicator or UpdraftPlus can help streamline the process. To minimize any disruptions, schedule backups during off-peak hours. Store backups in multiple locations, like cloud storage and local drives, for extra security .
With your data safely backed up, the next step is to ensure your site is fully updated.
Update WordPress and Plugins
Keeping WordPress and your plugins up to date is key to ensuring compatibility with the latest schema standards.
Here’s how to approach updates:
- Check your WordPress dashboard for available updates.
- Review changelogs for any important details.
- Test updates in a staging environment first.
- Update in this order: WordPress core, then themes, and finally plugins .
For themes or plugins not listed in the WordPress.org repository, follow the developer’s specific update instructions . After completing updates, test your site thoroughly to confirm that everything is functioning as it should .
Adding Schema with WordPress Plugins
Once your site is set up, you can add schema using WordPress plugins to improve how search engines interpret your content.
Popular Schema Plugins
Here’s a quick look at some of the most-used plugins:
-
Schema Pro: Known for its straightforward interface and wide range of features. Adam Preiser from WPCrafter.com says:
"The only schema plugin you need"
-
All in One SEO (AIOSEO): Offers schema options across various pricing tiers:
- Basic: $49/year (1 site)
- Plus: $99.50/year (up to 3 sites)
- Pro: $199.50/year (up to 10 sites)
- Elite: $299.50/year (up to 100 sites)
- Yoast SEO: Includes schema functionality via its structured data graph system. Pricing starts at $99/year for a single site, with add-ons available for $79/year each or $229/year for the full package .
Once you’ve chosen a plugin, follow the steps below to get started.
How to Install and Configure Your Plugin
Here’s a quick guide to setting up Yoast SEO:
-
Install and Activate
Go to Plugins > Add New. Search for "Yoast SEO", then click Install and Activate. -
Set Up Site Identity
Under SEO > Settings, define your site as either a person or an organization. Add details like the name, URL, social media profiles, and (if applicable) a company logo. -
Enable Schema Features
Open the Search Appearance settings to adjust default schema settings for different types of content. Yoast automatically creates a structured data graph to help search engines better understand your site .
Key Schema Settings to Configure
Focus on these essential schema elements for your content:
Article Schema Setup
- Use clear, descriptive headlines.
- Include publication and last modification dates.
- Provide author details with valid URLs.
- Add featured images in 16:9, 4:3, and 1:1 ratios .
Google highlights the importance of article schema:
"Adding Article structured data to your news, blog, and sports article pages can help Google understand more about the web page and show better title text, images, and date information for the article in search results on Google Search and other properties" – Google
Additional Schema Properties
- Specify the language (
inLanguage). - Attribute content to an author (name and URL).
- Include publisher information (organization name and logo).
- Mention related entities .
For more detailed instructions on WordPress schema integration and SEO tips, check out the guides at wpHow (https://wphow.co).
sbb-itb-0a7d990
Manual Schema Markup Setup
Using plugins can simplify the process, but manually setting up schema markup gives advanced users precise control over their data.
JSON-LD Schema Basics
JSON-LD is widely recognized as the standard for structured data. It stands out because it keeps your schema markup separate from the HTML, making updates much simpler. Here’s a basic JSON-LD example for a WordPress blog post:
<script type="application/ld+json">
{
  "@context": "https://schema.org",
  "@type": "BlogPosting",
  "headline": "Your Blog Post Title",
  "author": {
    "@type": "Person",
    "name": "Author Name"
  },
  "datePublished": "2025-02-25",
  "publisher": {
    "@type": "Organization",
    "name": "Your Site Name",
    "logo": {
      "@type": "ImageObject",
      "url": "https://yoursite.com/logo.png"
    }
  }
}
</script>
Google’s Structured Data Markup Helper
Google’s Structured Data Markup Helper is a handy tool for creating schema markup. Start by selecting "Website", then input your URL or HTML. Highlight elements on your page, assign schema types, and let the tool generate JSON-LD code for you.
"The Structured Data Markup Helper supports generating schema markup in JSON-LD format, which is Google’s preferred format"
Once your JSON-LD code is ready, you can integrate it into WordPress.
Adding Schema Code to WordPress
You can add your JSON-LD schema to WordPress in two main ways:
-
Header.php Method
Go to Appearance > Theme Editor > header.php and insert your schema code before the closing</head>tag. This method applies the schema across your entire site. -
Custom Fields Method
Enable custom fields in WordPress to add schema markup to specific pages or posts. This approach is ideal for tailoring schema to individual content types.
Best Practices for Manual Schema
To ensure your schema works effectively:
- Test your schema with Google’s Rich Results Test before publishing.
- Update the schema whenever you make content changes.
- Include all required properties for the schema type you’re using.
- Double-check your JSON-LD syntax to avoid validation errors.
"Google explicitly recommends the use of JSON-LD in their documentation"
Manual schema implementation demands accuracy and regular updates, but it offers unmatched flexibility for those willing to put in the effort.
Schema Testing and Verification
Once you’ve added schema to your site, it’s time to check that everything is working as it should.
Testing with Google’s Tools
Google’s Rich Results Test is your go-to tool for checking schema markup. Simply enter your URL or paste a JSON-LD snippet to see how Googlebot interprets your structured data. This tool works with JSON-LD, RDFa, and Microdata formats , and you can toggle between desktop and mobile user agents. Fix any errors flagged during the test to ensure your schema is error-free.
Common Schema Error Fixes
Schema errors can block your content from showing up as rich results. Here are some frequent issues and how to fix them:
| Error Type | Cause | Fix |
|---|---|---|
| Missing Fields | Properties left incomplete | Add all required fields based on Google’s schema guidelines |
| Incorrect Data Types | Wrong value formats | Use the correct data types as defined by schema.org |
| Multiple Conflicting Markups | Overlapping schema code | Merge overlapping code into a single, unified structure |
| Structured Data Mismatch | Schema doesn’t match content | Ensure your markup accurately reflects the content on the page |
Keep in mind that Google may ignore structured data on your page if errors persist or if manual action is taken . After fixing errors, check your schema’s performance in Google Search Console.
Schema Results in Search Console
Google Search Console offers detailed insights into how your schema is performing in search results. Key features include:
- Enhancement Reports: Track rich result types and their status.
- Coverage Report: Check if your pages are indexed properly.
- URL Inspection Tool: Get a detailed breakdown of a specific page’s structured data.
- Performance Report: Use the "Search Appearances" filter to analyze rich results.
Make it a habit to review these reports weekly. Focus on resolving errors marked in red to keep your rich results active and visible .
Conclusion: Next Steps for WordPress SEO
Once you’ve implemented and tested your schema, it’s time to focus on key actions and broaden your WordPress SEO expertise.
Key Takeaways
Schema markup plays a crucial role in improving search visibility and user engagement. For instance, Rotten Tomatoes implemented schema on over 100,000 pages and saw a 25% increase in click-through rates . Similarly, The Food Network reported a 35% boost in organic traffic after adding schema .
To maximize your schema’s effectiveness, prioritize these tasks:
| Priority | Action | Outcome |
|---|---|---|
| Essential | Use specific schema types | Better recognition of your content |
| High | Follow Google’s guidelines | Eligibility for rich snippets |
| Regular | Monitor Search Console | Track performance |
| Ongoing | Test and validate markup | Avoid errors in implementation |
Schema markup gives search engines clear context about your content, increasing your chances of appearing in enhanced search results and improving overall visibility.
Resources to Expand Your WordPress SEO Knowledge
Want to take your WordPress SEO skills further? Check out these helpful tools and resources:
- wpHow: Their website (https://wphow.co) is packed with guides on WordPress setup, marketing strategies, and maintenance. It’s a great place to learn beyond schema markup.
- Google’s Rich Results Test: A free tool to validate your schema implementation.
- Schema Pro: Priced at $69/year, it supports over 20 schema types .
- AIOSEO Pro: A complete SEO toolkit with built-in schema features, starting at $49.60/year .
Stay on top of updates to schema guidelines and regularly test your structured data through tools like Google Search Console. This ongoing effort ensures your schema continues to deliver strong results.


Stuck Somewhere?
Connect With JustHyre
Hire WordPress Engineers for custom jobs like Website Customization, SEO Optimization, Clearing a Hacked Website, Installation & Configuration & more.
Connnect with JustHyre