How to Translate a WordPress Website in 2026 (Beginner’s Guide)
Most websites are built for one audience, in one language. That works fine until you realize a large share of the people who might benefit from your content cannot read it. Non-English speakers make up the majority of internet users, yet most small WordPress sites never account for them.
Translating your WordPress website does not require a developer or a complicated technical setup. In 2026, the available tools have matured to the point where a beginner can add a second language to their site in under an hour, without touching a single line of code.
Why Translate a WordPress Website?
The most direct reason to translate a WordPress website is to reach. When visitors land on a page written in a language they cannot read comfortably, most of them leave. Offering content in their language removes that friction and keeps them engaged longer, which builds trust and credibility with audiences you would otherwise never reach.
From an SEO perspective, translated content lets your site rank in search results across multiple languages. Search engines index each language version separately, which means more pages, more queries, and more organic traffic over time. The return on investment is high relative to the effort: adding one or two languages to an existing site costs far less than building a new one, yet it can open your content to entirely new audiences.
How to Translate WordPress Websites With a Plugin (Step by Step)
Using a plugin is the most practical way to translate a WordPress website because it handles the structural complexity for you. Rather than duplicating pages and managing multiple copies of your site manually, a plugin keeps everything organized within a single WordPress installation.
In this tutorial, we will use TranslatePress as the example WordPress translation plugin.
Step 1: Install TranslatePress
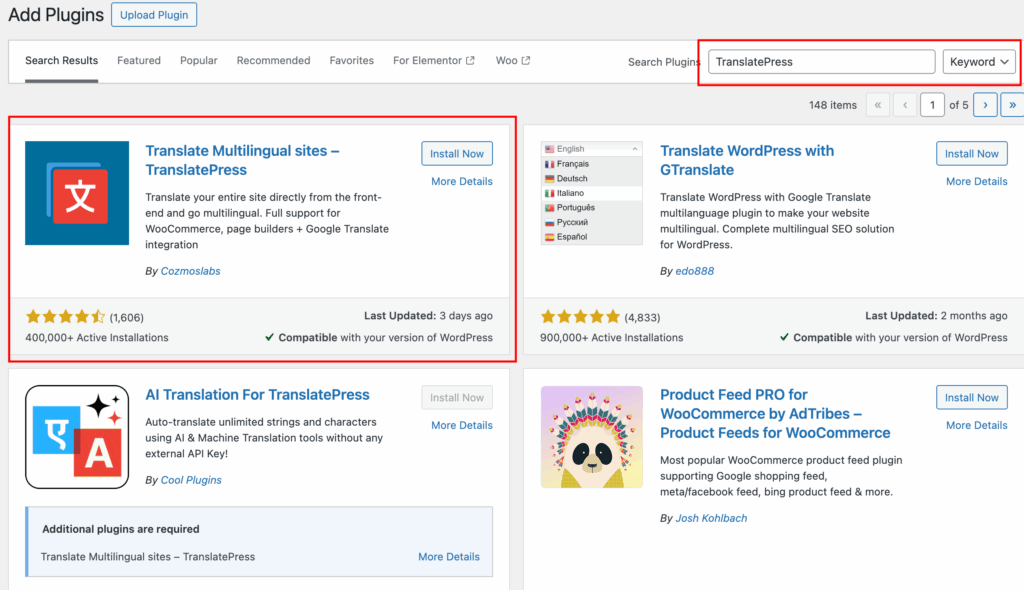
The very first step to translate a WordPress website is to download the plugin. Go to your WordPress dashboard, navigate to Plugins, then Add New, and search for “TranslatePress.” Install and activate the new plugin. Once activated, a new TranslatePress menu item will appear in your dashboard settings.
Step 2: Choose Default Site Language & Secondary Language
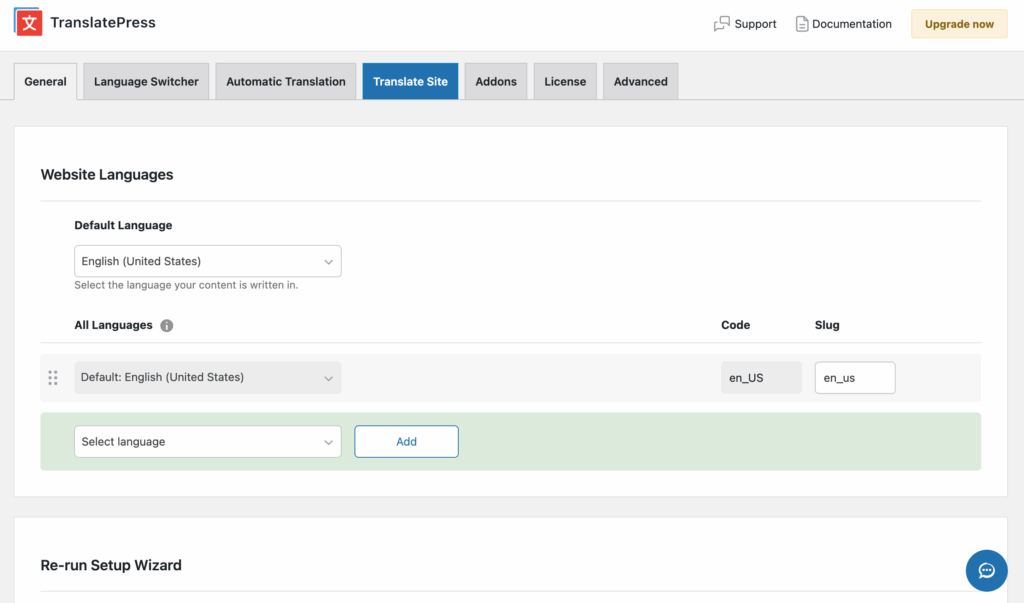
Under Settings, open TranslatePress and set your default language, which is the language your site is currently written in. Then add one or more secondary languages. The free version supports one additional language; the premium version allows unlimited languages.
Step 3: Create a Language Switcher for Your Website
TranslatePress automatically generates a language switcher that you can add to your site.
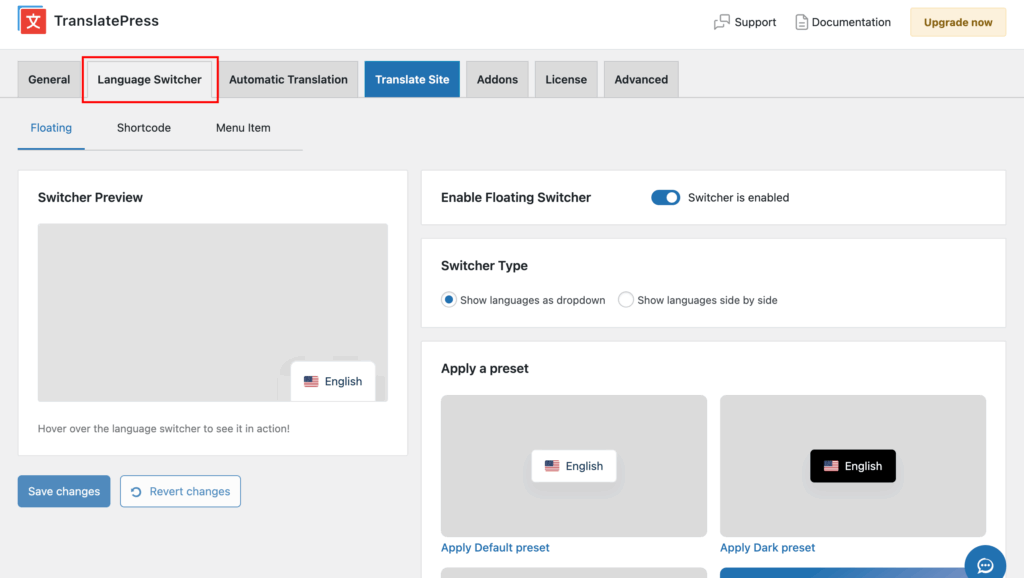
Go to the Appearance section and add the language switcher as a widget, or use the shortcode it provides to place it in your menu or anywhere on the page. Visitors will use this to toggle between languages.
Step 4: Start Translating Your Content
Click “Translate Site” from the TranslatePress menu. This opens your website in a visual editor where you can click on any text element and enter the translation directly in the panel on the left. This is one of the cleaner approaches available: you see exactly how the translation will look on your live page as you work.
Step 5: Manually Translate WordPress with TranslatePress
If you want full control over translation quality, you can type each translation yourself in the left-hand panel. This is how to translate a WordPress website manually within TranslatePress.
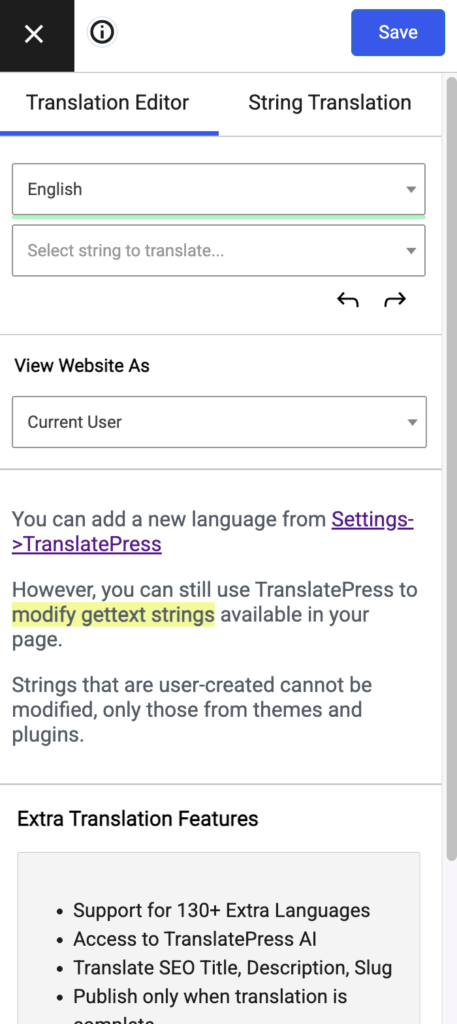
It is slower but produces the most accurate, natural-sounding results, especially for technical or industry-specific content where automated tools make errors.
Step 6: Translate WordPress Automatically with TranslatePress
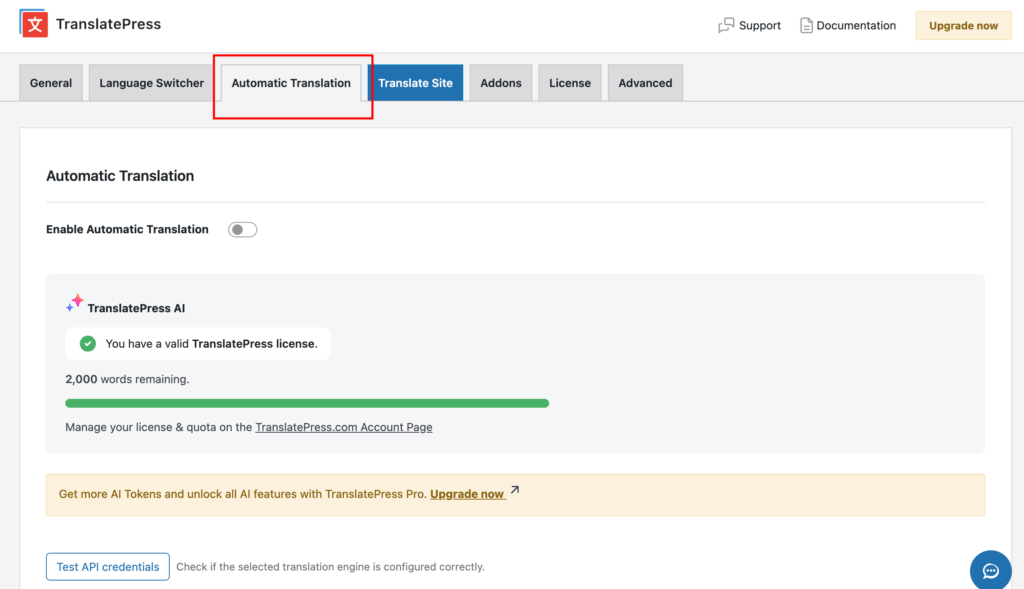
TranslatePress integrates with Google Translate and DeepL to generate automatic translations. Under Settings, connect your preferred service using an API key. Once connected, you can auto-translate entire pages with one click, then review and correct any passages that need adjustment. This is an efficient way to handle large amounts of content quickly.
Step 7: Test Your New Multilingual WordPress Website
Before publishing, visit the front end of your site and switch between languages using the language switcher. Check that menus, buttons, forms, and footer text have all been translated, not just post and page body content. Test on mobile as well, since layout shifts can sometimes affect how language switchers display.
More WordPress Translation Plugin Options
TranslatePress works well for most beginners, but several other plugins are worth knowing about.
1. WPML (WordPress Multilingual Plugin)
WPML is one of the most widely used plugins for professional and agency sites. It supports an extensive range of content types, including custom post types and WooCommerce products, and integrates with most major page builders. It is a paid plugin with no free tier, which makes it better suited to established sites with a budget.
2. Polylang
Polylang offers a free version with solid functionality. It works by creating separate translated versions of each page and post, and it includes a language switcher widget. The pro version adds WooCommerce support and deeper compatibility with some themes.
3. Weglot
Weglot takes a different approach: it operates as a proxy layer that detects and translates content at the server level. Setup is quick, and results are immediate, but the pricing is based on word count and number of languages, which can become expensive for content-heavy sites.
4. GTranslate
GTranslate uses Google Translate to translate a WordPress website automatically. The free version applies machine translation without storing translated versions in the database, which means it is not ideal for SEO since search engines may not index the translated pages. The paid version addresses this by generating static translated URLs. If you are looking for a free Google Translate plugin for WordPress, GTranslate is the most commonly used option, though its free tier has meaningful limitations.
4. MultilingualPress
MultilingualPress is built for WordPress Multisite networks. Instead of managing translations within a single site, it connects multiple sites in a network, each running in a different language. This is a more complex setup than most beginners need, but it is worth noting for larger or institutional projects.
Best Practices for Translating a WordPress Website
Before you publish your translated site, run through this list:
- Review automatic translations before publishing. Machine translation handles most content well, but struggles with idioms, brand voice, and specialized vocabulary. A quick read-through catches the obvious errors.
- Prioritize high-traffic pages first. Translate your homepage, service pages, and contact form before anything else. These pages drive the most decisions.
- Set up language-specific URLs. Each language version should have its own URL structure using a subdirectory like /fr/ or a subdomain. This is what allows search engines to index and rank your translated pages.
- Place your language switcher where visitors can find it. A switcher buried in the footer gets ignored. The main navigation or header is in the right location.
- Check for hardcoded text in your theme. Some themes output text that translation plugins cannot detect. Use a string translation tool to catch anything that was missed.
Start Translating Your WordPress Website Today
The tools available in 2026 make it straightforward to translate a WordPress website at any skill level. If you are just getting started, install TranslatePress, add one secondary language, and work through your most important pages first.
Automatic translation handles the bulk of the work; manual review keeps the quality where it needs to be. As your translated content grows, revisit your setup and decide whether a free tier still meets your needs or whether a premium plugin better fits your site’s scale. Either way, getting the first language live is the most productive step you can take.
For anything beyond the basics, such as a theme conflict, a plugin not picking up translated strings, or a multilingual WooCommerce setup, it is worth bringing in a specialist. JustHyre is a WordPress development team with experience across custom plugin builds, theme modifications, and complex platform integrations.


Stuck Somewhere?
Connect With JustHyre
Hire WordPress Engineers for custom jobs like Website Customization, SEO Optimization, Clearing a Hacked Website, Installation & Configuration & more.
Connnect with JustHyre