How to Add Social Media Icons to WordPress
Social media is an integral part of your digital strategy. You must align your social media strategy and your website content together to create a comprehensive online presence for your brand. In this article, we will explain how to add social media icons to WordPress.
If your WordPress theme has the option to add social media profiles you could use that. However, not all themes have this feature built-in. For example, the theme that we are using for this guide, the default Twenty Twenty theme does not offer built-in social media widgets. We will use a plugin to do this for us.
We will be using the Jetpack plugin to add social media icons to WordPress. You will get both social media profile icons and social share icons from the same plugin. Let us start with social media profile icons.
Add Social Media Icons to WordPress
We add social media icons to WordPress sites to encourage users to visit and engage with our social media accounts. For example, we would want visitors to look at our Instagram profile and follow us. We add social media profile icons to our website to facilitate this.
Where Should You Add Social Media Profile Icons?
This is a design decision and depends on your current theme. You can add social media icons to WordPress using any widget area available with your theme. For example, if your theme has a widget area next to the header, you can place your social media icons there.
Other locations you can use include, but are not limited to:
- Sidebar widgets
- Footer widgets
- After the article contents.
Add Social Media Profile Icons Without a Plugin
You can manually add social media icons to your website using HTML code. To do this, find the official icons for the service that you want to use and upload them to your Media Library. For example, you can download the Facebook icon here.
- Download official social media icons.
- Upload it from your WordPress admin dashboard Media > Add New.
- Open the image in the Media Library and copy the direct link.
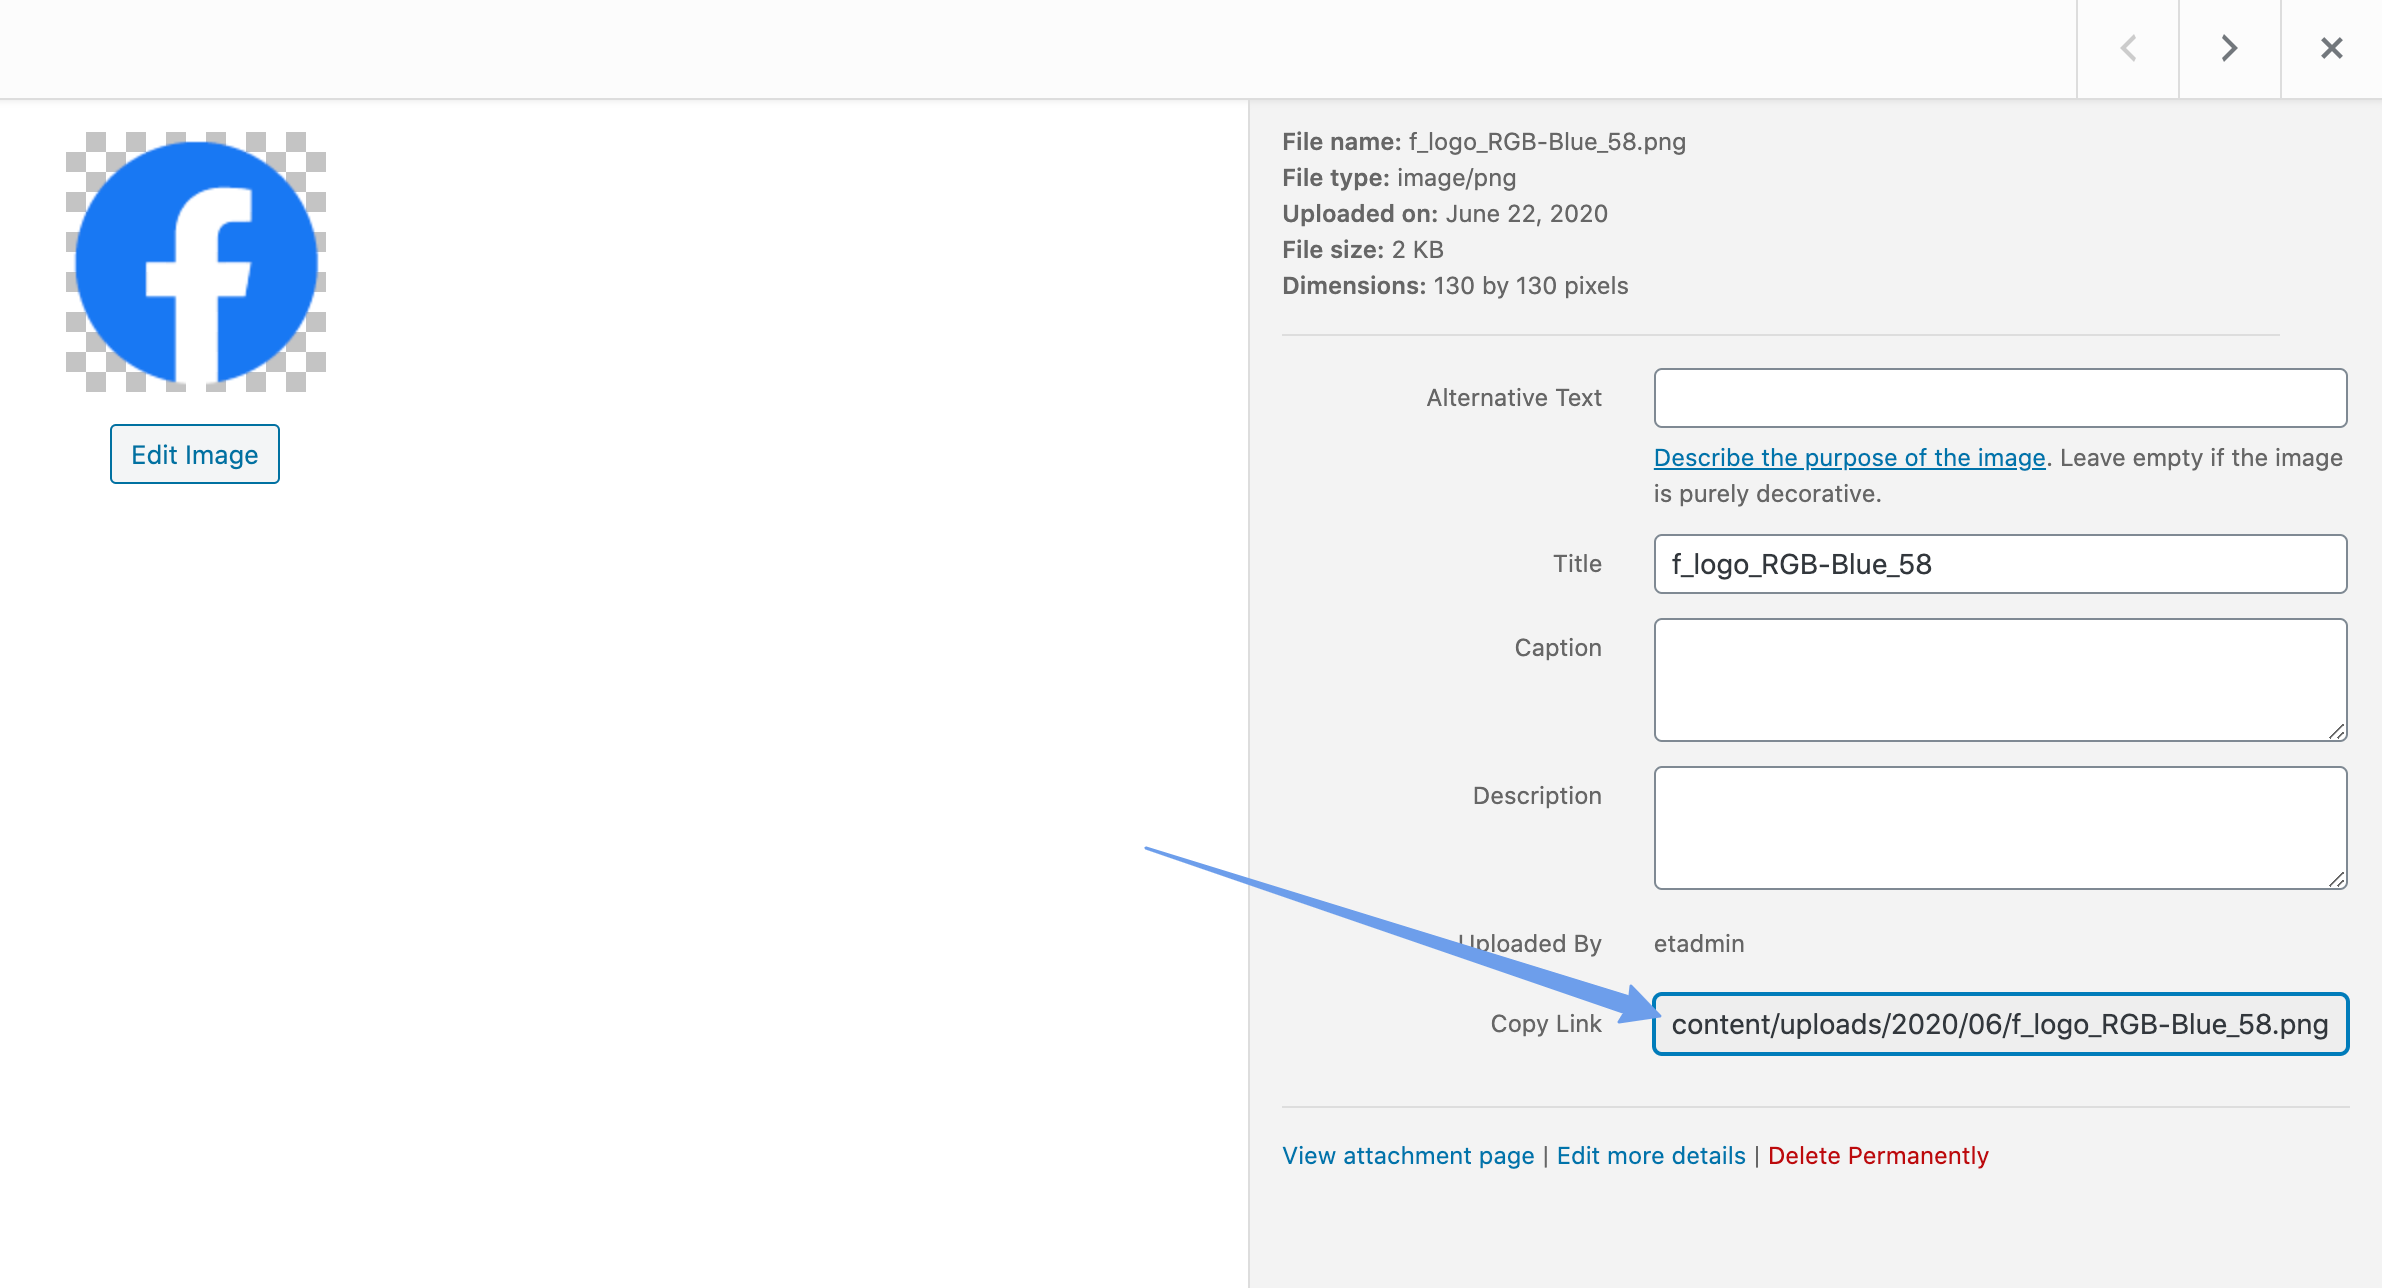
- Go to Appearance > Widgets.
- Add a Custom HTML widget to the widget area where you want to add social media icons.
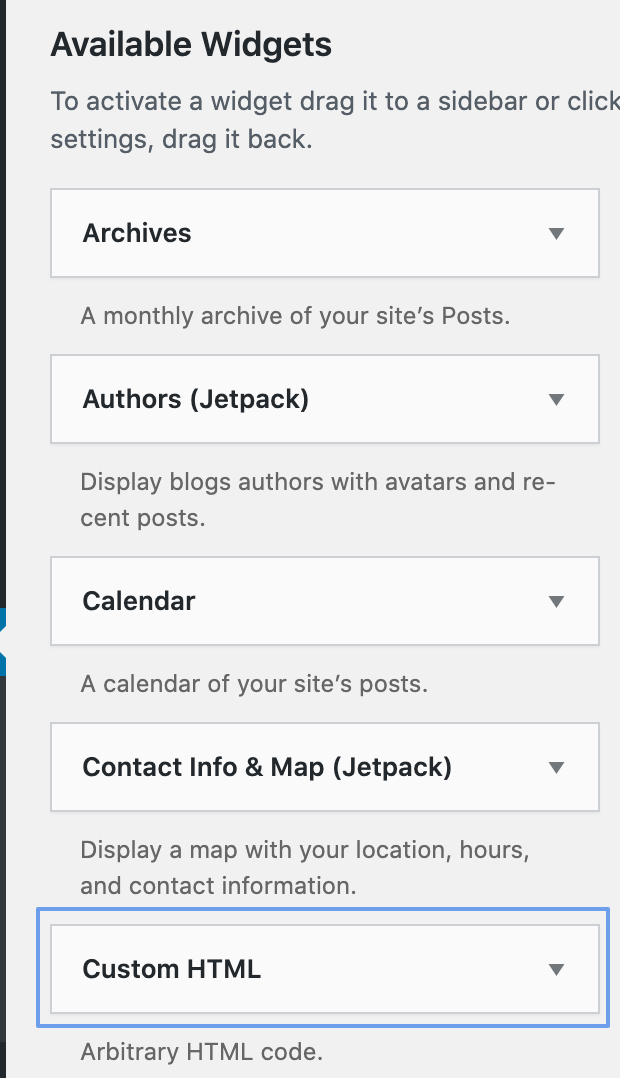
- Use the sample HTML code below to customize and create your own HTML.
- Insert the HTML code to use an image as a link.
- Save the widget.
- Refresh the site and check new social media icons

<a href="web address like address of facebook page ,twitter etc">
<img border="0" alt="alternet text" src="[Paste SM Icon Direct Link here]" width="100" height="100">
</a>
Add Social Media Icons Using Jetpack Plugin
To set this up using the Jetpack plugin, first install and activate the Jetpack plugin. You can go to your WordPress admin dashboard > Plugins > Add a new plugin and search for Jetpack.
Click Jetpack > Dashboard and you’ll be asked to log into wordpress.com to create an account.
Enable extra widgets
Jetpack comes with a bunch of widgets by default. However, there are a few more widgets that you can enable. Social media icons are among them.
- Goto WordPress Admin Dashboard > Jetpack > Settings.
- Click the Writing tab.
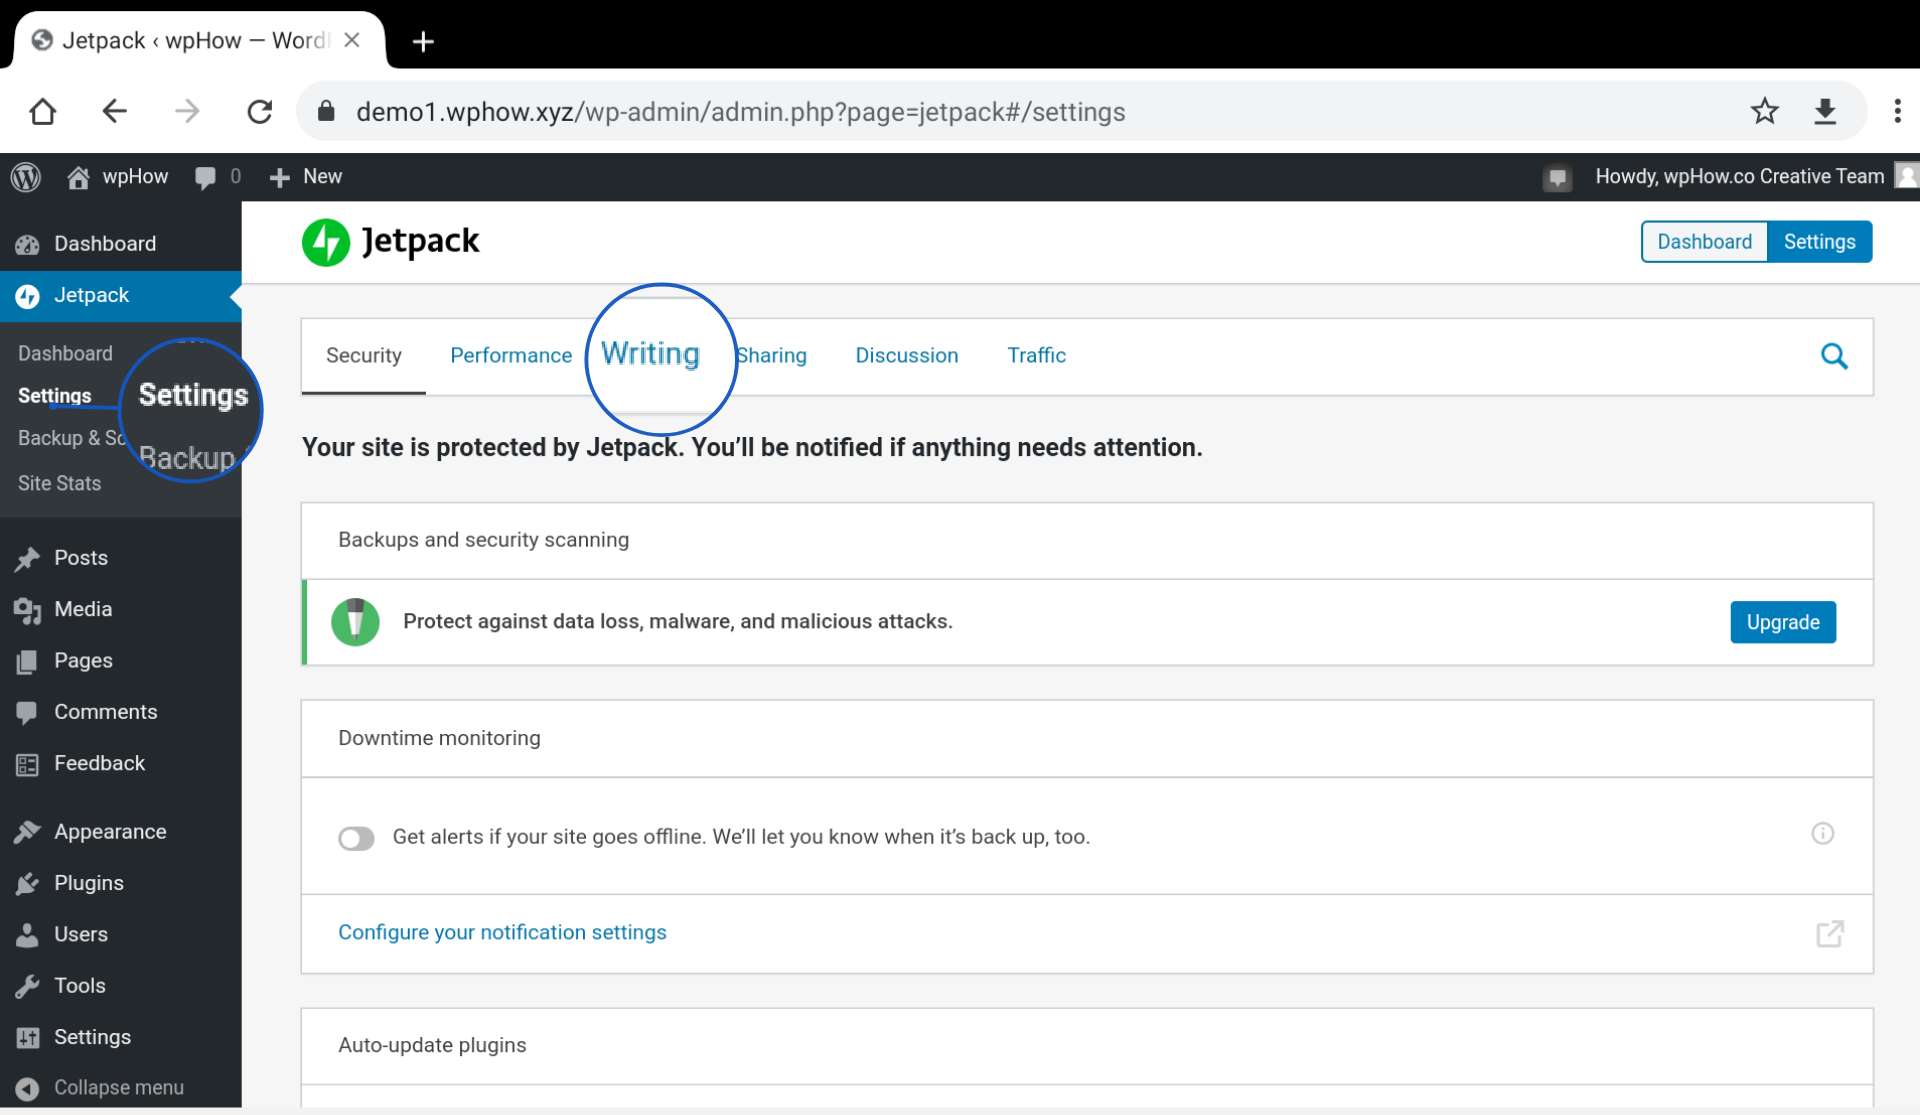
- Scroll down to the Widgets section. Slide and enable “Make extra widgets available for use on your site including subscription forms and Twitter streams”

Add the widget to the sidebar
The next step is to add the social media icons widget to a sidebar. Go to Appearance > Widgets. Add the Social Icons widget to your sidebar.

Click the Dropdown icon.

- In the Title field, enter a title for your widget. For example: Follow Us on Social Media.
- From the Size dropdown, select the size of the icon. You can choose from Small, Medium, and Large.
- Click Add an icon button to add a new social media profile. You will just need to add the URL and the widget will take care of the rest. Here is an example of a Twitter profile.
- Continue adding more profiles using the Add an icon button.
- Click Remove to remove a profile that you added.
- Click Save to apply the changes. Your social media profile icons should be available on the website now
As an example, here is what we added to the widget:

Here is the widget appearing on the site:

This completes adding social media profiles to your site. Let us now look at adding sharing buttons to your posts and pages.
Social media sharing icons
Social media sharing icons are usually added to individual posts and pages. These icons allow your visitors to easily share the content on their social media profiles.
You can use the Jetpack plugin to add social media sharing icons as well. To do this:
- From your WordPress admin dashboard, click Jetpack > Settings.
- Click the Sharing tab.
Regarding the activity, the Image should cover all the aspects or related areas.

3. Under Sharing buttons, enable Add sharing buttons to your posts and pages.

4. Click Configure your sharing buttons.

5. Click the Edit sharing buttons to add or remove social media icons.
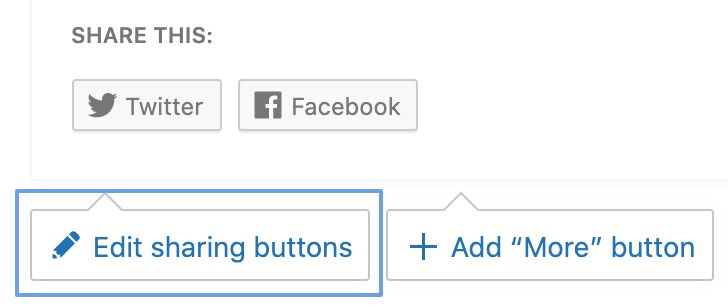
6. Click any disabled icons to enable them, and any active icons to disable them.

7. You can drag and drop icons to change their order.
8. Choose a button style from the available options.
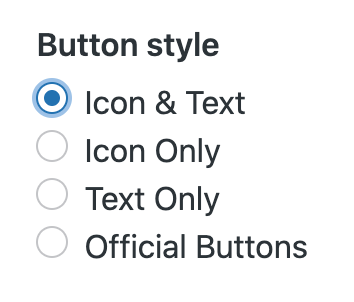
9. Click Save changes.

10. Under Options, choose pages that you want sharing buttons to appear.

11. Enter your Twitter handle Twitter username field. This will be included in tweets when people share using the Twitter button.

12. Click Save changes.
You now have social media sharing icons on your posts, pages, and any other selected sections.
Stuck Somewhere?
Connect With JustHyre
Hire WordPress Engineers for custom jobs like Website Customization, SEO Optimization, Clearing a Hacked Website, Installation & Configuration & more.
Connnect with JustHyre


0 Comments