How to Add a Gallery in WordPress With a Lightbox Effect? (3 Easy Steps)
Want to add a gallery in WordPress with a lightbox effect?
Imagine having some amazing photos to present to the world, but how do you make them come to life with style? That is where the lightbox effect comes into the picture! By adding the lightbox effect, users can effortlessly view your images in a distraction-free environment without ever leaving your website.
Moreover, following just a few necessary steps, you can turn a common image gallery into a visual and interactive journey for your guests.
Here, in this blog, we will show you how you can easily add a gallery in WordPress with a lightbox effect.
Why Add a Gallery in WordPress With a Lightbox Effect?
Adding a gallery with a lightbox element creates an enhanced display and user interface for WordPress websites. A gallery is a structured and visually pleasing means of presenting a collection of images, which makes it ideal for photographers, artists, and any web resource that relies on visual content. The lightbox effect which allows images to be opened in a popover overlay hence not redirecting the user to a new web page has several benefits.
To begin with, it provides a much more immersive and seamless viewing experience, eliminating all the clutter and distractions in the background, hence concentrated viewing. Moreover, the lightbox effect offers users a simple navigation guide allowing them to navigate from one image to another easily. Not only does this enhance the look of the site overall, but it also serves to please the users and hold their attention with the other visual material.
- Enhanced Visual Appeal: A gallery shows the images as a pleasing grid or slideshow while keeping the people attracted to the interesting content.
- Improved User Experience: The lightbox effect saves the user from navigating away from the current page as it opens within the same window, thus creating a truly user-friendly and interactive experience.
- Convenient Navigation: The user can browse through pictures in the lightbox, making it more accessible and inviting users to further look into the gallery.
- Focus on Content: The lightbox puts images into a pop-up overlay to establish all the focus of attention on the visual content so that the surrounding webpage is not a source of distraction for the user.
- Optimized Loading: The use of a lightbox ensures that on-demand images are loaded immediately without the entire gallery of images loading at the same time and thus page loading time is reduced.
Want to change margins in WordPress? Read, How to Change Margins in WordPress (3 Minutes Beginner’s Guide)
How to Add a Gallery in WordPress With a Lightbox Effect
Step 1: Install the Lightbox Plugin
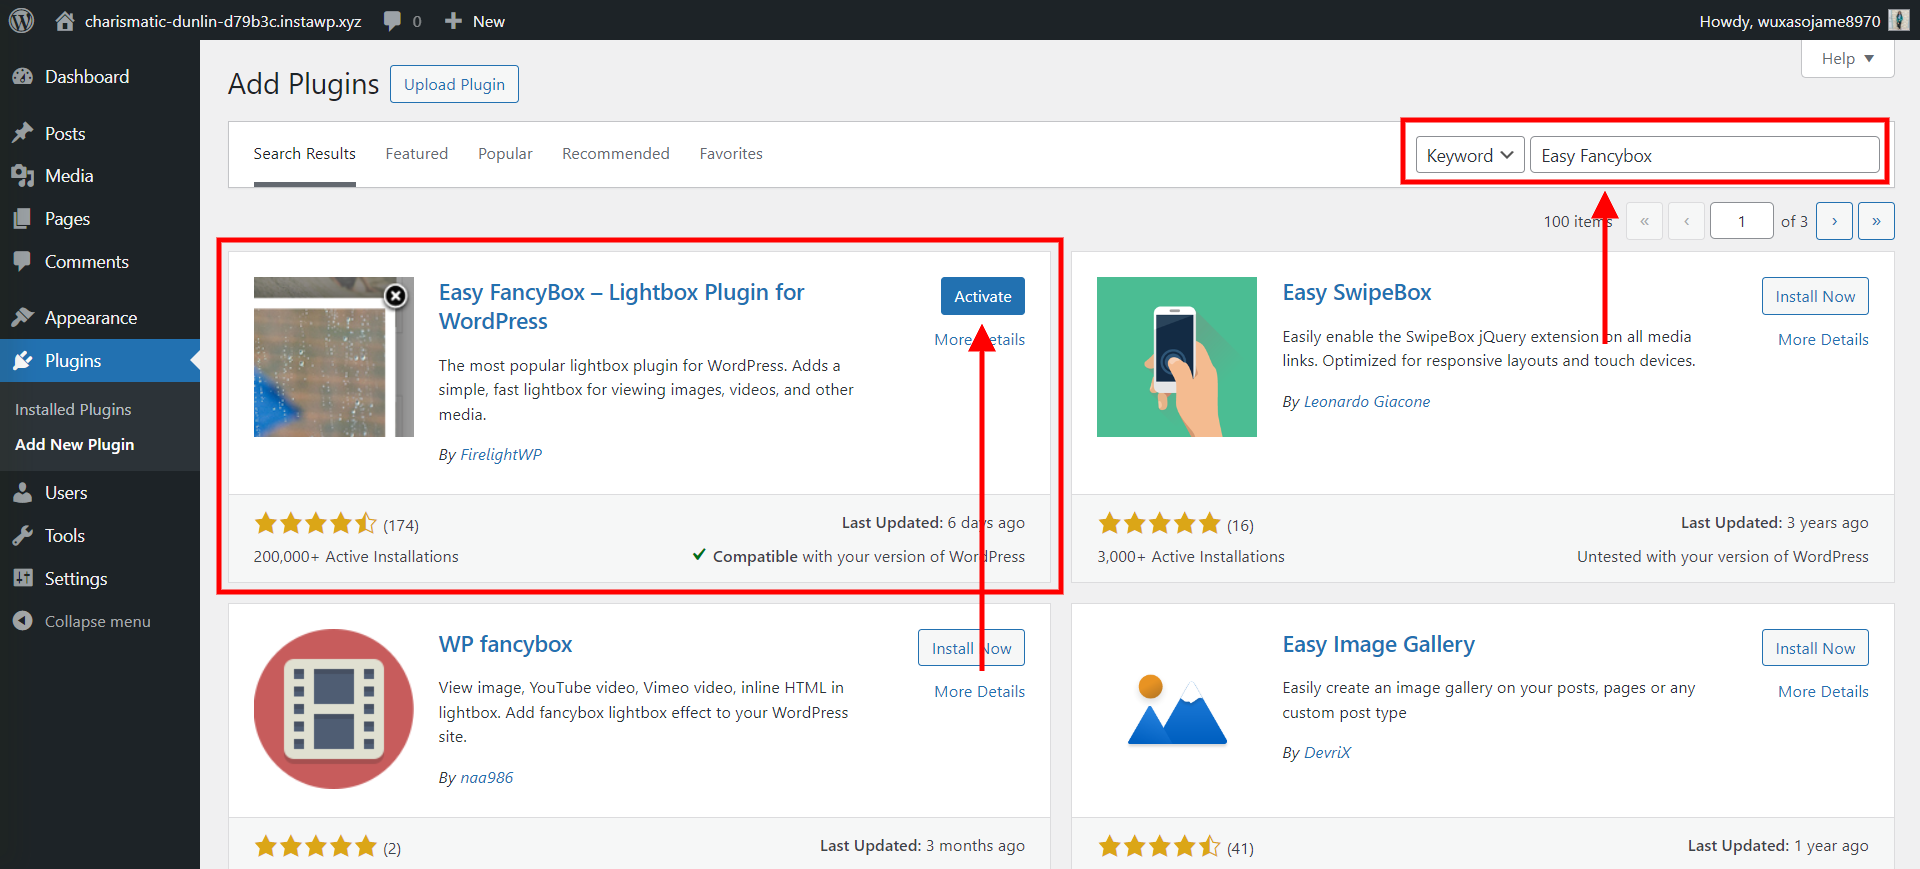
The very first step to adding a gallery with a lightbox effect is to decide which lightbox plugin to use. WordPress has tons of lightbox plugins. You need to choose the one that aligns with your requirements.
Here, in this tutorial, we are using ‘Easy Fancybox -Lightbox Plugin for WordPress’.
Login to your WordPress dashboard and navigate to the ‘Plugins’. Now, in the search field, search for the plugin you want to use to add a gallery on WordPress with the lightbox effect. Now, install it, and don’t forget to activate the plugin.
Step 2: Configure the Lightbox Plugin Settings
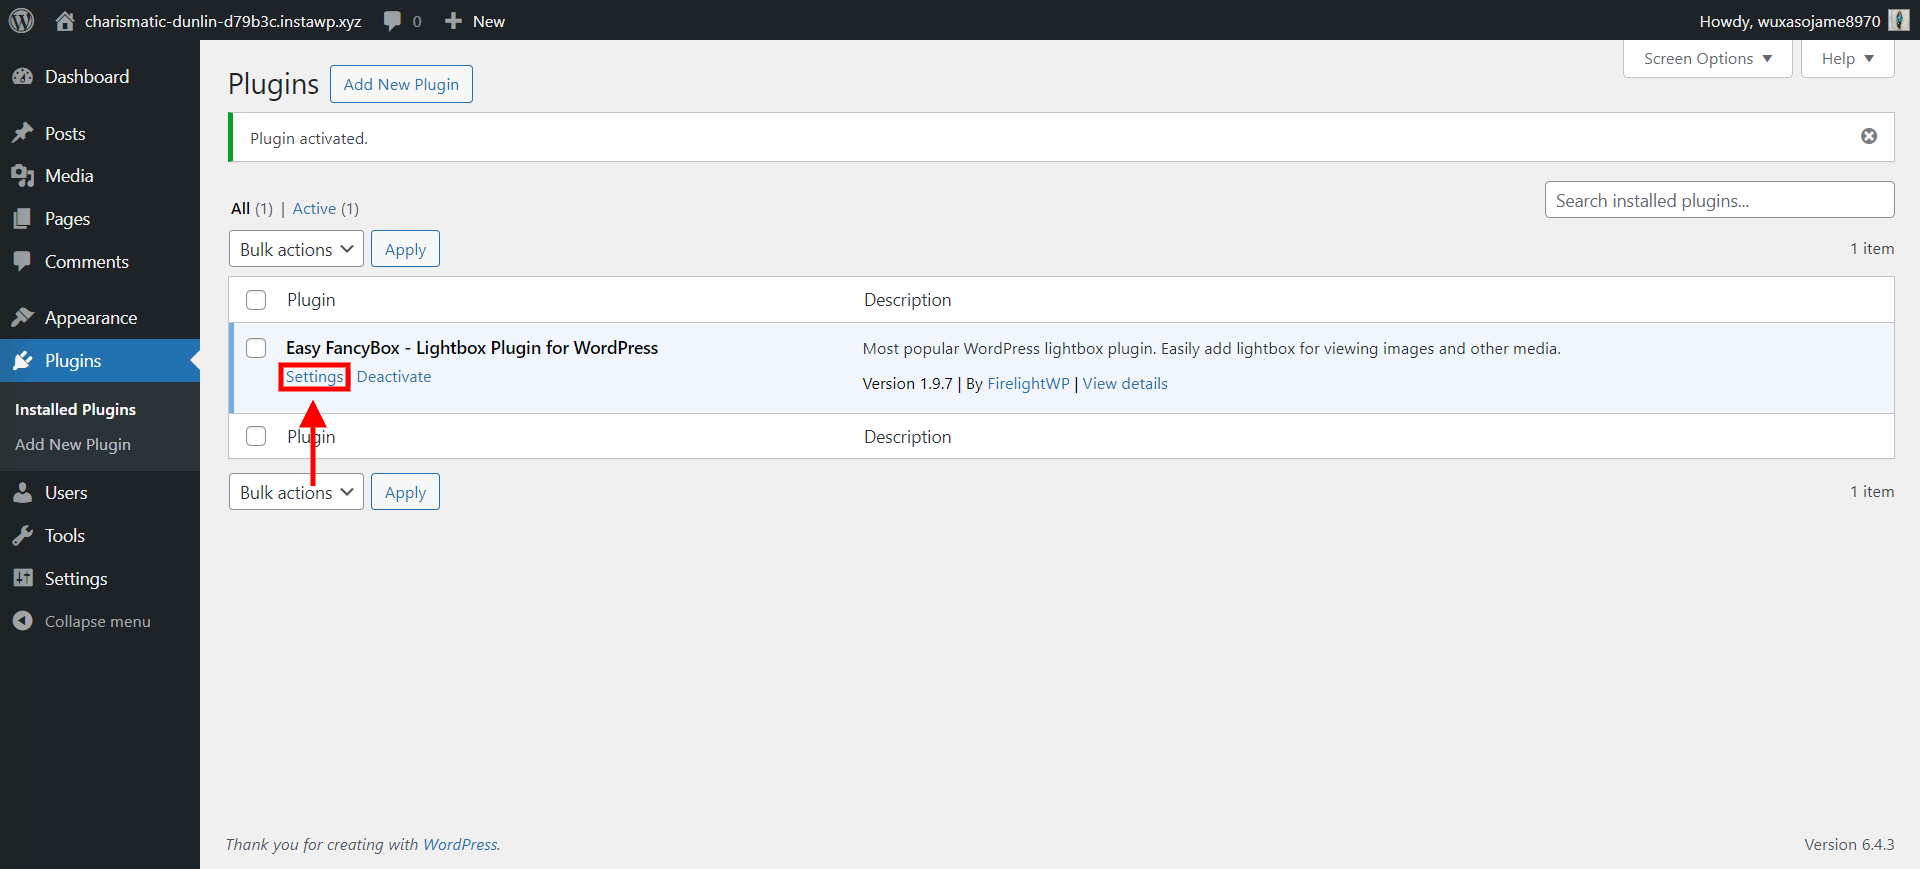
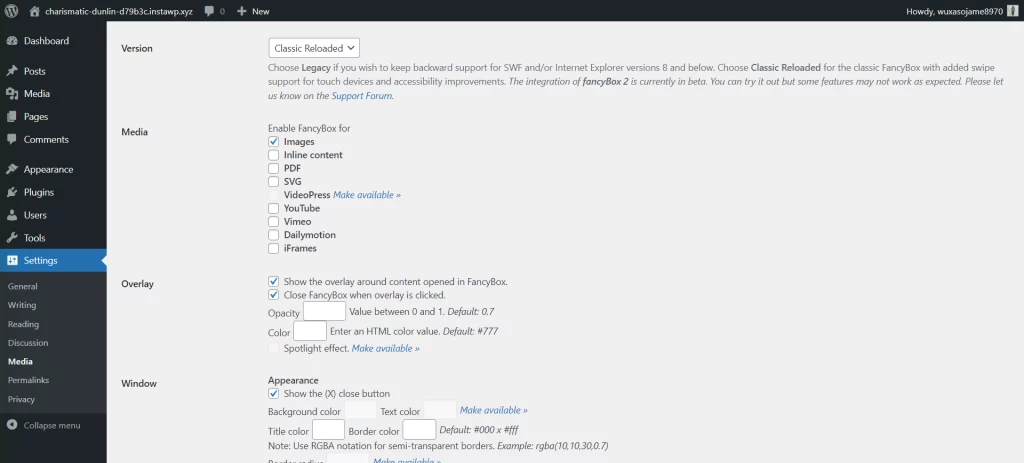
The Lightbox plugin offers you various settings for you to customize the lightbox effect. Click on the ‘Settings’ button and you will see the various customization options. You can edit the sizes of images, uploading methods, to which media you want to show the lightbox effect, overlay settings, popup window settings, and much more.
Configure the settings according to your website’s branding and don’t forget to hit the ‘Save Changes’ button at the end.
Looking for an easy way to migrate websites? Here is the Ultimate Website Migration Checklist: 16 Steps You Need to Do.
Step 3: Upload Images and Insert Gallery
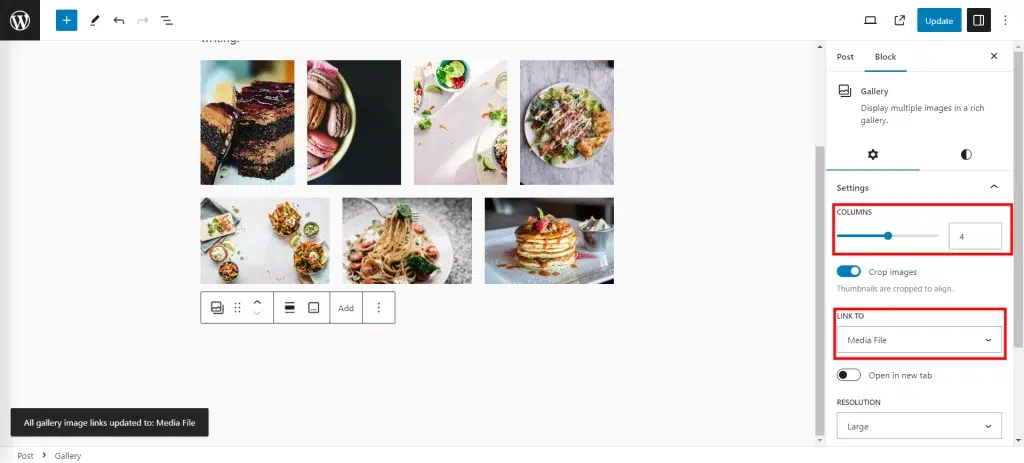
To add a gallery in WordPress with the lightbox effect to your post or page, locate the “Add an Image” icon located to the right of Upload/Insert, a little above the visual editor toolbar. After the upload open the Insert Media window and click on the “Create Gallery” link located on the left side. Make sure the required images are selected to be incorporated into the gallery, then move to the blue “Create a new gallery” button.
In the following Edit Gallery window, select “Link to Media File” to enable the lightbox option. Select the number of columns you would like to have and indicate the preferred gallery type. When the Jetpack Tiled Galleries plugin is activated, extra options will be provided in the dropdown list. After making your selections, click on “ Insert Gallery”.
Now, once you upload the gallery update the page or post and see the results. And there you will be able to add a gallery in WordPress with a lightbox effect.
Do you have a sale on your website and want to add a sale notification banner? Read, How to Add a Sale Notification Banner on WordPress. (6 Easy Steps).
Bonus Tip: Use Instawp
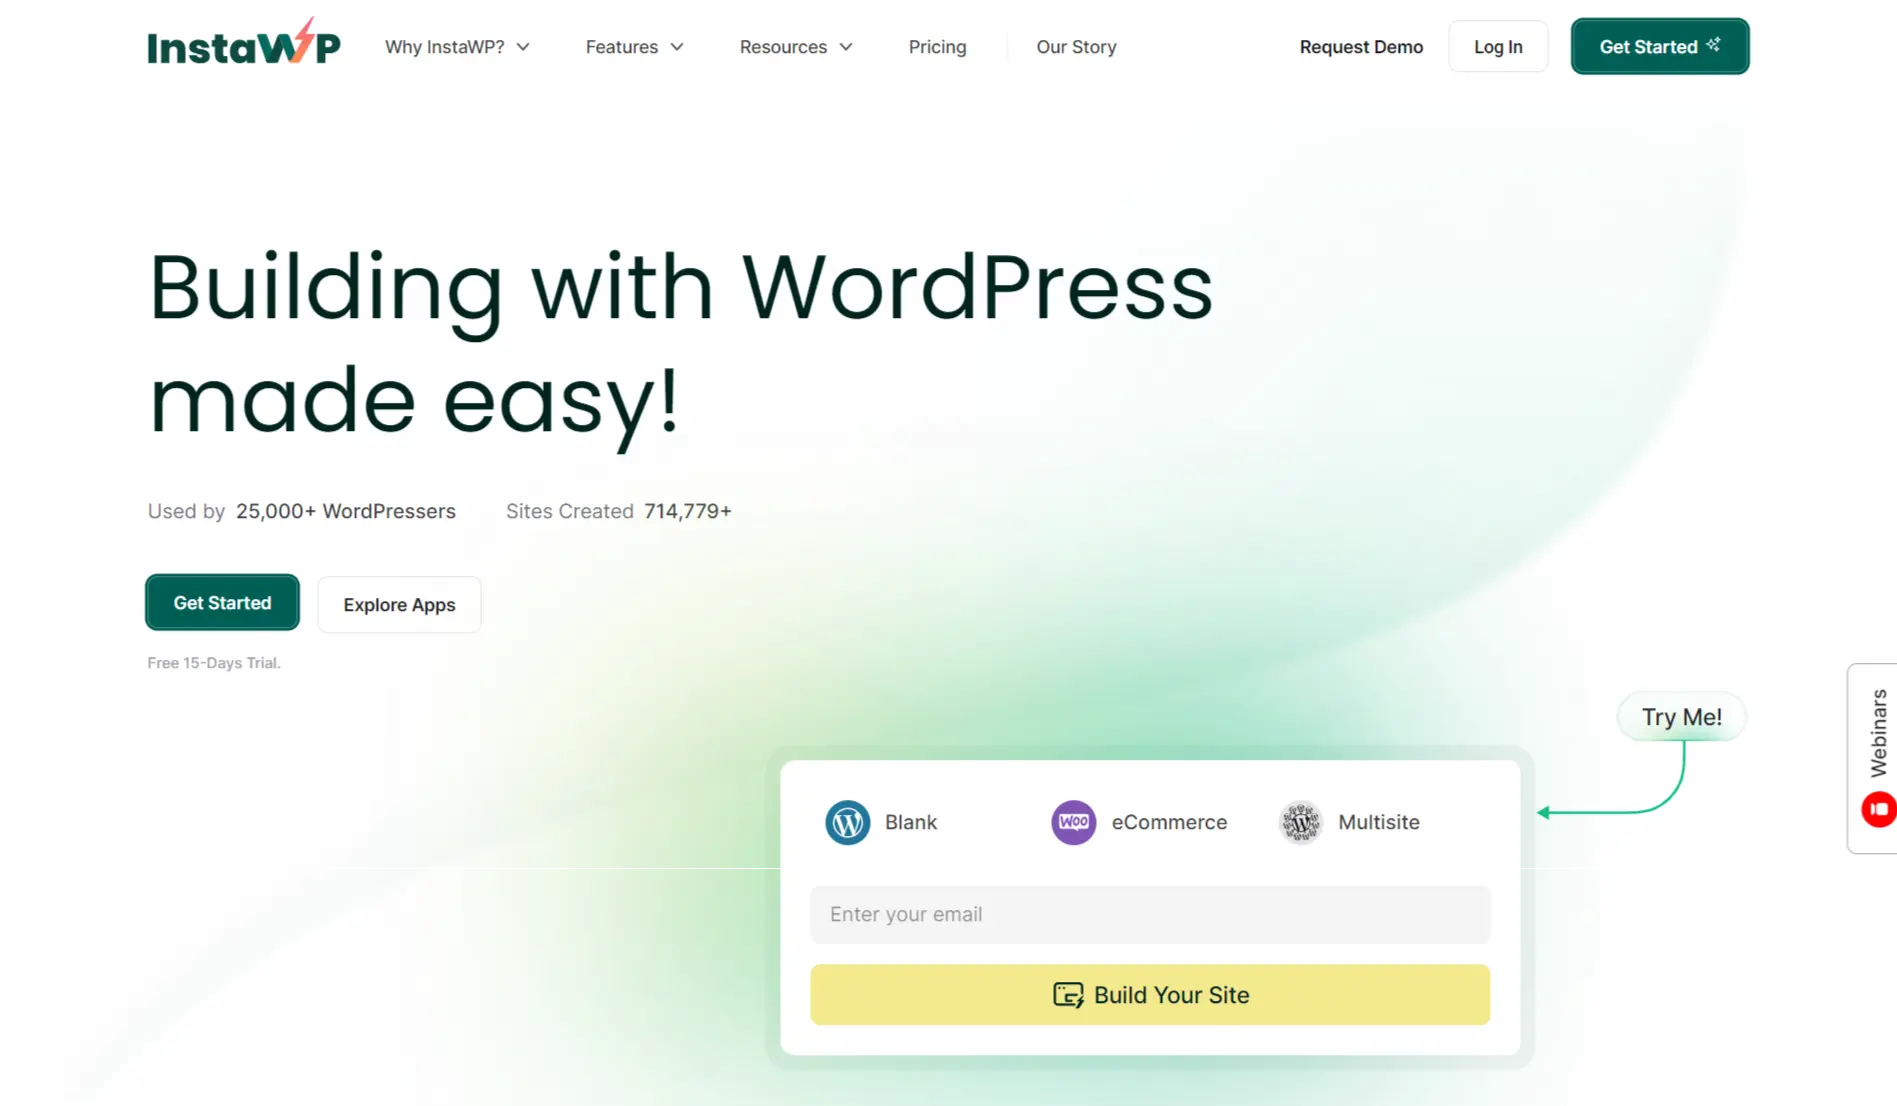
Before making any final changes to your live WordPress website, you can try adding a lightbox effect to a dummy website and see how it will look. It is a sandbox plugin designed for easily creating disposable websites.
InstaWp gives you a secure environment to test plugin and theme updates and even play with changes in PHP versions. This tool offers several benefits:
1. Risk-Free Testing: With InstaWP, you have a safe environment to try out different WordPress themes that will not affect your live site. It enables you to preview and analyze themes sufficiently before making a final decision.
2. Staging Site Creation: It allows you to quickly create several staging sites, which function as standalone test environments. This feature makes sure that your tests do not influence the functionality of your live site.
3. Testing Plugin and Theme Updates: Use InstaWP to test updates for plugins and themes before installing them on your live site. This assists in identifying any possible conflicts or complications that can be addressed.
4. PHP Version Changes: Try PHP version changes in the InstaWP ecosystem. This is particularly beneficial for maintaining the new releases of PHP without disturbing how it works on your main website.
5. Efficient Decision-Making: With the use of InstaWP, you make it easier for yourself when choosing a new WordPress theme. Evaluate themes from a comprehensive perspective and base decisions on the outcomes of real-world testing.
6. Enhanced Security: Since InstaWP runs in a secluded sandbox, any problems or conflicts that happen during theme testing do not threaten your live site security. This guarantees a safe and riskless testing environment.
In a Nutshell
When you add a gallery in WordPress with a lightbox effect, you enhance the visual appeal of your website. It enhances the user experience by opening the image in the same window. The lightbox effect enhances user experience to its maximum as it opens the image in the same window allowing the viewer to concentrate on the beautiful images in front.
Additionally, it enhances navigation by offering users a convenient mechanism to browse your gallery without leaving the current page. Users will slide with ease on your images, one after the other, increasing engagement and prolonging the interaction with the content on your web pages.
If you like reading this blog about how to add a gallery in WordPress, also read our detailed guide on How to Add a Bitcoin Payment Gateway to a WordPress Website. (4 Easy Steps) and How to Create a Wholesale Order Form in WordPress? (7 Simple Steps).
Stuck Somewhere?
Connect With JustHyre
Hire WordPress Engineers for custom jobs like Website Customization, SEO Optimization, Clearing a Hacked Website, Installation & Configuration & more.
Connnect with JustHyre


0 Comments