How to Set Up Google Analytics on WordPress Website? 2 Easy Ways
Google Analytics is a powerful analytics platform used by webmasters to analyze traffic to their websites. This article explains how to set up Google Analytics on WordPress Websites or blogs. This Google-owned service is free and you can sign up and add your website using your Google account.
Set Up Google Analytics on WordPress Website.
To sign up for Google Analytics:
- Open https://marketingplatform.google.com/about/analytics/ and click Start for free.
- Log in to your Google Account.
- On the Welcome to Google Analytics page, click Set up for free.
- In the Account name field, enter a name for your Google Analytics account.
- Click Next.
- Select Web if you have only a website.

7. Click Next.
8. On the Property setup screen:
1. Website Name: Enter your website’s name.
2. Website URL: Enter your website’s URL. (Note: Select https:// from the dropdown if your website uses HTTPS.)
3. Industry Category: Select a category that matches your website’s topic.
4. Reporting Time Zone: Select your country and the timezone.
9. Click Create.
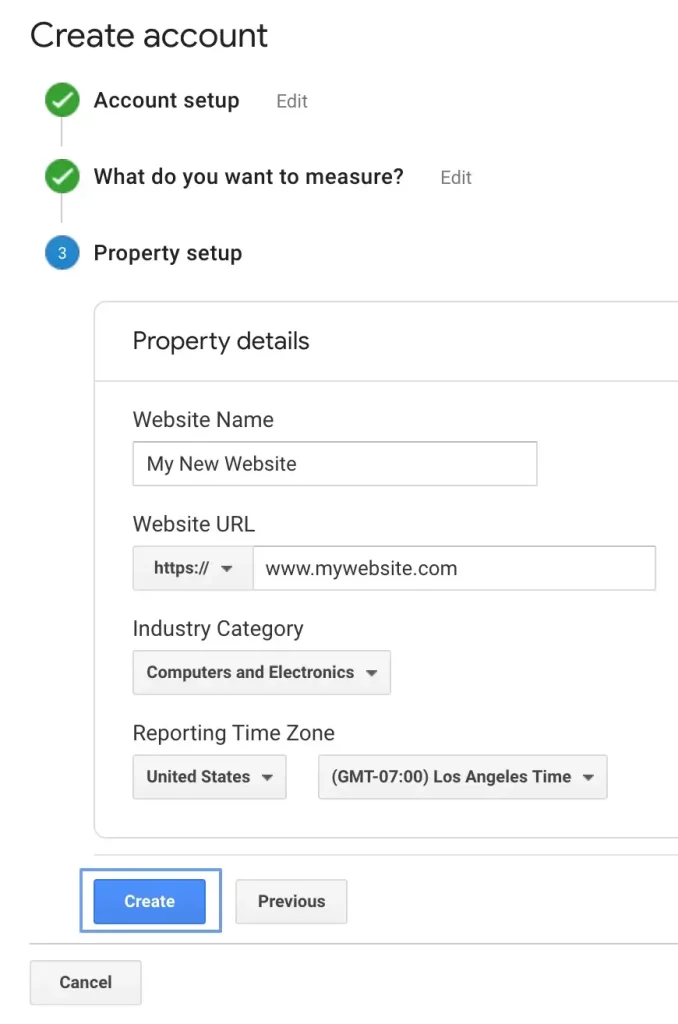
10. Review and click I Accept to accept Google’s terms and conditions.
11. Select your email preferences and click Save.
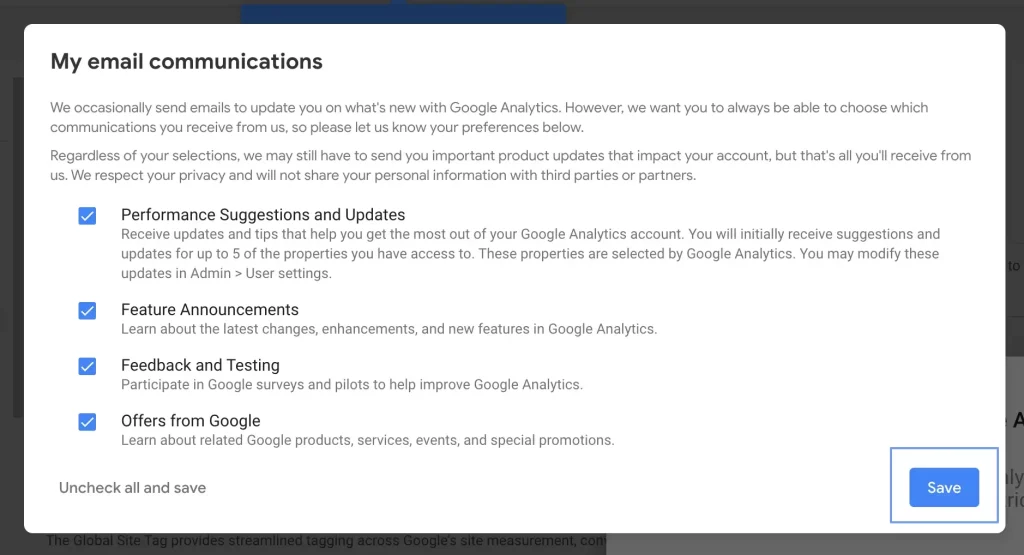
12. On the next page, you will see the tracking ID and tracking code for Google Analytics. Copy and save both.
We can now use this code to set up Google Analytics on WordPress.
Where To Add Google Analytics Code to WordPress?
You can add Google Analytics tracking code to your WordPress theme manually by editing the theme files. The following example shows how to do this using the default Twenty Twenty WordPress theme.
- On your WordPress dashboard, click Appearance > Theme Editor.
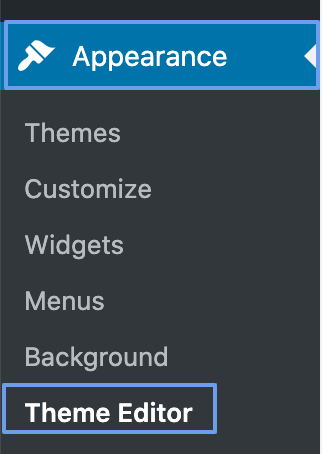
2. From the theme files list, select header.php.

3. Paste the copied Google Analytics tracking code before the </head> tag.
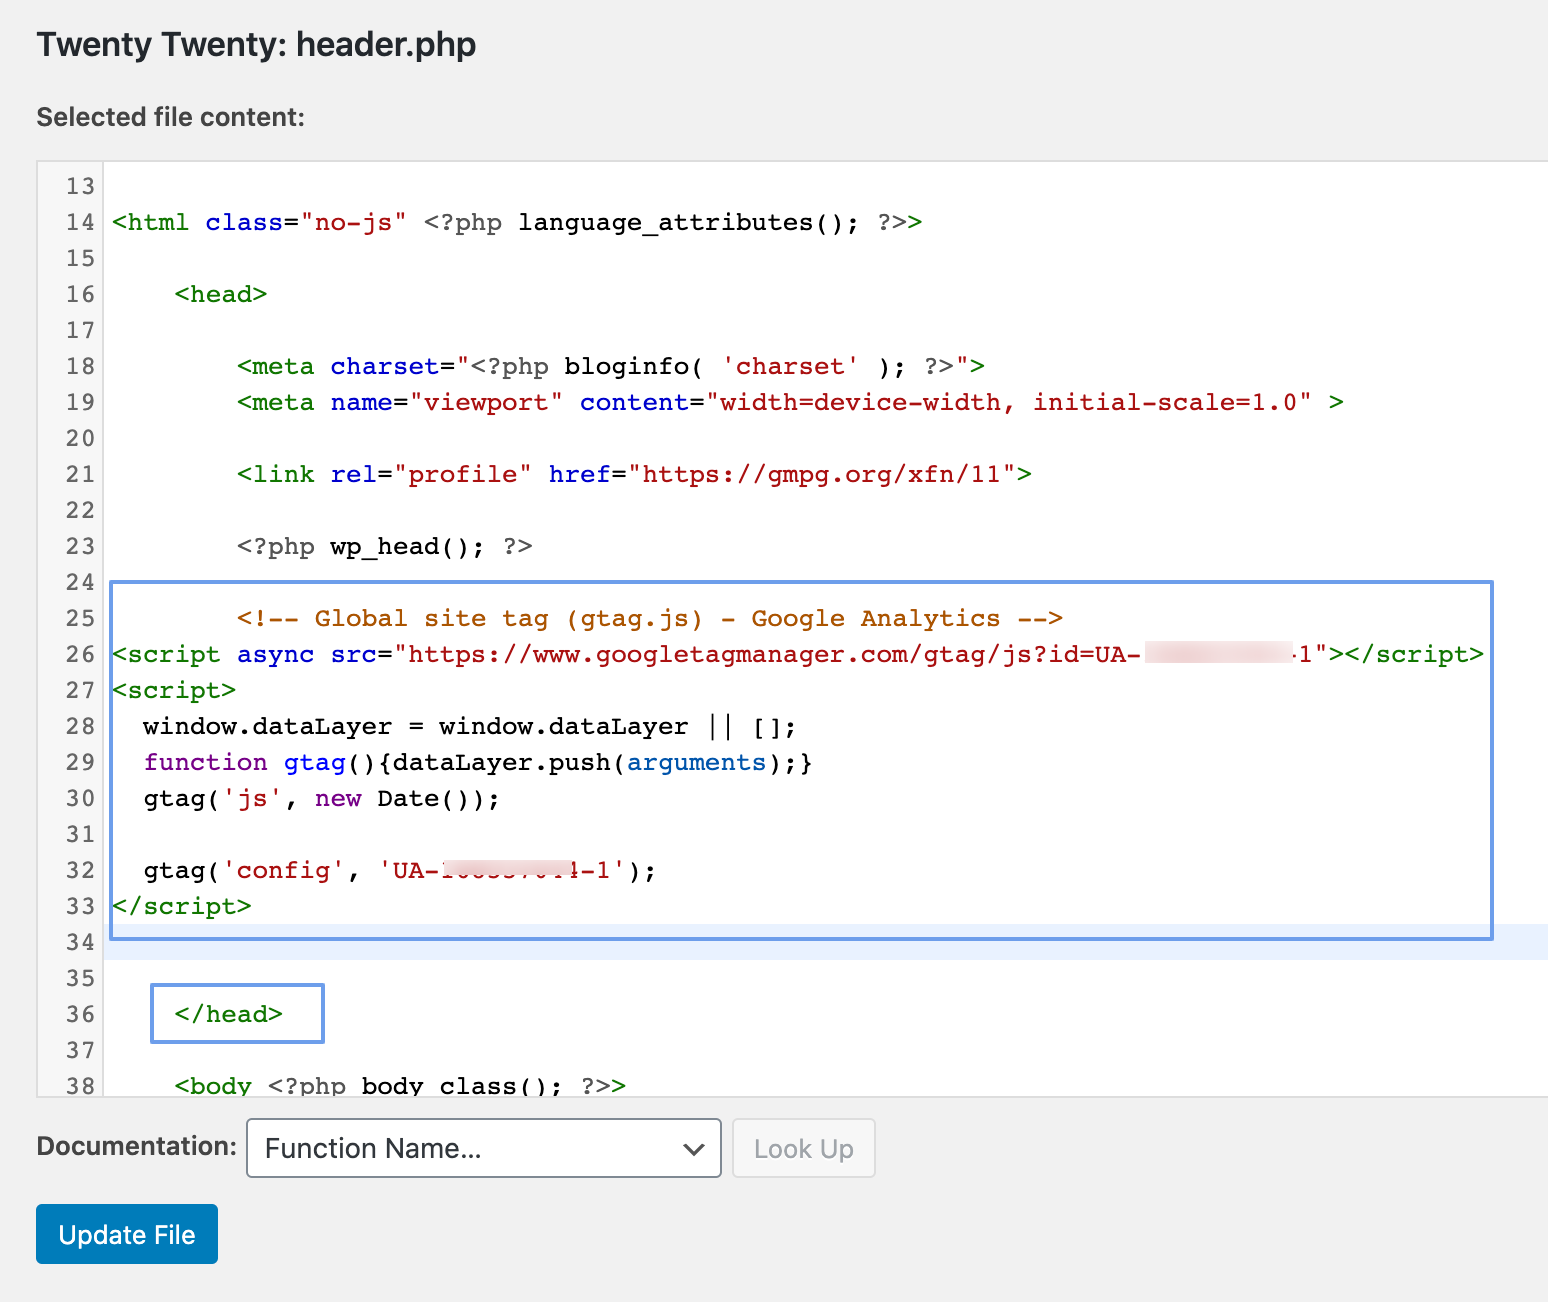
4. Click Update File.
You have now added the Google Analytics tracking code to your theme.
Plugin For Google Analytics WordPress.
Google recently launched an official plugin that you can use to connect your WordPress site to Analytics and Google Search console. If you use AdSense, you can use the same plugin to set up this service as well.
To set up Google Analytics using Site Kit:
- On your WordPress admin dashboard, click Plugins > Add New.

2. In the Keyword field, enter Site Kit and press Enter.
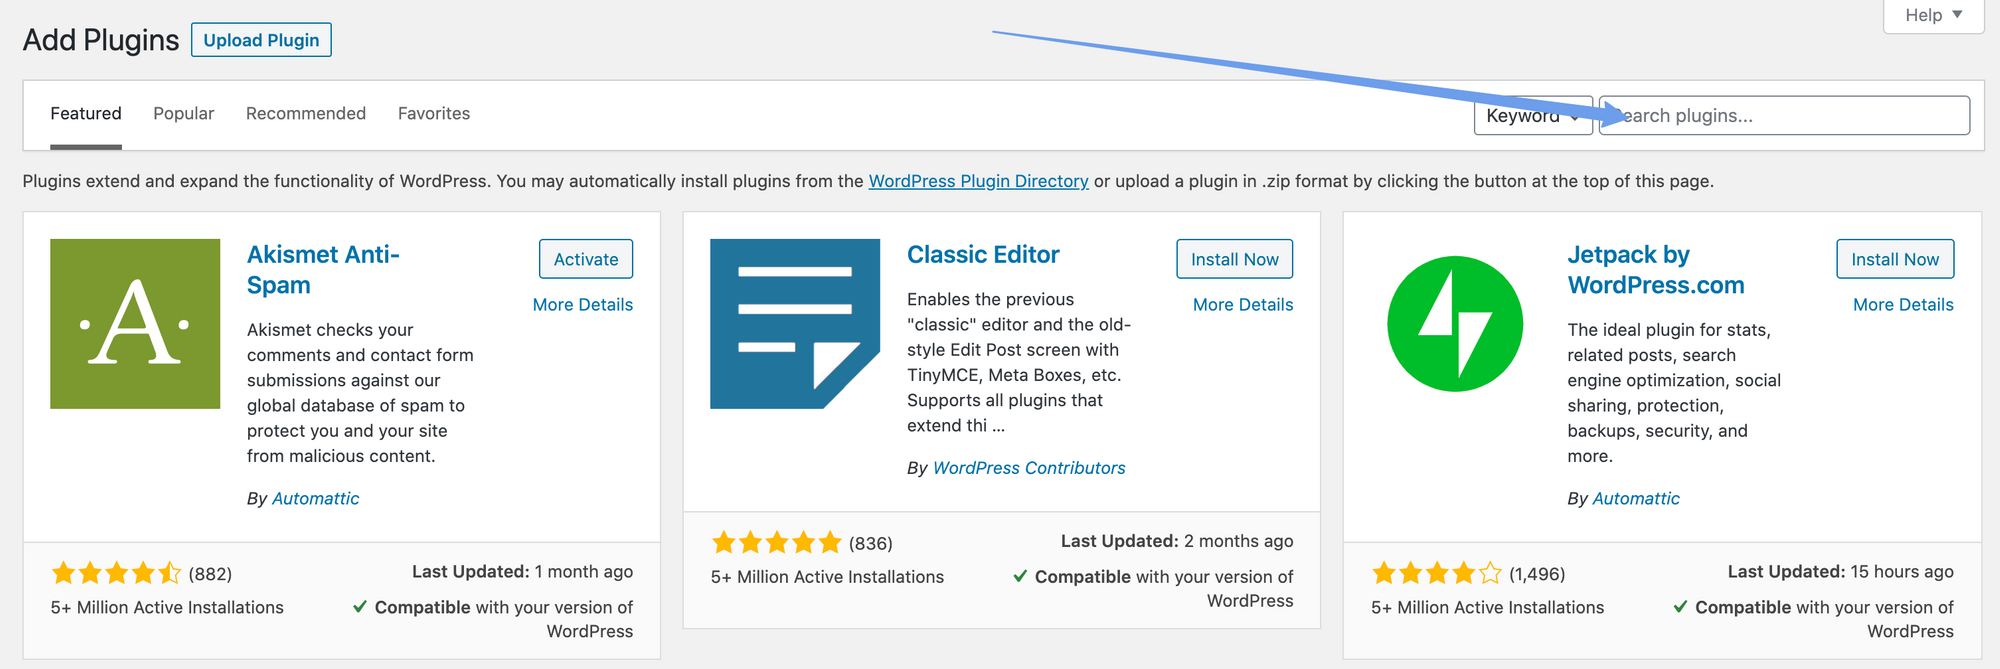
3. Click Install Now next to Site Kit by Google. The plugin will download and install on your WordPress site.

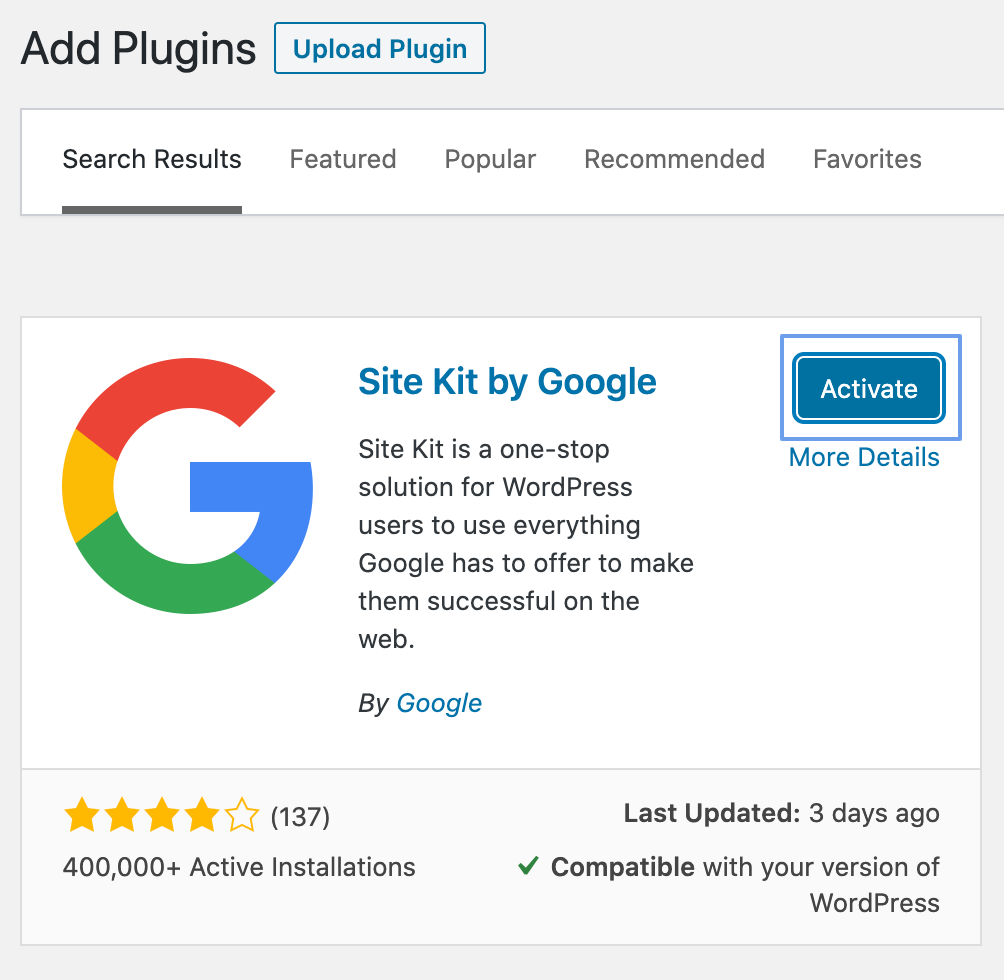
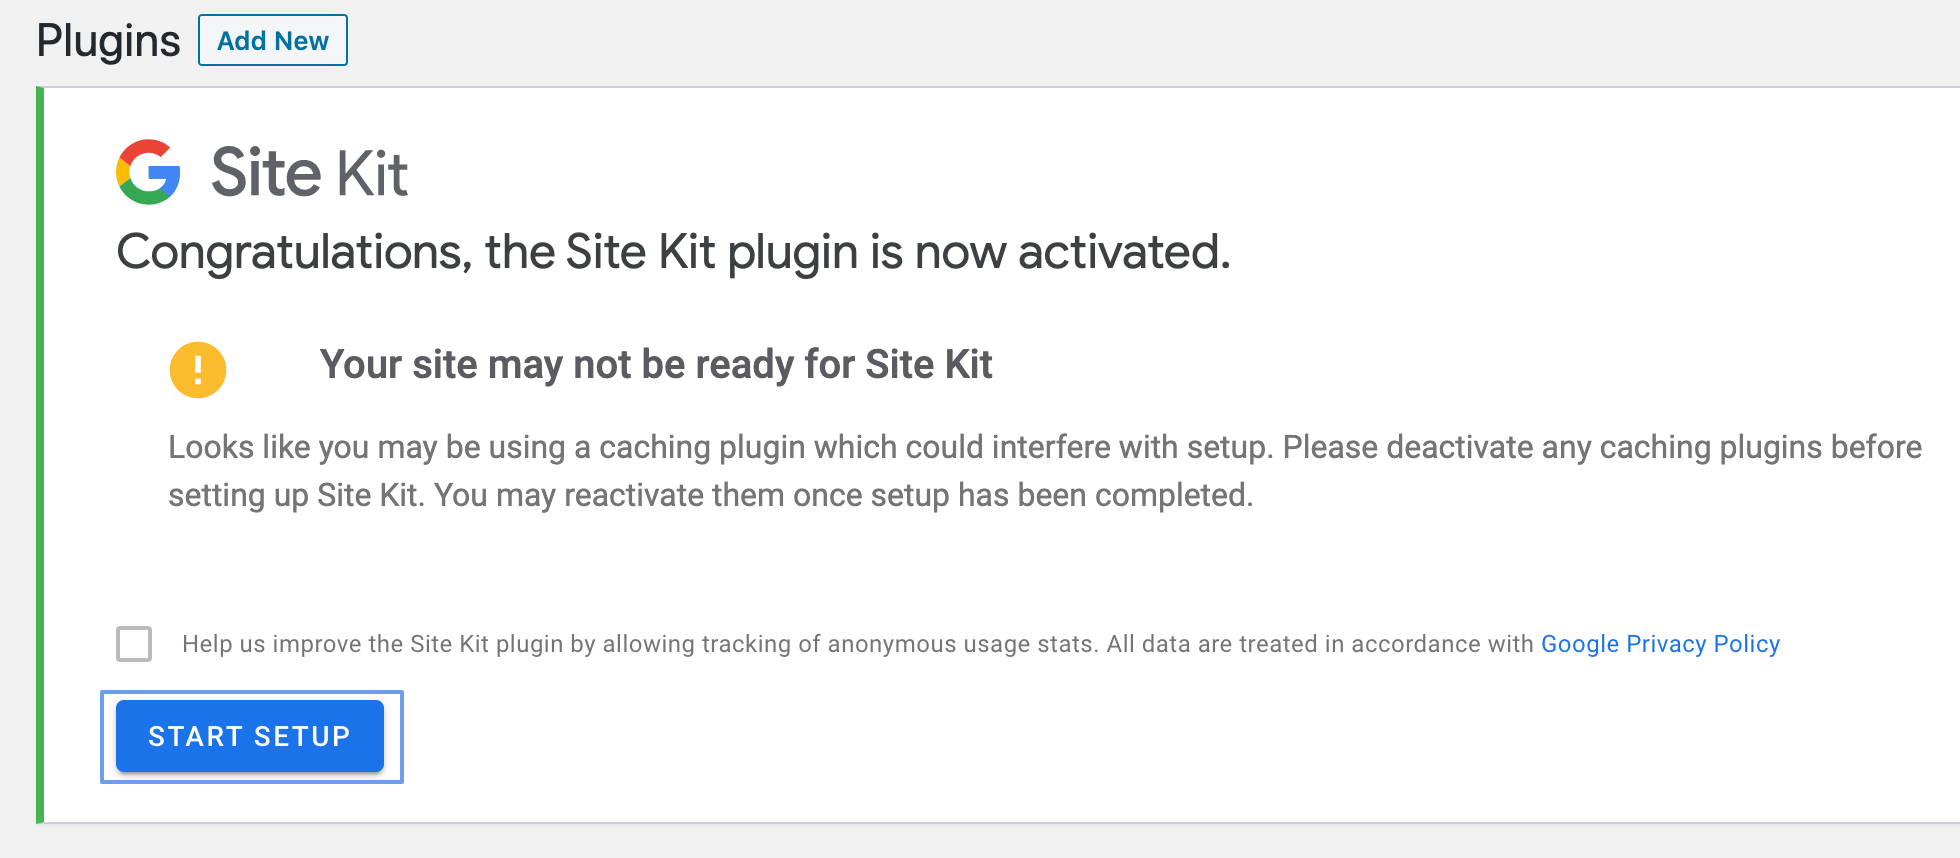
4. Click Activate. You will be redirected to the Plugins page with a Site Kit welcome message.
5. Click Start Setup.
6. Site Kit will now redirect you to your Google account. Click Sign in with Google. Login using the Google account where you have added your website.

7. On the Choose an account screen, select the Google account where you added your website.
8. Click Allow to give Site Kit permission to manage websites for you.
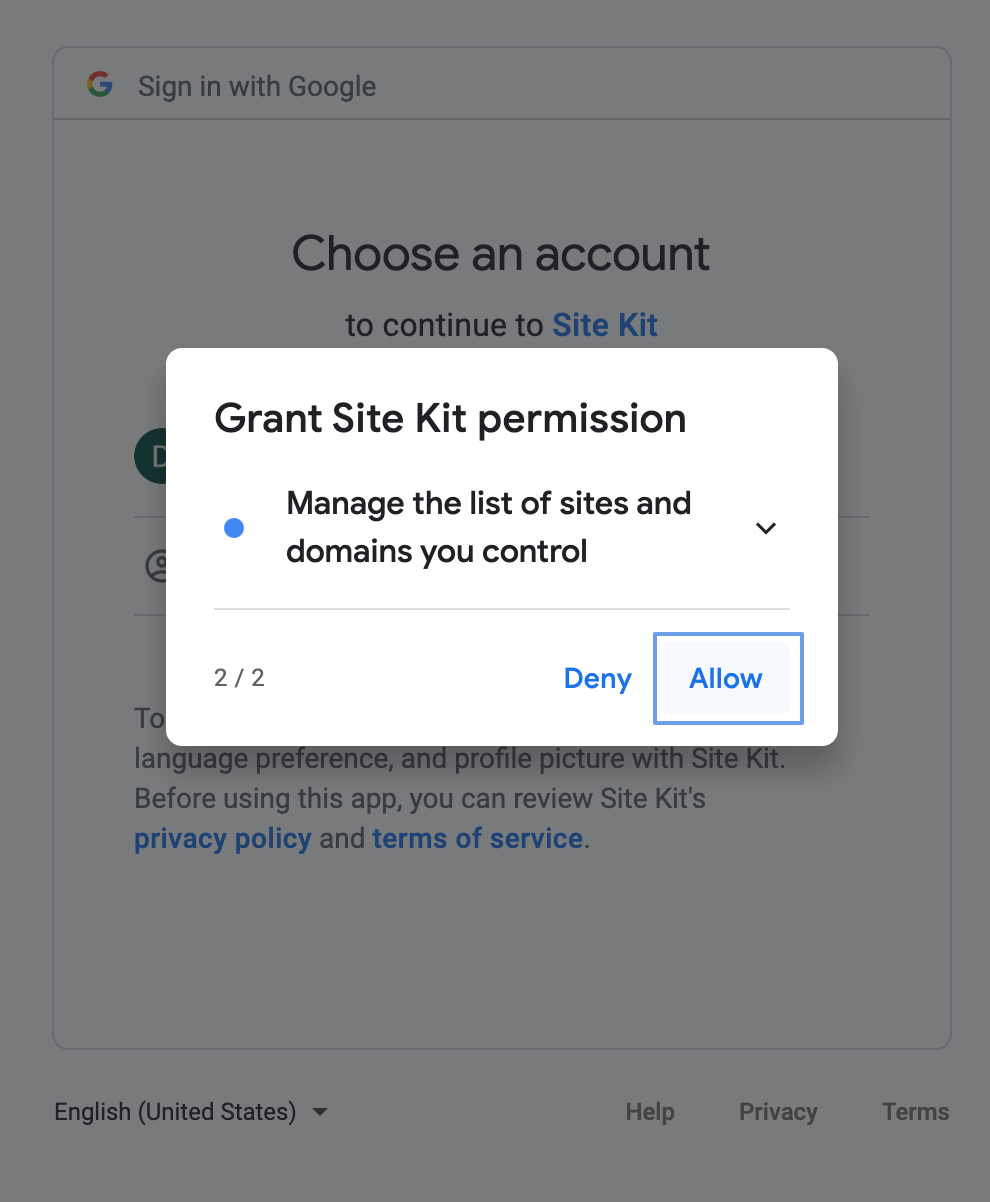
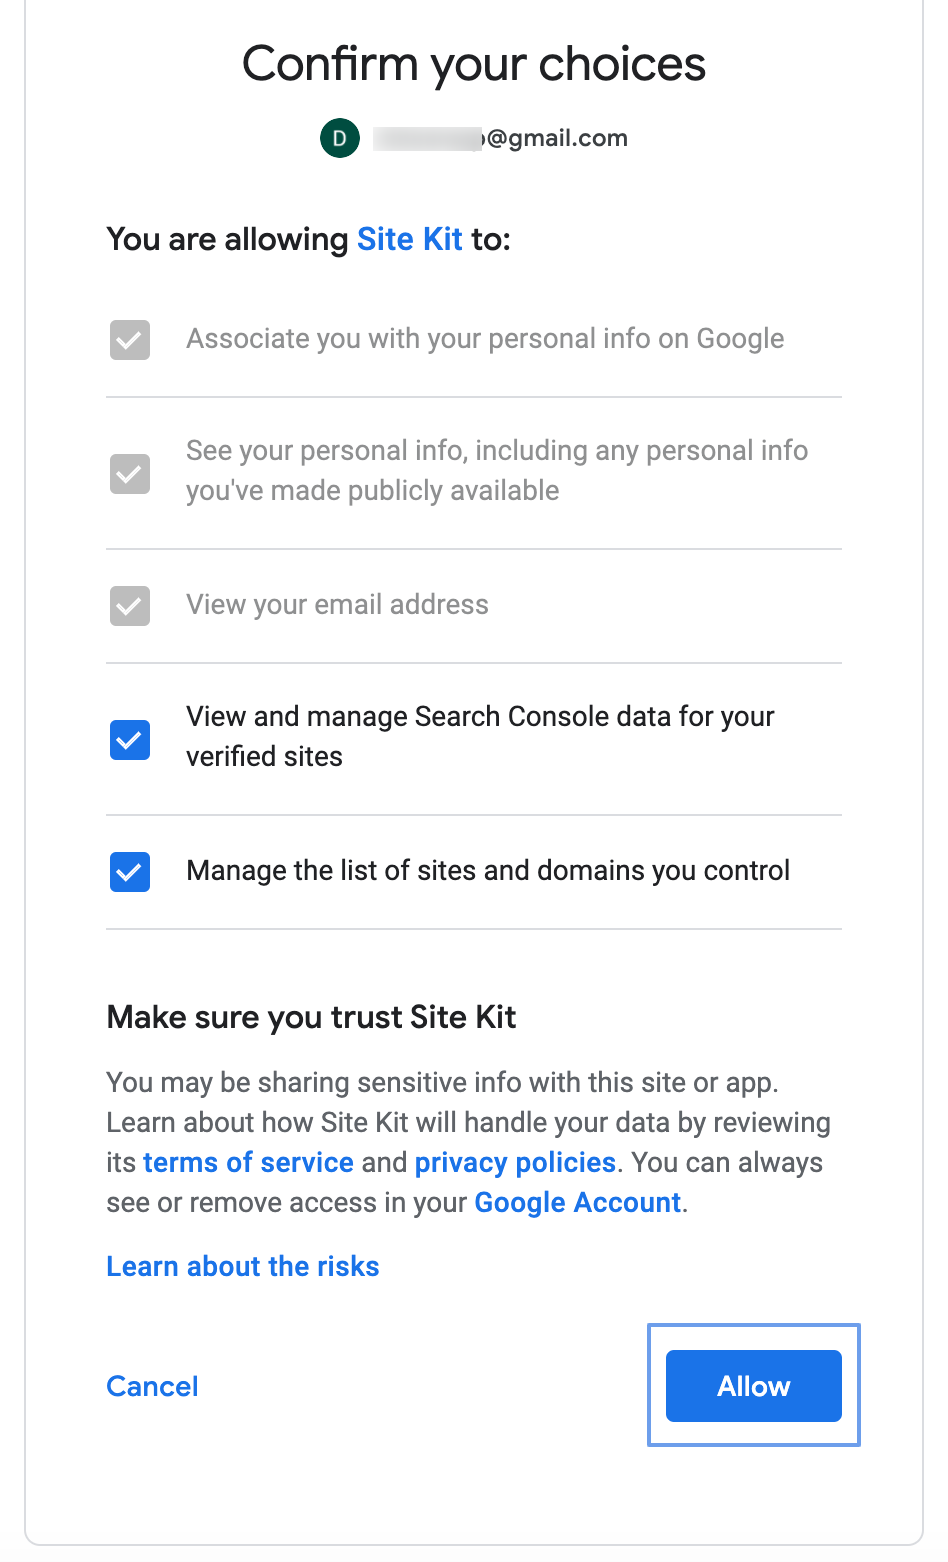
9. On the Confirm screen of your choice, review your permissions and click Allow.
10. On the Welcome to Site Kit screen, click Proceed.
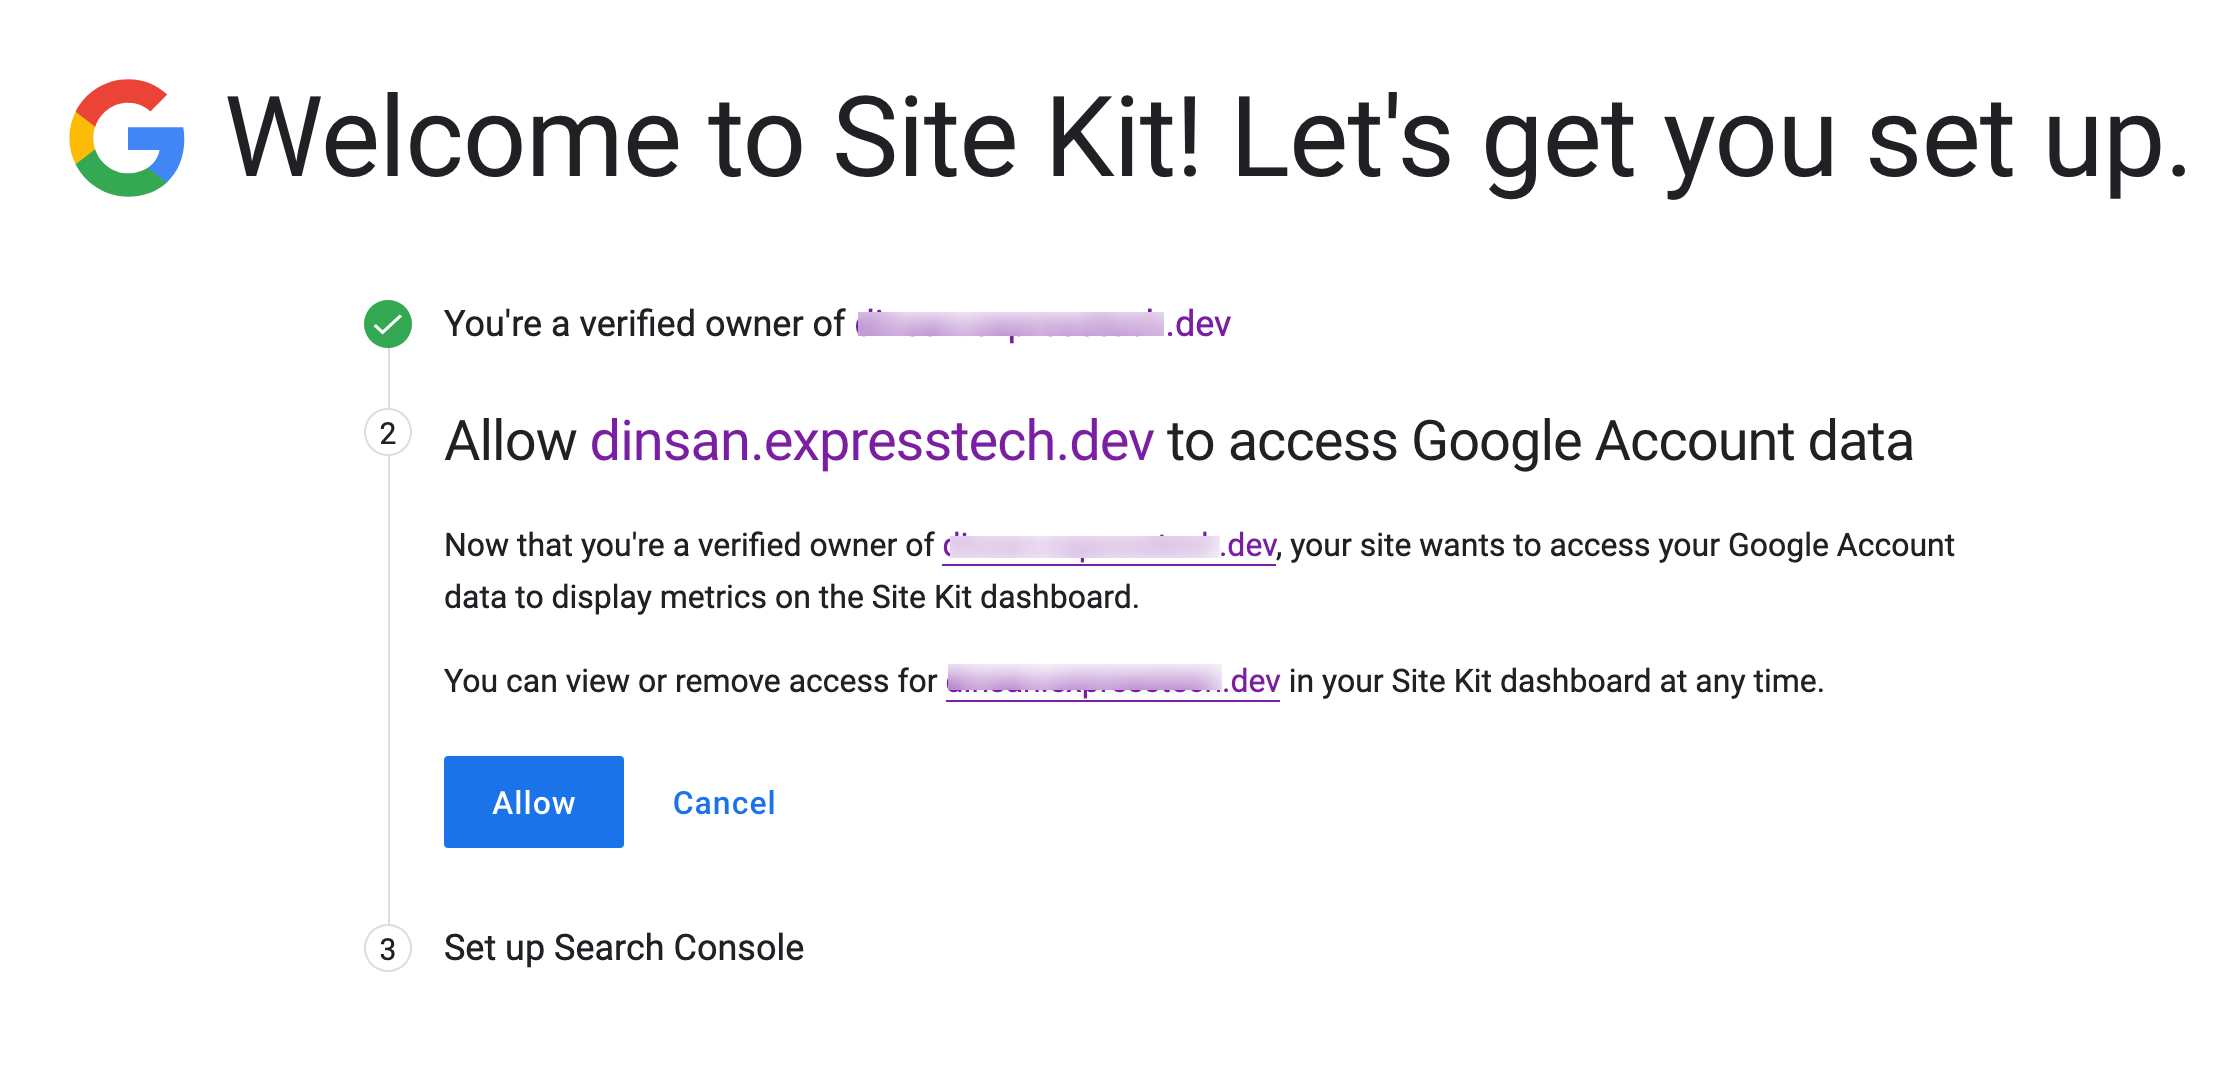
11. Click Allow to give Site Kit permission to access Google Account data.
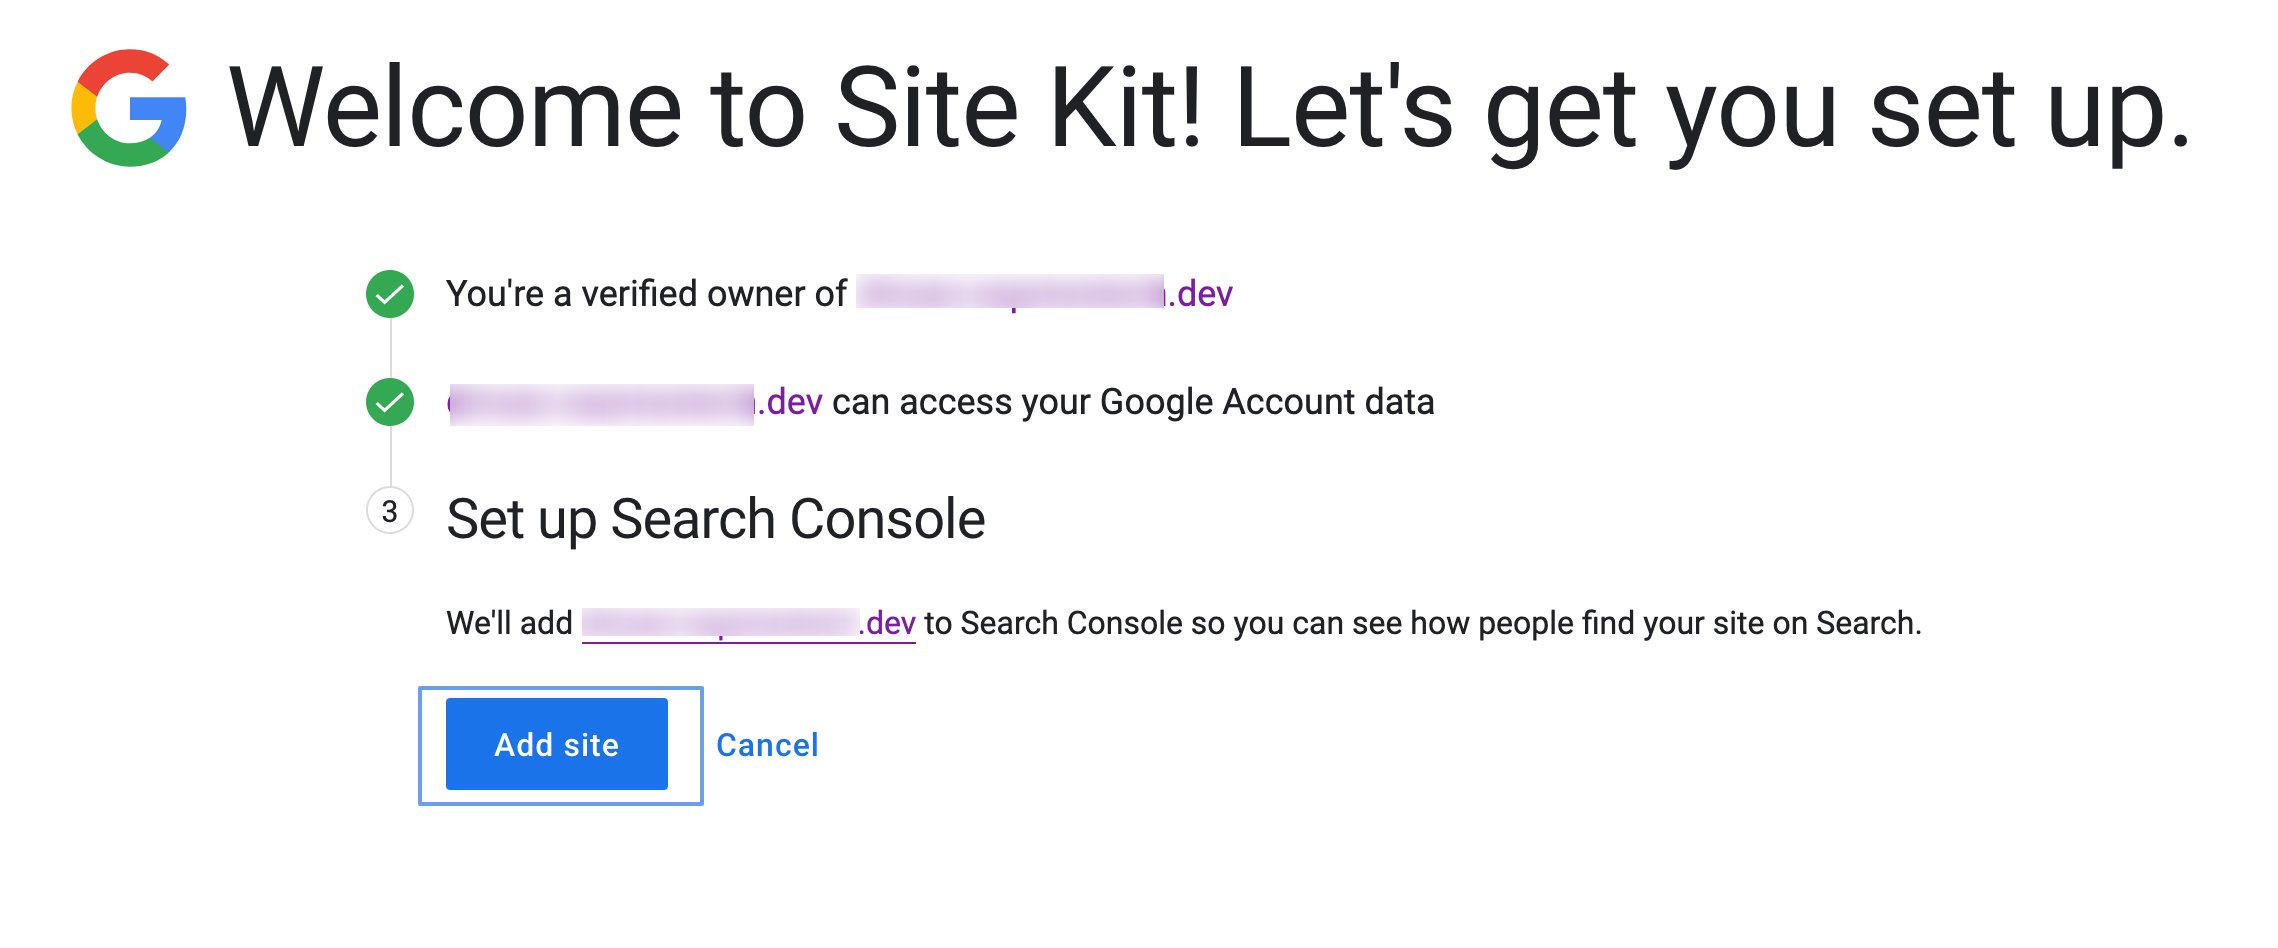
12. Click Add site to add your site to Google Search Console.
13. Click Go to my dashboard to go back to your WordPress dashboard where you will start seeing your website stats.

You should now have a new section on your WordPress dashboard to view stats from Analytics, and insights from Google Search Console.
To learn more on this topic watch this video.
Stuck Somewhere?
Connect With JustHyre
Hire WordPress Engineers for custom jobs like Website Customization, SEO Optimization, Clearing a Hacked Website, Installation & Configuration & more.
Connnect with JustHyre


0 Comments